If you work with characters, the news from June 25, 2026, was a big deal. Midjourney's V7 alpha dropped its Character Reference feature, '--cref', and suddenly, getting the same face to appear twice wasn't a game of chance. It's a fantastic feature for creating a series of illustrations or concept shots where a character needs to be recognizable.
But if you're an animator, game developer, or comic artist, you know the real test isn't just a recognizable face. It's the character turnaround sheet—the precise front, side, and back orthographic views that serve as the blueprint for production. And for that job, a single image reference just isn't enough. A feature is not a workflow. This is where you need a more robust process that treats your character like a persistent asset, not a one-off prompt.
Yes, Midjourney's '--cref' is a big deal. But it won't make a perfect turnaround sheet.
The '--cref' parameter works by analyzing a reference image you provide and trying to replicate the character's features. For a quick portrait or a character in a new scene, it's remarkably effective. The problem is that a model sheet requires absolute consistency in details that might not even be visible in the reference image.
What happens to the intricate logo on the back of a character's jacket when your reference is a front-facing portrait? How does the AI know the exact shape of their boots from the side if the reference image has them sitting down? The AI has to guess, and that's where consistency breaks down. The side view might have a different hairstyle, the back view might omit a critical accessory. For pre-production, this is a non-starter.
Why 'front view, side view, back view' prompts always fail
Before '--cref', and even with it, many creators try the logical-seeming approach: generate a front view, then feed that image back in and prompt for a 'side view of the same character'. The results are almost always frustrating. You get a cousin of your character, not the character themselves.
- Feature Drift: The jawline softens, eye color shifts, and hair texture changes.
- Costume Amnesia: A leather jacket becomes denim. A complex pattern on a shirt vanishes. The number of buttons on a cuff changes.
- Style Inconsistency: The art style itself can morph between prompts, moving from cel-shaded to photorealistic.
This happens because the AI has no persistent memory or 'data file' for your character. It's just interpreting pixels and prompts anew each time. A true production workflow requires treating the character as a data asset, which is exactly what MyUP's Brandkit system is designed for.
Step 1: Build your character's permanent record with a Brandkit
Instead of relying on a single image, the MyUP workflow starts by building a 'Character Brandkit'. Think of this as the definitive file or 'character bible' that the AI will consult for every single generation. It combines visual data with explicit text-based instructions, leaving nothing to chance.
Here’s how you set it up in MyUP.ai:
- Upload a Seed Image: Start with your primary character concept art—ideally a clear, front-facing view in a neutral T-pose. This becomes the core visual reference.
- Add Granular Details: This is the crucial step that single-reference tools miss. In the Brandkit's text fields, you define the non-negotiable elements. Be specific. Instead of 'brown jacket', write 'distressed brown leather bomber jacket with silver zippers and a red silk lining'. Instead of 'blue eyes', write 'piercing ice-blue eyes with a distinct scar over the left eyebrow'.
- Define Clothing & Style: Document every piece of the character's outfit, their accessories, and even their typical expression. The more data you provide, the less the AI has to guess.
If you're still developing the character's look, you can even use a workflow to generate detailed clothing concepts to add to your Brandkit. This template helps create high-quality, specific apparel that you can then document as a core part of your character's identity.
Workflow code: #myup-3sro-edbt
Brand Clothes Post

Turn any outfit photo into a high-end fashion promo poster. It centers your subject in a full-body shot against a dark, dramatic studio backdrop, perfectly cropped for social feeds. It gives your apparel a moody, editorial look instantly.
Regenerate using your own assets.
Step 2: The iterative workflow for generating each angle
With your Character Brandkit established, you now have a single source of truth. The generation process becomes a controlled, repeatable workflow, not a series of hopeful prompts.
Generate the Front View (The Seed)
Your first generation is the master reference. Use a detailed prompt that calls on your Brandkit to create a clean, high-quality, front-facing image of your character in a T-pose against a neutral background. The goal is a perfect orthographic front view.
A template designed for high-quality portraits can give you a strong starting point for this seed image. The user validates the output, ensuring it perfectly matches the vision before moving on.
Workflow code: #myup-wtgs-4huq
Fashion Poster
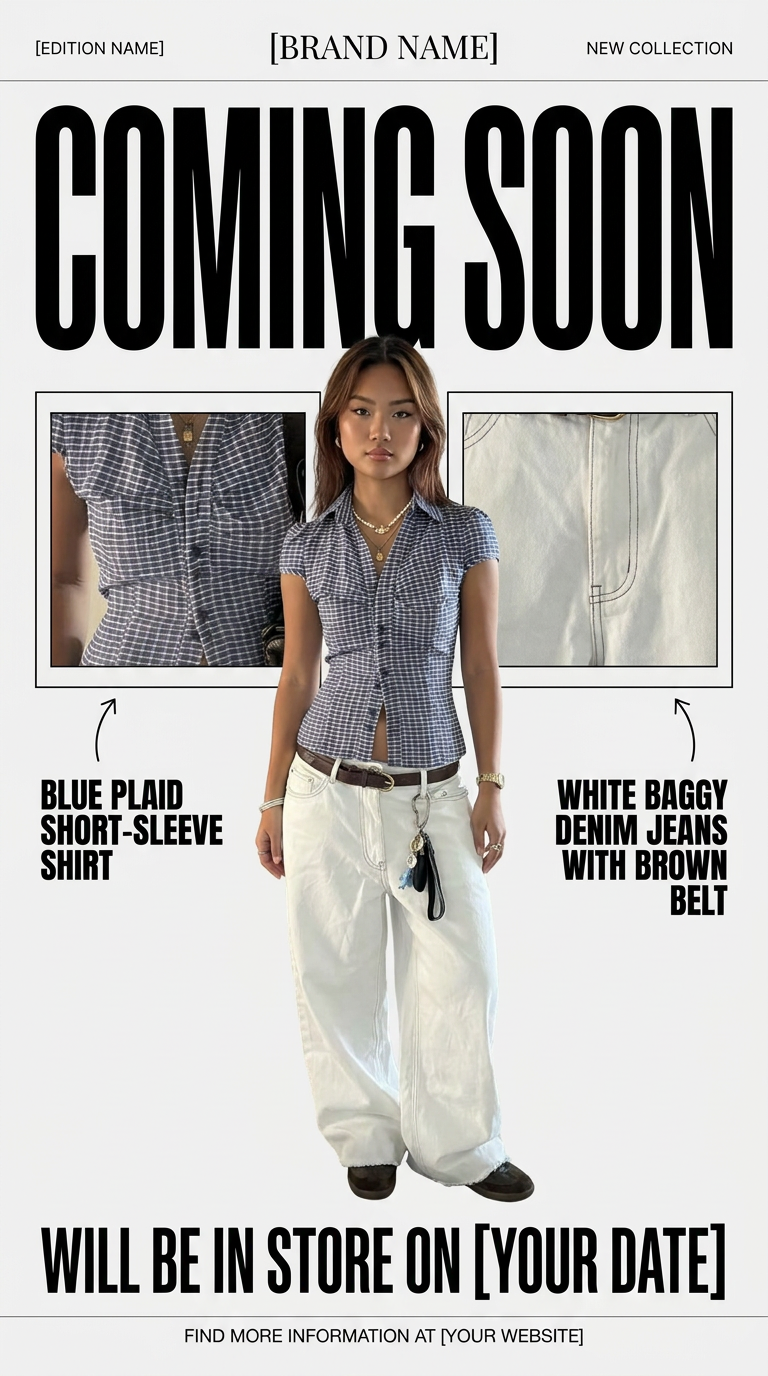
Turn your product shots into clean, high-end teaser posters. It frames your images in a minimalist off-white layout with editorial header text, giving your upcoming launches the look of a luxury fashion drop.
Regenerate using your own assets.
Generate the Side and Back Views
Here's where the MyUP workflow proves its value. For the next step, you don't just change the prompt. You instruct MyUP to use the exact same Character Brandkit and your newly generated front-view image as a strong reference. Your prompt is simple and direct:
'Side view of the character, T-pose, same clothing and style, neutral background.'
Because MyUP is referencing the detailed text descriptions in the Brandkit (like that logo on the back of the jacket) and not just the pixels of the front-view image, it can construct an accurate side view that maintains all the critical details. You approve the result, then repeat the process for the back view: 'Back view of the character, T-pose...'
This iterative process—build, generate, validate—puts you in control. MyUP handles the production, but you make the final creative call at each step, ensuring every angle is perfect.
Step 3: Assemble the final model sheet
Once you have your three validated images—front, side, and back—the final step is to assemble them into a standard model sheet. This typically involves placing the three images side-by-side on a single canvas with a clean background. You can add callouts for specific details, color palettes, or notes for the modeling or animation team.
MyUP has simple layout workflows that can help you quickly arrange these images into a professional-looking presentation. You just need to upload your three generated views, and the template will handle the alignment and spacing.
Workflow code: #myup-k4td-9k6z
Minimalist Poster
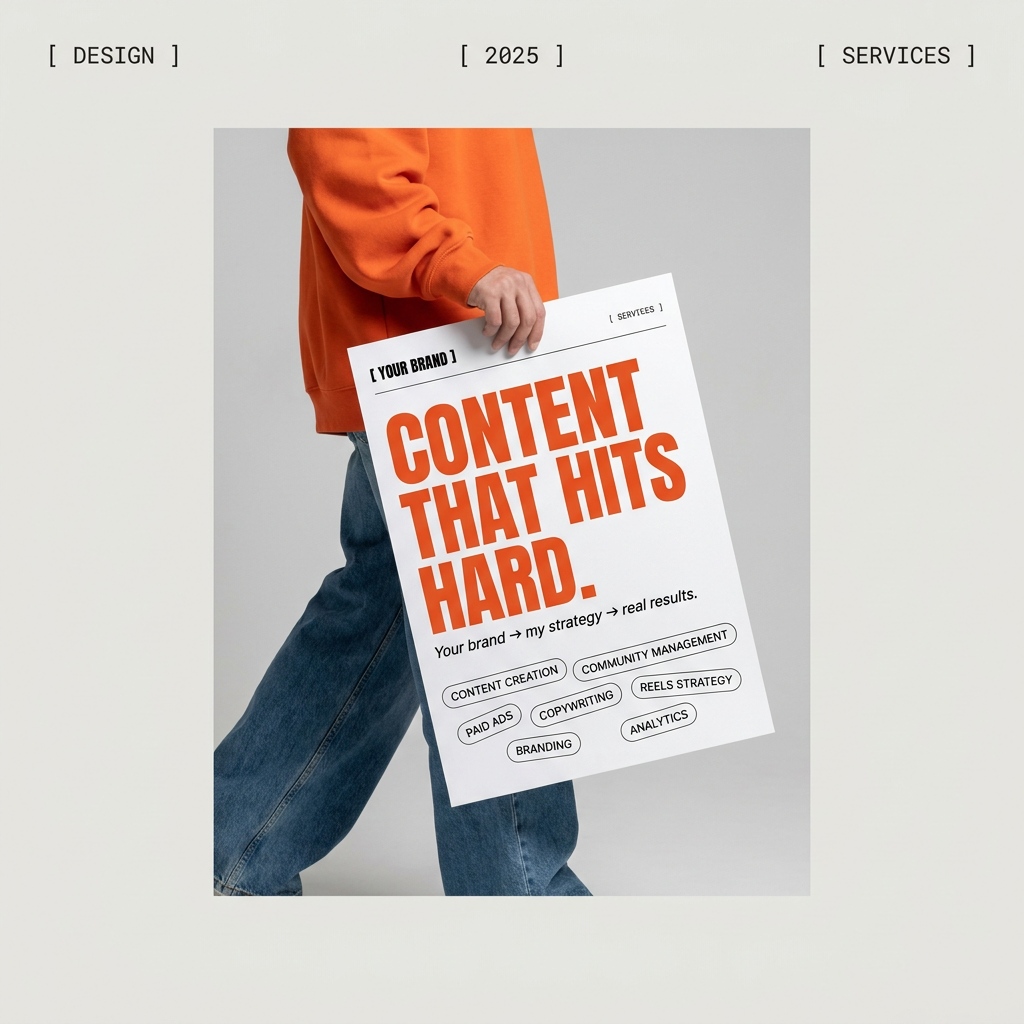
Give your social feed a clean, gallery-like aesthetic. This layout frames your images with structured mono typography and soft, neutral backgrounds for a high-end editorial look. It's perfect for minimal product launches or brand announcements.
Regenerate using your own assets.
The result is a production-ready character turnaround sheet where every detail is consistent across all three angles—something that's nearly impossible to achieve reliably with a simple image reference feature alone. As we've explored in other workflows, like creating consistent characters for AI comics, this system of control is the key to moving beyond single images into sequential art.
The verdict: When to use Midjourney's --cref vs. a full MyUP workflow
So, is Midjourney's new feature useful? Absolutely. It's important to use the right tool for the right job.
Use Midjourney's '--cref' for:
- Rapid Ideation: Quickly see what your character looks like in different scenes, poses, or art styles.
- Illustrations and Social Media: When you need a recognizable character for a one-off image and minor inconsistencies don't break the project.
- Quick Storyboarding: For rough visual sequences where likeness is more important than perfect costume continuity.
Use the MyUP Brandkit workflow for:
- Production Assets: When you need a 100% consistent character model sheet for 3D modeling, animation, or game development.
- Brand Mascots: For creating marketing assets where a character must be perfectly on-model every single time.
- Comic Book and Graphic Novel Production: When every panel requires precise, repeatable character details. For a deeper dive, see our full guide to the AI character turnaround workflow.
Ultimately, '--cref' is a powerful feature. But a professional turnaround sheet requires a robust, data-driven workflow. By treating your character as a permanent asset in a MyUP Brandkit, you gain the control and precision that production work demands.
