You’ve generated the perfect character. The front view is exactly what you envisioned. Then you try to generate a side view, and suddenly they have different hair, a new jawline, and their jacket has inexplicably changed from leather to denim. This is the frustrating reality of AI character generation, a problem that has spawned 15-step Reddit workflows and fueled massive hype for features like Midjourney's teased '--cref' parameter.
The core issue isn't your prompt. It's the process. A single prompt is a single roll of the dice. To get true consistency, you don't need a better prompt; you need a better system. You need a workflow that treats your character as a persistent asset, not a one-off image. This is exactly what we'll build in MyUP.ai—a repeatable system for generating character turnaround sheets that actually look like the same person from every angle.
Step 1: Define your character's DNA in a MyUP Brandkit
Before you generate a single pixel, you need to give the AI a blueprint. In MyUP, this blueprint is the Brandkit. Instead of just a visual style guide, we’re going to use it to create a detailed character profile—what we call the character's 'DNA.' This is the ground truth the AI will reference for every single image, ensuring consistency from the start.
A simple prompt like "man with brown hair" is too ambiguous. The AI will fill in the blanks differently every time. Your character Brandkit eliminates that ambiguity.
Create a new Brandkit in MyUP specifically for your character. In the description fields, be obsessively detailed. Don't just say 'brown hair'; specify 'wavy, chestnut brown hair, slightly longer on top, with a side part.' Don't just say 'blue eyes'; describe them as 'almond-shaped, ice-blue eyes with thick eyebrows.' Document everything:
- Physical Features: Face shape, eye color, hair style and color, skin tone, height, build, any distinguishing marks like scars or tattoos.
- Clothing & Style: Describe their signature outfit in detail. 'A black leather biker jacket with silver zippers, worn over a plain white crewneck t-shirt, dark wash denim jeans, and black combat boots.'
- Key Accessories: Note any recurring items like glasses, a specific watch, a necklace, or a backpack.
- Artistic Style: Define the overall aesthetic. 'Anime concept art style, clean lines, cel-shaded coloring, dynamic pose, studio lighting.'
This Brandkit is now your single source of truth. It transforms your character from a vague idea into a concrete set of data the AI can consistently execute against.
Step 2: Generate the 'seed' image — your perfect front view
With your character's DNA locked in the Brandkit, it's time to create the anchor for your turnaround sheet: the front view. This first image is the most critical, as it will serve as a powerful visual reference for all subsequent generations. We call this the 'seed' image.
Your goal here is a clean, full-body shot of the character facing forward, preferably in a neutral or 'T-pose' stance against a simple background. This makes it easier for the AI to understand the character's proportions and outfit without a complex background or pose causing confusion.
In MyUP, start a new generation and ensure your character's Brandkit is active. Your prompt can now be much simpler and more direct because the Brandkit is doing the heavy lifting of description. A good prompt would be:
'Full body character concept sheet, [character name], front view, T-pose, neutral expression, plain white background.'
MyUP will combine this instruction with the detailed data in your Brandkit to produce the initial image. Because the system is handling the details, you, the user, can focus on validating the output. Regenerate until you get a front view that perfectly matches your vision. This is the human control point: MyUP executes, you approve. Once you have it, save it. This is your seed.
To get a high-quality, stylized character shot that can serve as your seed image, this template is the perfect starting point.
Workflow code: #myup-wtgs-4huq
Fashion Poster
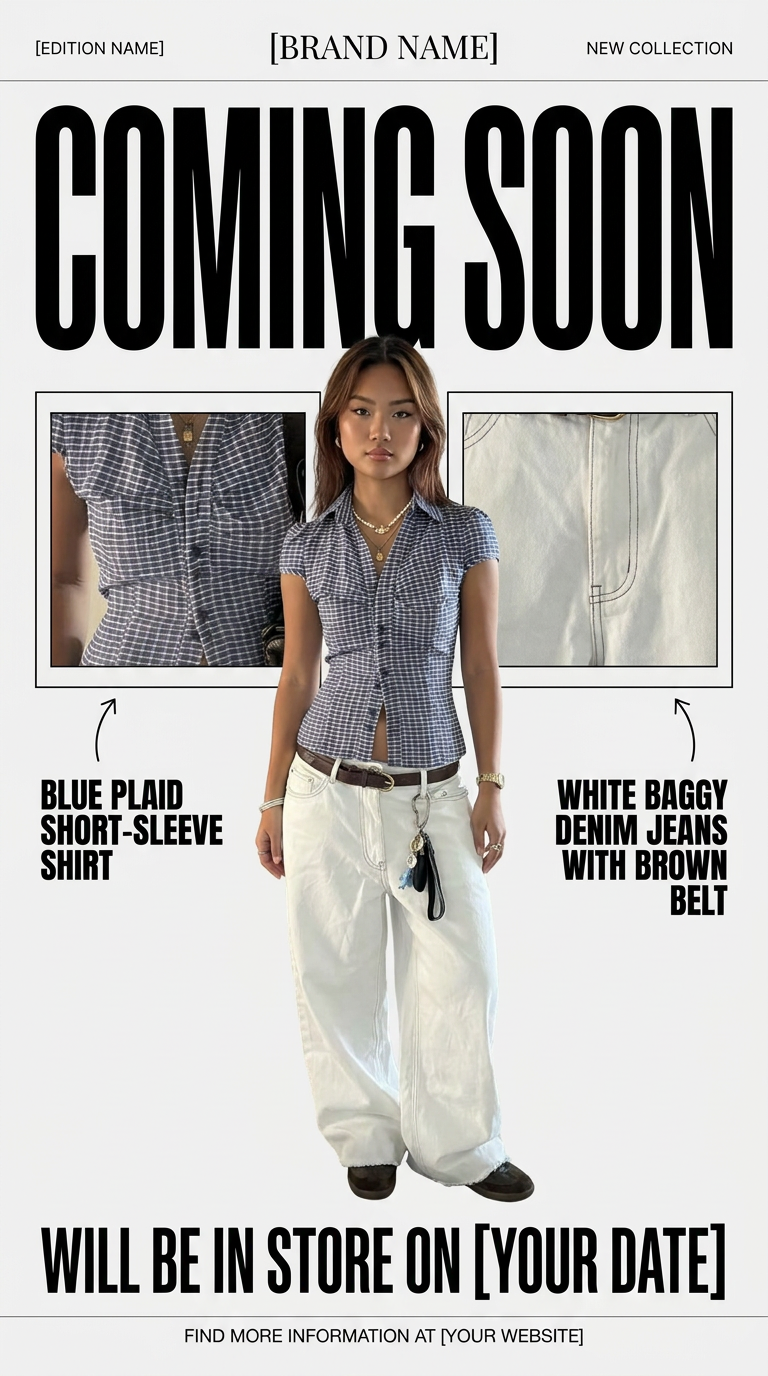
Turn your product shots into clean, high-end teaser posters. It frames your images in a minimalist off-white layout with editorial header text, giving your upcoming launches the look of a luxury fashion drop.
Regenerate using your own assets.
Step 3: Iterate for side, back, and 3/4 views using the seed as reference
This is where the MyUP workflow fundamentally differs from single-prompt tools. We are not starting from scratch for each new angle. Instead, we'll use an iterative process that leverages both the character Brandkit and the seed image you just created.
In your MyUP workspace, you can use your saved seed image as a reference for the next generation. This gives the AI a powerful visual guide to complement the text-based DNA in your Brandkit. The combination of a detailed data profile (the Brandkit) and a strong visual anchor (the seed image) dramatically constrains the AI, forcing it to maintain consistency.
Now, simply adjust your prompt for the next angle. Keep the Brandkit active and the seed image as a reference, and change the prompt to:
'Full body character concept sheet, [character name], side view, T-pose, neutral expression, plain white background.'
Repeat this process for each required angle: back view, 3/4 view, etc. Because each generation is guided by the same Brandkit and initial seed, features like the haircut, the jacket's collar, and the boot style will remain remarkably consistent. You're no longer hoping for a lucky match; you're guiding the AI through a structured, multi-step production process.
For a different style, like an athletic character, you can use this workflow to generate your seed and subsequent views.
Workflow code: #myup-ywpr-rqz6
Professional Sportswear Ad
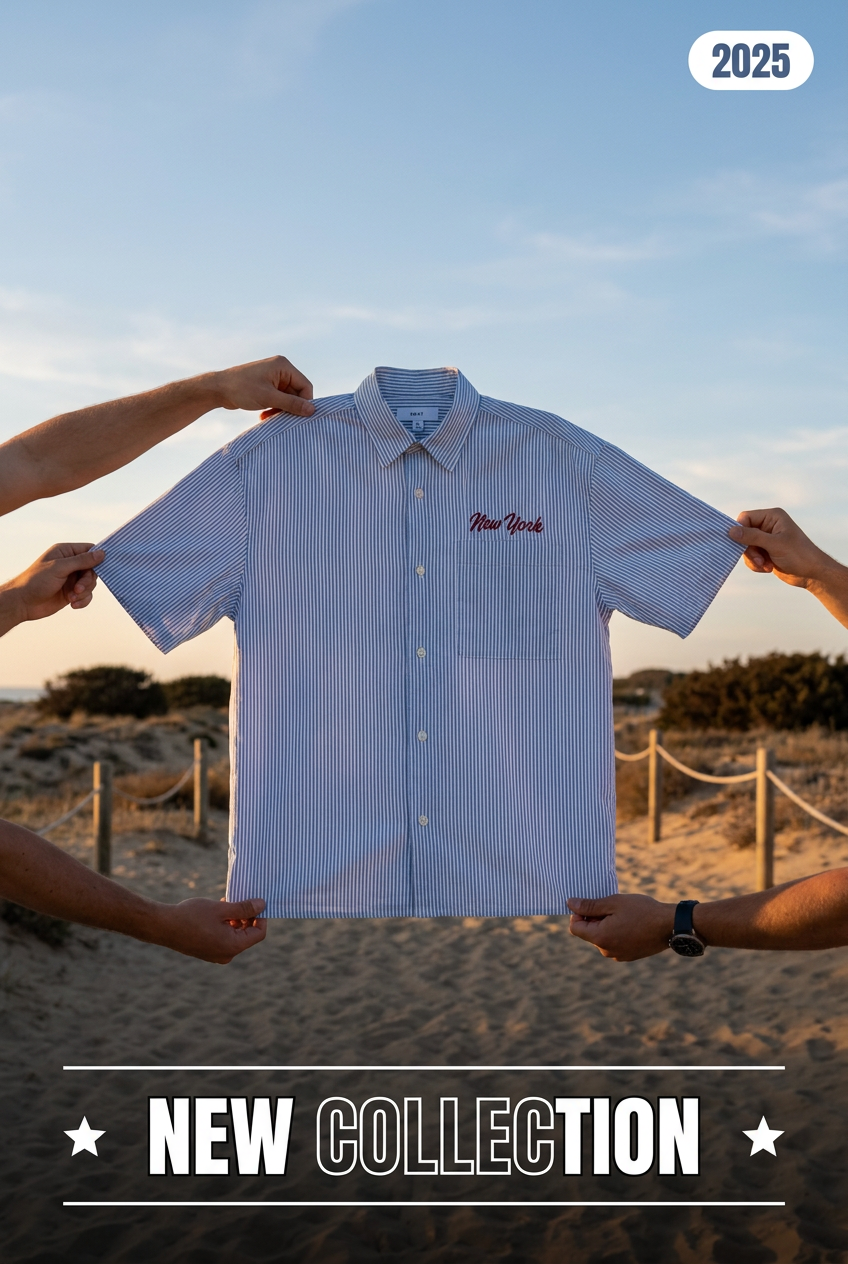
Suspends your apparel right in the center of a high-energy promo shot, held up by hands around the frame. It gives your shirts or jerseys a gritty, collaborative streetwear editorial look that feels alive and physical.
Regenerate using your own assets.
Step 4: Assemble the sheet and put your character to work
Once you have your front, side, back, and any other desired views, the final step is to assemble them into a standard character turnaround sheet. You can do this in any image editor or even within a MyUP design template by arranging the generated images on a single canvas.
But the turnaround sheet isn't the end goal; it's the beginning. You now have a reusable, consistent character asset. This is the foundation for creating entire narratives. You can now confidently place this character into different scenes and contexts, knowing their appearance is locked in. This is essential for projects like creating a graphic novel or developing a consistent brand mascot.
With your character defined, you can immediately start using them in marketing materials or social content. The workflow below lets you place your consistent character into a branded post, instantly bridging the gap from asset creation to execution.
Workflow code: #myup-3sro-edbt
Brand Clothes Post

Turn any outfit photo into a high-end fashion promo poster. It centers your subject in a full-body shot against a dark, dramatic studio backdrop, perfectly cropped for social feeds. It gives your apparel a moody, editorial look instantly.
Regenerate using your own assets.
By treating your character as a system within a Brandkit, not just a prompt, you move from random generation to controlled production. This is how you solve character consistency for good, making assets for everything from AI-assisted comics to detailed storyboards for video projects.
