
If you've spent any time on Reddit or X in late June 2026, you’ve seen it: sprawling, complex charts mapping out multi-tool workflows to get consistent characters for an AI comic. The process usually involves a prompt in Midjourney with a `--cref` tag, feeding that into Stable Diffusion with a ControlNet rig, then stitching it all together in Photoshop. It's a testament to creator ingenuity, but it's also a clear signal of a massive, unsolved frustration.
You spend hours crafting the perfect hero, only for the AI to give them different eyes, a new haircut, or a completely different jawline in the very next panel. Your narrative continuity is shattered. That's because character consistency isn't a lottery you win with a magic prompt. It's an industrial process you build with a workflow. Forget the multi-tool hacks. Here’s how to build a repeatable system for panel-to-panel consistency, all inside MyUP.
Why your AI characters look like strangers in every panel
The core problem is that most AI image generators are stateless. Each generation is a new roll of the dice, optimized for creativity, not continuity. The model doesn't remember the character from panel one when it's creating panel two. It only knows the text prompt you provide each time. This leads to subtle (and not-so-subtle) deviations that break the illusion of a persistent character.
Features like character reference (`--cref`) are a step in the right direction, but they often require you to stay within a single tool's ecosystem and still don't guarantee perfect consistency for the strict needs of sequential art. The real solution isn't one feature; it's a systematic process that gives the AI less room for error. It requires defining your character's visual DNA upfront and then using that definition as a strict control for every subsequent image. This is less about prompting and more about production.
The foundation: build a detailed character sheet before you prompt
Before you generate a single pixel, you need to define your character with absolute clarity. This isn't just a creative exercise; it's the technical blueprint for the AI. A good character sheet acts as the source code for your character's appearance, ensuring you have a reference for every key detail. Don't just think it, document it.
Your character sheet should include:
- Immutable Physical Traits: Eye color, hair color and style, skin tone, height, build, unique features like scars, tattoos, or freckles. Be specific. Not just "brown hair," but "wavy, shoulder-length chestnut brown hair with a side part."
- Core Wardrobe: Define the key clothing items the character always wears. Specify the type, color (with hex codes if possible), and material. For example, "a worn, dark green (#3A5F0B) canvas jacket over a plain white t-shirt."
- Key Accessories: Glasses, a specific watch, a recurring piece of jewelry. These small details are powerful anchors for consistency.
- Overall Style and Vibe: A few keywords to define the art style. "Anime-inspired, cel-shaded, bold outlines, dynamic action poses."
This document is your bible. Every prompt and every workflow step will refer back to it. It transforms the task from a creative gamble into a manufacturing process where you control the inputs.
Step 1: Generate your master character reference image
With your character sheet complete, the first production step is to create a single, high-quality "master" image. This isn't a panel from your comic; it's a definitive, neutral-pose portrait that perfectly captures the character as defined in your sheet. Think of it as a model sheet or a character turnaround. It will become the visual anchor for every other image you generate.
Use a detailed prompt derived directly from your character sheet to create this master image. Aim for a clean, well-lit, full-body shot against a simple background. You want the AI to focus entirely on the character's details without distraction. This is the image you'll use to enforce consistency later.
In MyUP, you can use a workflow designed for high-quality portraits to get this done efficiently. The goal is to generate one perfect reference that becomes the source of truth for your entire project.
Workflow code: #myup-yk1h-uqy8
High-End Editorial Fashion Magazine Cover
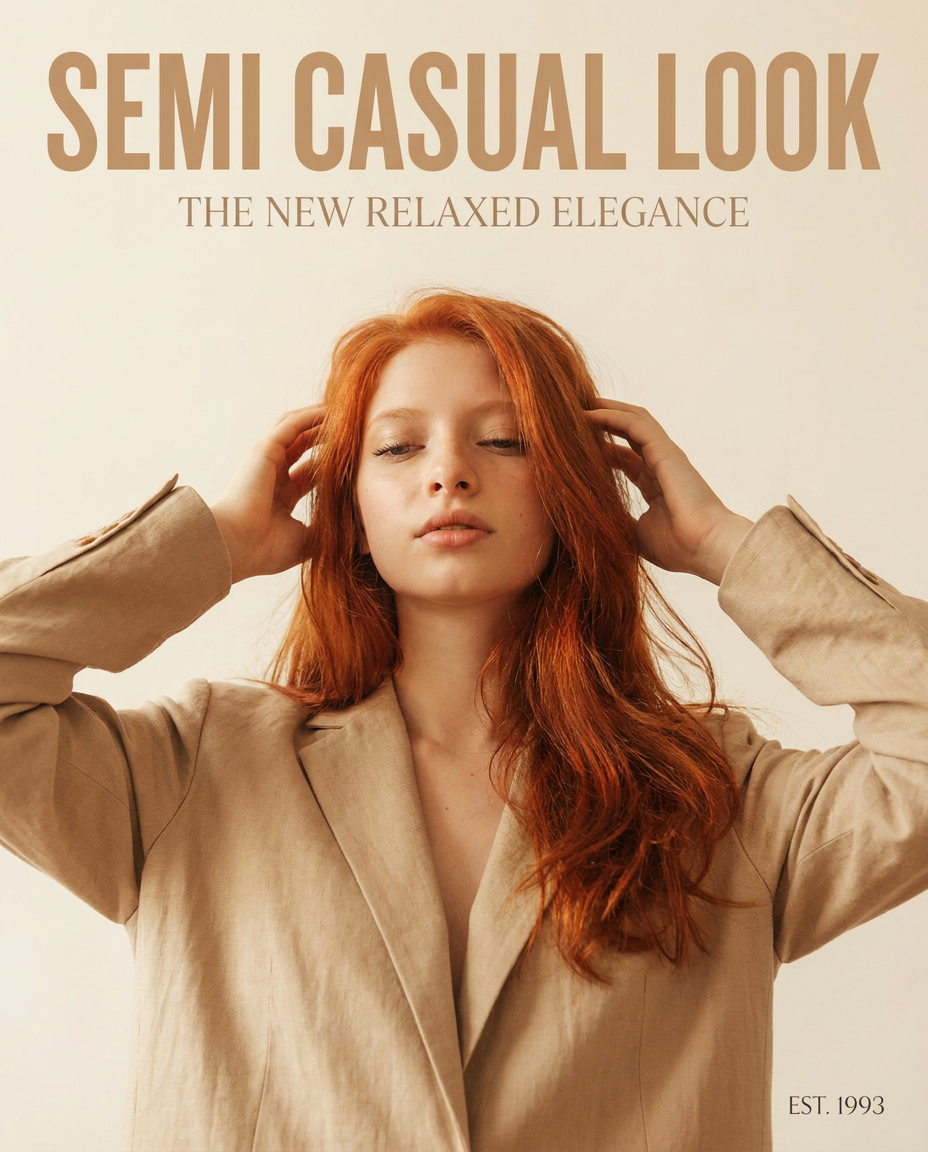
Drop in any portrait and turn it into a high-end editorial magazine cover. It frames your subject beautifully with relaxed, high-fashion posing and soft styling for a polished print aesthetic.
Regenerate using your own assets.
Step 2: Create a character Brandkit to lock in colors and style
This is where the MyUP platform turns a complex hack into a simple, repeatable process. Once you have your perfect master character image, you can create a Brandkit specifically for that character. A Brandkit is a visual identity profile that stores colors, fonts, and styles, which MyUP can then apply automatically to future creations.
Here's how to set it up for your character:
- In MyUP, create a new Brandkit.
- Upload your master character reference image.
- MyUP will automatically extract the key colors. You can then refine this palette, naming colors like "Jacket Green," "Hair Brown," and "Skin Tone," and saving the exact hex codes from your character sheet.
- Add style keywords from your sheet (e.g., "cel-shaded," "anime style") to the Brandkit's style profile.
Now, your character's visual DNA is locked in. You no longer need to type hex codes or style descriptions into every prompt. You can simply apply the character's Brandkit, and MyUP will enforce those rules, dramatically reducing the chance of color or style drift between panels.
Step 3: Produce new panels using your reference image as a control
Now it's time to create the actual panels for your comic. This is the core of the workflow where consistency is made or broken. Instead of just prompting from scratch, you'll build a MyUP workflow that uses your master image as a control input.
In your MyUP workflow, you'll set up an image generation step that takes two key inputs:
- A Reference Image: Upload your master character image here. This tells the AI, "make the character in the new image look exactly like the character in this reference."
- A New Prompt: Describe the action, expression, and setting for the new panel. For example, "character running through a rainy cyberpunk city street, looking determined."
By providing both a text prompt for the new scene and a visual reference for the character, you give the AI precise instructions. It understands the new context from your words and the character's identity from the image. This approach is far more reliable than text-only prompting and is central to creating consistent storyboards and sequential art. The user validates the output, but MyUP handles the production, ensuring the character's core features remain intact while the scene changes.
Use the workflow below to generate panels with your character in new poses and situations while maintaining their look.
Workflow code: #myup-ywpr-rqz6
Professional Sportswear Ad
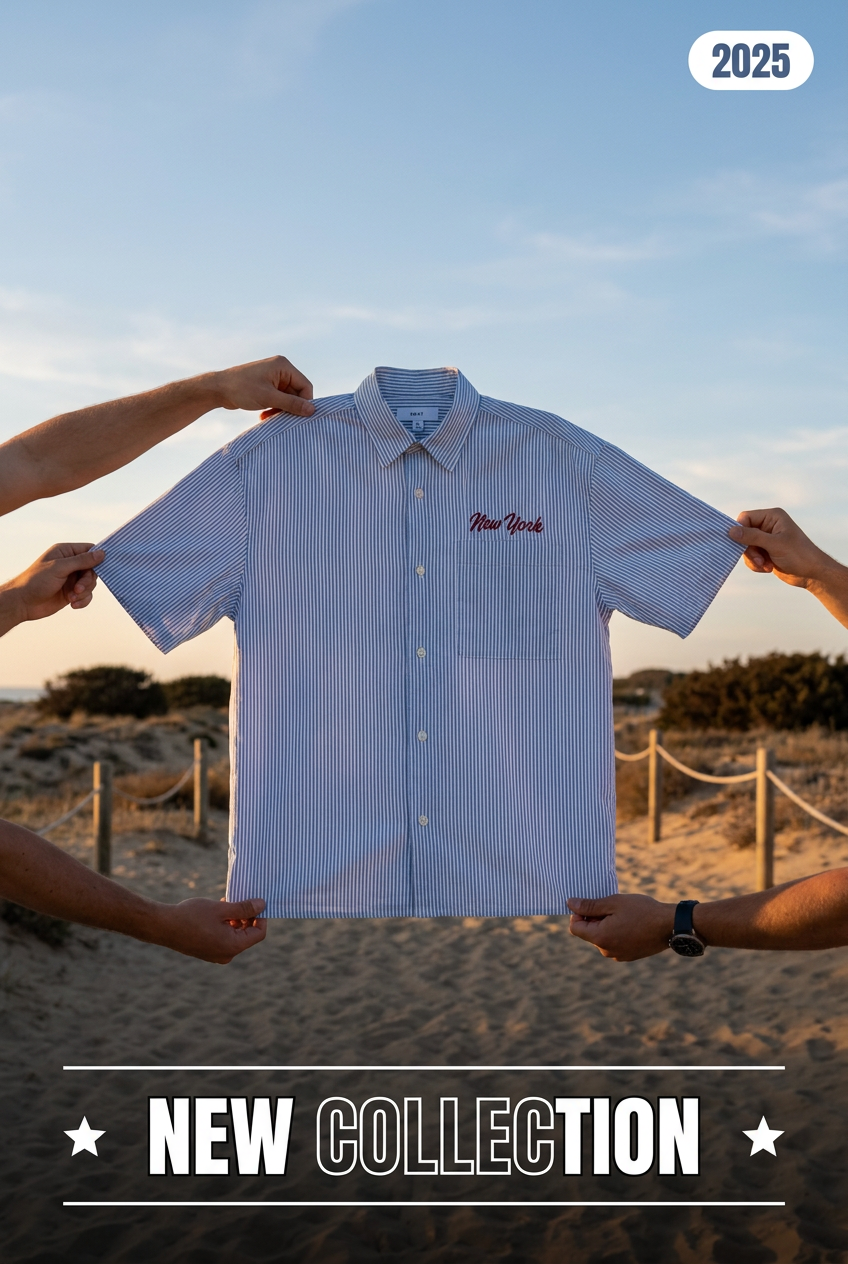
Suspends your apparel right in the center of a high-energy promo shot, held up by hands around the frame. It gives your shirts or jerseys a gritty, collaborative streetwear editorial look that feels alive and physical.
Regenerate using your own assets.
Step 4: Assemble your comic strip with a layout workflow
Once you've generated a series of consistent panels, the final step is to arrange them into a comic strip. You could export each image and manually assemble them in an external design tool, but you can complete the entire project within MyUP.
Use a layout workflow to create a grid and place your generated panels in sequence. This allows you to quickly experiment with panel flow and composition. You can add gutters, speech bubbles, and captions using MyUP's design tools to finalize your strip. This keeps your entire creative process, from character conception to final layout, in a single, streamlined environment.
The workflow below helps you create a mosaic or grid layout, perfect for assembling your finished panels into a shareable comic strip.
Workflow code: #myup-aktp-7jq0
Food Magazine Mosaic Cover
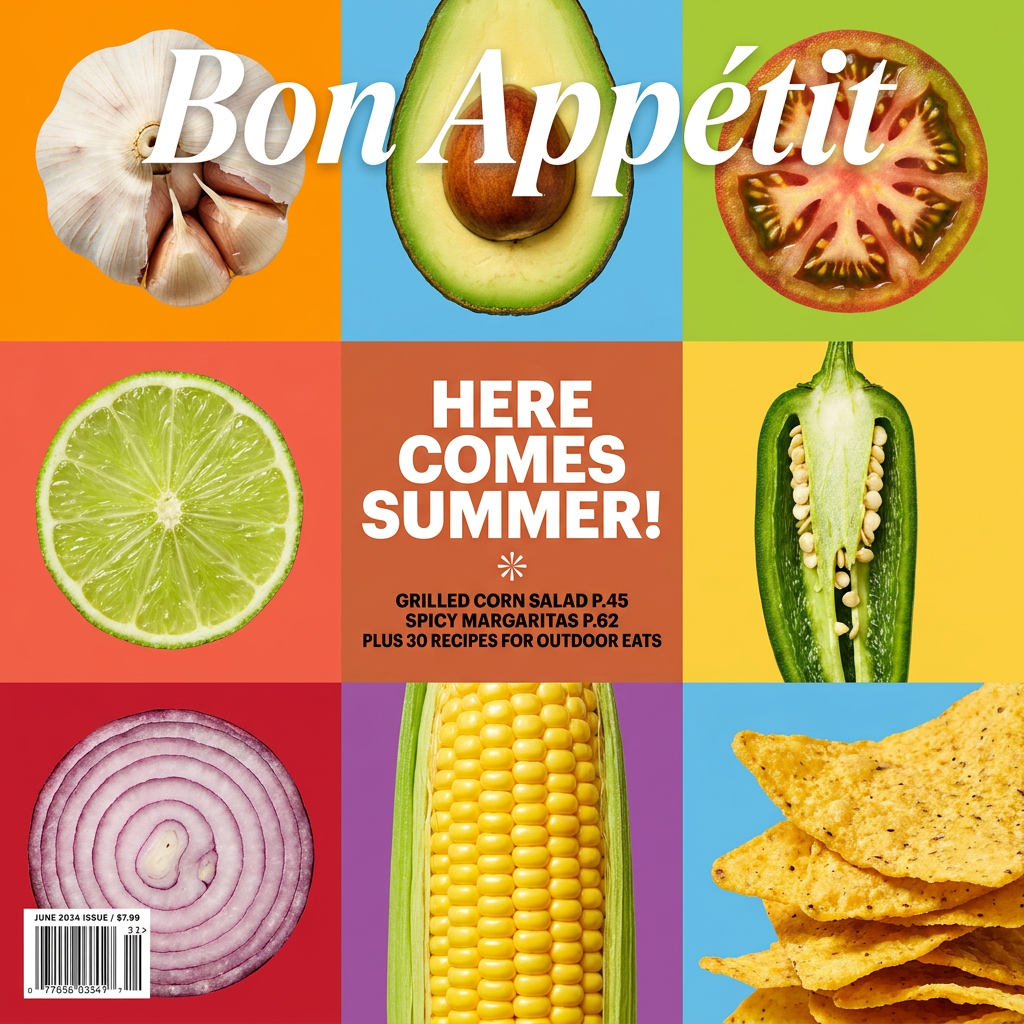
Turn your food shots into a bold, high-end editorial cover. It takes extreme close-ups of your dishes or ingredients and arranges them into a vibrant 3x3 grid that looks straight out of a premium food magazine.
Regenerate using your own assets.
A system, not a secret: making character consistency repeatable
The frantic search for a magic prompt or a secret technique to solve character consistency is a dead end. The solution isn't a trick; it's a process. By treating character creation like a manufacturing workflow—defining a spec sheet, creating a master template, and using it as a control for production—you can achieve the narrative continuity that has frustrated so many creators.
This approach puts you in the director's chair. You define the character's identity with a character sheet and a master reference image. You codify their style in a MyUP Brandkit. Then, you instruct the AI to produce variations within those strict boundaries. MyUP executes the repetitive production work, but you retain creative control, ensuring your story is told with characters your audience can actually recognize from one panel to the next.
