
If you're a creator working with narrative, the last 24 hours have been a big deal. On July 4, 2026, both Midjourney and Luma AI dropped significant updates to their character consistency features. The breakout search interest for “AI storyboard generator” tells the story: everyone is trying to turn these new tools into coherent scenes.
And they are hitting the same wall. After a few promising frames, the character’s shirt color subtly changes, the lighting drifts, and the mood breaks. You’re left spending hours trying to prompt your way back to consistency.
The problem isn't the tool; it's the approach. A feature like Midjourney’s `--cref` or Luma’s ‘Character Lock’ is a single parameter, not a production system. A storyboard is a visual script, and it demands a system. This tutorial provides that system—a complete, professional workflow in MyUP.ai that delivers true consistency across every single panel.
Why your new AI character reference tool is still not enough
A single character reference image, no matter how good the model is at interpreting it, is an incomplete instruction set. It can’t store rules about the project's specific lighting style (e.g., 'hard key light, deep shadows'), the exact hex codes for the costume palette, or the type of camera lens you want to simulate across all shots.
This is why you experience 'style drift'. The AI makes its best guess on every new generation, and those guesses accumulate into visible errors. A character might look right in a close-up but suddenly appear younger in a wide shot. The background in one panel is a gritty, rain-slicked street, and in the next, it’s just a generic city block. This isn't a minor flaw; it's a fundamental barrier to professional storytelling, forcing you to compromise your vision or waste days on re-rolls.
A storyboard is a system, not a series of prompts
Professional productions run on systems to guarantee consistency. A film has a style guide. A brand has a brand book. Your AI narrative project needs the same thing. In MyUP, this system has two parts:
- The Brandkit as your 'Character Bible': This is your project's single source of truth. It’s where you store not just one reference image, but multiple character turnarounds, key props, specific color palettes, and saved style prompts that define your world's aesthetic ('cinematic, anamorphic lens, 35mm film grain, neo-noir').
- The Workflow as your 'Director': This is your automated production process. A MyUP workflow takes a simple shot list as input, pulls the rules from your Brandkit, and executes each shot. It’s an automated director’s assistant that never forgets the visual plan.
This combination moves you from manually prompting and re-prompting each panel to defining the rules once and letting the system handle the execution. For a deeper dive into why a system-based approach is critical for narrative work, see our guide on achieving truly consistent AI characters.
Step 1: Create your 'character bible' in a MyUP Brandkit
The foundation of a consistent storyboard is a robust 'character bible'. This is where you front-load all your creative decisions. Instead of hoping the AI gets it right, you're giving it an explicit, detailed guide.
In MyUP.ai, create a new Brandkit for your project. Here’s what to include:
- Character Sheets: Upload multiple high-resolution images of your main character. Include a neutral front-on shot, a profile, a three-quarter view, and any key expressions or outfits. The more data you provide, the better.
- Color Palette: Use the color picker to save the exact hex codes for your character's costume, skin tone, and key environmental colors. This ensures that 'blue jacket' is always the *same* blue jacket.
- Style Prompts: In the Brandkit's style notes, save the core descriptive language for your project's look and feel. For example: “cinematic shot from a gritty detective film, moody low-key lighting, anamorphic lens flare, shot on Kodak Vision3 500T film.”
To lock in your character's definitive look, it helps to generate a perfect 'hero' image or key frame. A template designed for high-quality portraits is perfect for this.
Workflow code: #myup-yk1h-uqy8
High-End Editorial Fashion Magazine Cover
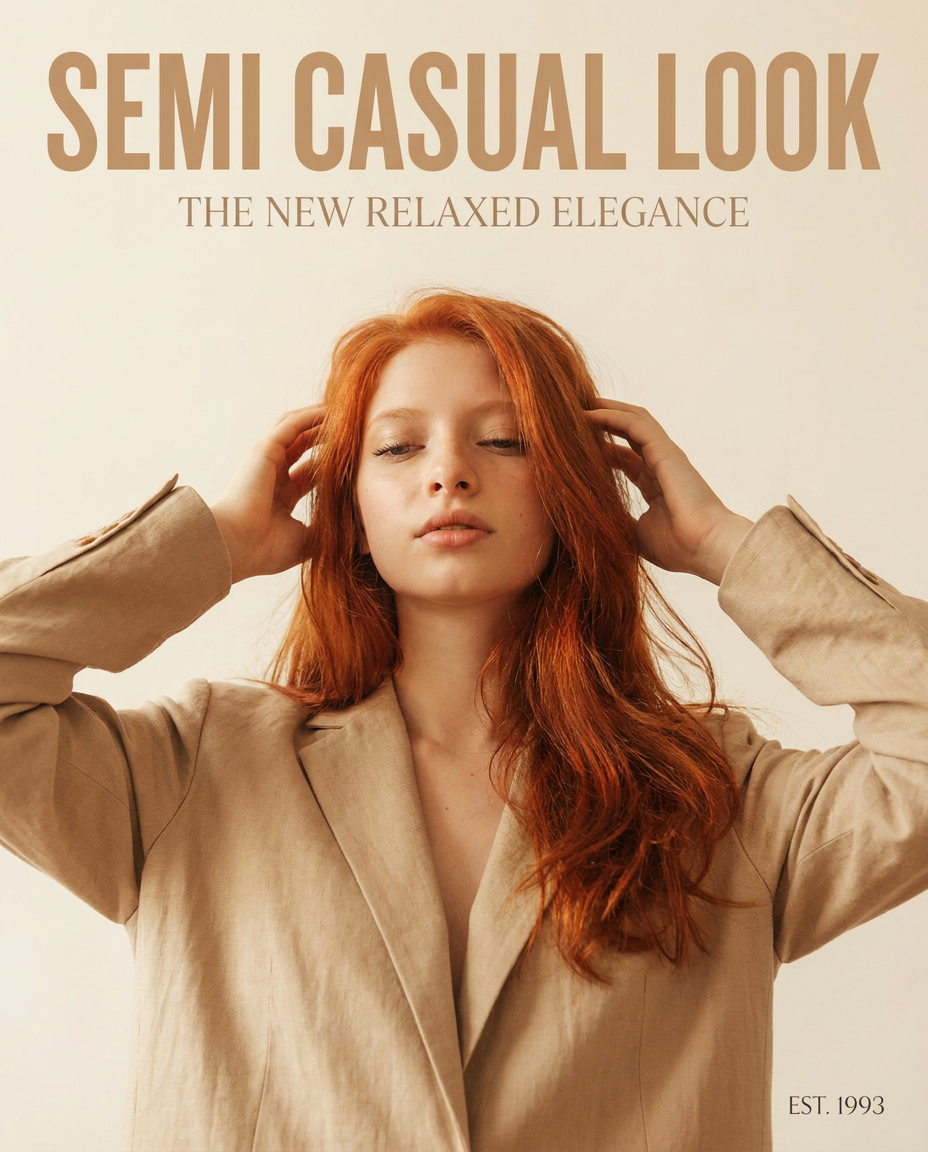
Drop in any portrait and turn it into a high-end editorial magazine cover. It frames your subject beautifully with relaxed, high-fashion posing and soft styling for a polished print aesthetic.
Regenerate using your own assets.
Step 2: Build the storyboard generator workflow from your shot list
With your Brandkit established, you can now build the engine that generates the storyboard panels. This is a reusable workflow that turns a simple text-based shot list into a full visual sequence.
First, prepare your shot list. This can be a simple text file or spreadsheet with one shot per line:
- Shot 1: CLOSE UP on character, looking worried.
- Shot 2: WIDE SHOT of character standing on a rooftop at night.
- Shot 3: OVER THE SHOULDER shot, character looking down at the street.
Next, in MyUP, create a workflow that connects this input to your Brandkit. The workflow will be simple: it takes the text from one line of your shot list and combines it with the character references and style prompts stored in your Brandkit to generate an image. Because it calls on the same Brandkit for every shot, the character, colors, and lighting style remain locked in. You are no longer prompting; you are directing an automated system.
To create a shot with a clean, professional, and commercial feel, you can use a pre-built workflow as your starting point.
Workflow code: #myup-ywpr-rqz6
Professional Sportswear Ad
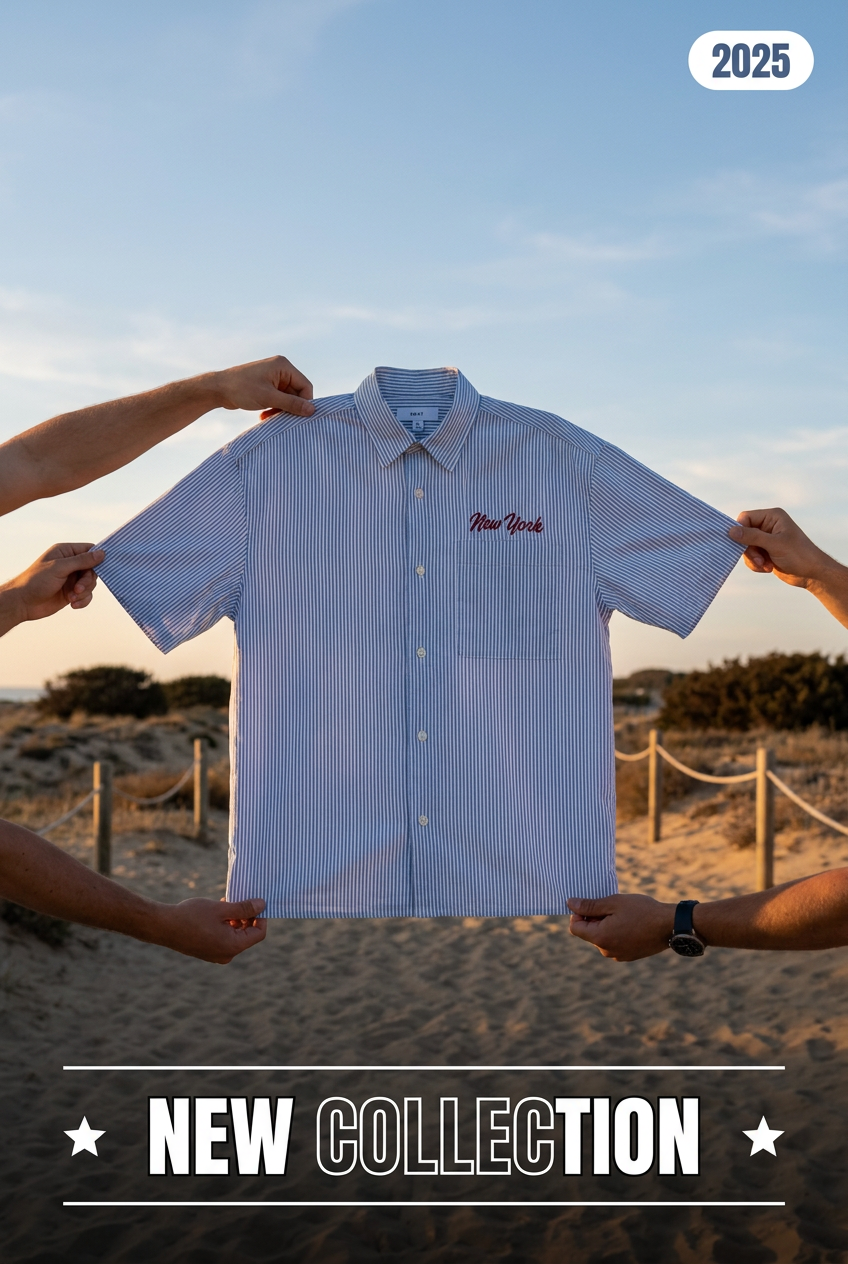
Suspends your apparel right in the center of a high-energy promo shot, held up by hands around the frame. It gives your shirts or jerseys a gritty, collaborative streetwear editorial look that feels alive and physical.
Regenerate using your own assets.
Step 3: Generate, review, and assemble your final storyboard
Run your workflow on the entire shot list. MyUP will process each line and generate a complete grid of storyboard panels that are visually consistent. This is where human control becomes essential. MyUP handles the repetitive production work, freeing you up to focus on creative validation.
Review the generated panels. Does a specific shot need a different camera angle? Does the character's expression need to be more intense? You can easily select a single panel, adjust the prompt for just that shot (e.g., add 'eyes wide with fear'), and regenerate it without affecting the others. The core consistency is maintained by the Brandkit, while you provide shot-by-shot creative direction.
Once you've approved all the panels, you need to assemble them into a presentable storyboard format. You can use a collage-style workflow to quickly arrange your final frames into a clean, shareable document for your team or client.
Workflow code: #myup-sacz-tjdn
Y2K Scrapbook Collage Creator
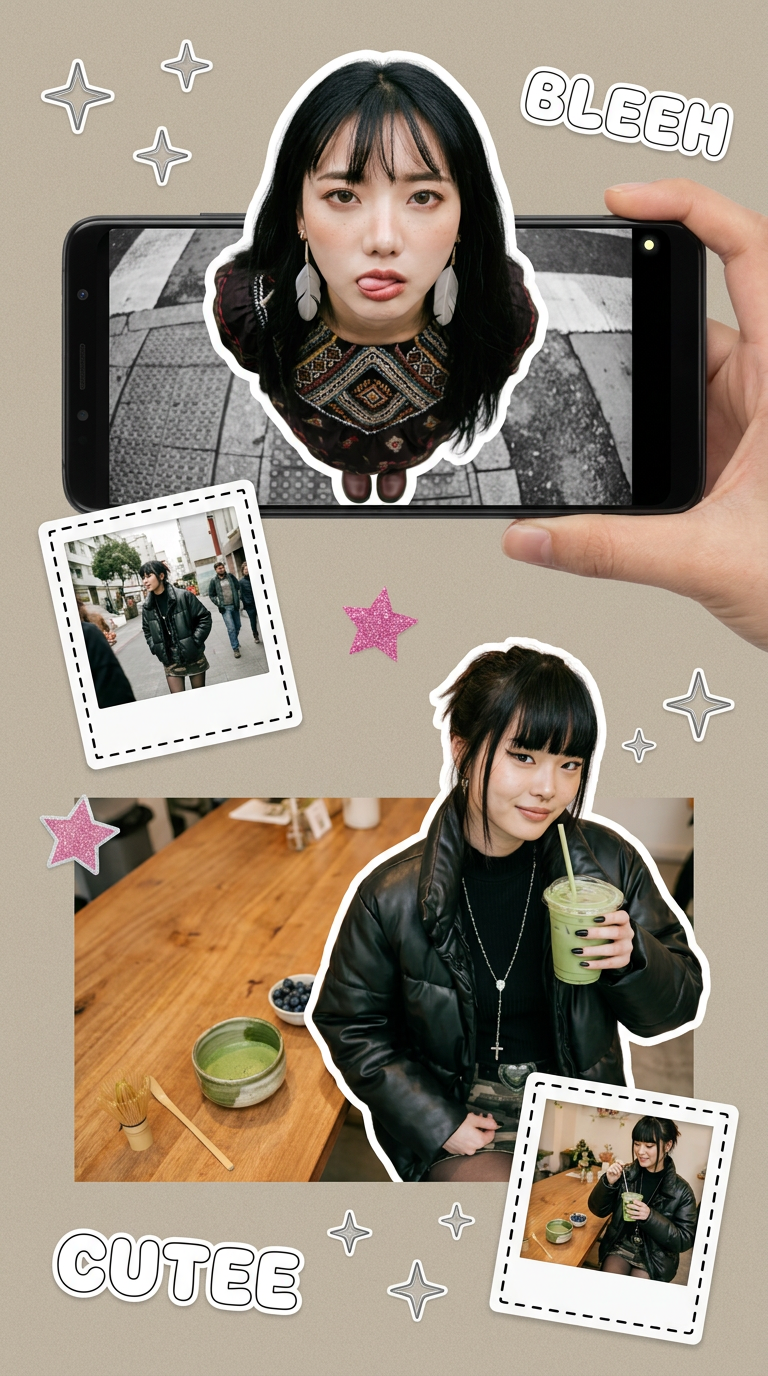
Put two different people into the same scene without losing their real-world features. Just upload two portraits and drop them together into any setting or style you need. It keeps both faces incredibly accurate.
Regenerate using your own assets.
Beyond the storyboard: from consistent frames to consistent video
A consistent storyboard is more than just a pre-production asset; it's the foundation for consistent AI video. Each panel you create serves as a strong keyframe reference for video generation models. By establishing a locked-in visual identity in your Brandkit, you ensure that the leap from static image to moving picture is coherent and on-brand.
This systematic approach is the key to producing any form of sequential narrative, whether it's a short film, an ad campaign, or even a comic book. The principles of a central style guide and an automated workflow apply universally, solving the core challenge of consistency that plagues most AI-driven creative projects. You can see this same workflow applied to create panel-by-panel stories in our tutorial for making an AI comic with consistent characters.
