You’ve seen the viral posts on X and the sprawling Reddit threads. An artist shares a stunning four-panel AI comic strip, and the first reply is always the same: “How did you get the character so consistent?” The answer is usually a painful mix of training custom LoRAs, wrestling with ControlNets, and hours of manual Photoshop surgery to fix a jawline that drifted between panels.
As of July 2026, character consistency is the final boss for any creator trying to tell a story with AI. You have a great script and a clear vision, but your protagonist looks like a different person in every shot. This isn't a failure of your prompting skills. It's a failure of the tool's design. This guide provides the systematic workflow to fix it for good.
Why your AI comic characters look like strangers in every panel
The core problem is simple: most popular AI image generators, from Midjourney to Stable Diffusion, are built to create stunning, single-shot photographs. They are optimized for the perfect, isolated image, not for sequential narrative. They excel at what we call style consistency—replicating a lighting setup, a color grade, or an artistic medium. Adobe Firefly’s ‘Style Match’ is a powerful example of this, but it won’t stop your character’s eye color from changing when they turn their head.
Comics, webtoons, and storyboards don’t need style consistency alone. They require entity consistency. A character is an entity, a collection of fixed attributes that must persist across different actions, emotions, and scenes. When you rely on prompt-and-pray generation, you are asking a photography tool to do a continuity director's job. It will fail every time.
Step 1: Build your 'Character Bible' in a MyUP Brandkit
Instead of hoping the AI remembers your character, you need to give it a rulebook it can’t ignore. In MyUP, this rulebook is the Brandkit. While often used for logos and color palettes, for a storyteller, the Brandkit becomes a powerful 'Character Bible'.
A character isn’t just a face; it’s a set of rules. A Brandkit is where you write those rules. Instead of putting all the details in a long, complex prompt, you define each character as a distinct asset. This gives the AI a permanent reference point for every generation.
Here’s how to set it up in MyUP:
- Create a New Brandkit: Name it after your comic, for example, “Project Nova.”
- Add a Character Asset: Don’t upload an image. Instead, create a text-based asset. Name it after your character, e.g., “Jax.”
- Define Core Attributes: In the description for “Jax,” list the non-negotiable visual traits. Be specific and concise. For example: “Jax: A male space smuggler, late 20s. Shaved head with a single cybernetic red eye. Wears a patched-up brown duster coat over a grey thermal shirt. Always has a confident smirk.”
By doing this, “Jax” is no longer a random collection of words in a prompt. He is a defined entity within your MyUP workspace. You can now call him into any workflow, and the system will always refer back to this central source of truth.
Step 2: Design your world's visual DNA
Your characters need a consistent world to live in. The same Brandkit that holds your Character Bible can also define your comic's overall aesthetic. This ensures the backgrounds, mood, and panel art feel unified.
Create another asset in your Brandkit called “World Style.” Here, you can define the rules for the art itself:
- Art Style: “Gritty cyberpunk manga style, heavy cross-hatching, high contrast black and white with selective color pops of neon red.”
- Color Palette: Define your primary colors (e.g., #FF0000 for the neon red, #1a1a1a for deep blacks).
- Mood: “Oppressive, rain-slicked streets, towering megastructures, noir lighting.”
Getting this right is crucial for a professional look. We cover the specific techniques for locking in a visual aesthetic in our guide to achieving a truly consistent AI illustration style.
Step 3: The workflow for generating a single, perfect panel
With your Character Bible and World Style defined in the Brandkit, you can now build a reliable production workflow. Start with a single panel. In MyUP, a workflow is a series of repeatable steps that combines your assets with an action.
Your prompt for a single panel now becomes incredibly simple and powerful. Instead of a messy paragraph, it’s a structured command:
“Create a panel showing [Character: Jax] hiding behind a noodle stall in a crowded alley, looking nervous. Apply the [World Style: Project Nova].”
MyUP understands that [Character: Jax] and [World Style: Project Nova] are calls to your Brandkit. It pulls the detailed rules you wrote and applies them to the specific scene description. The human (you) provides the narrative direction; the AI handles the complex visual execution based on your established rules. This is how you get a perfect, on-model panel every time. You can even use a pre-built style workflow to experiment with different visual treatments for your character.
Workflow code: #myup-msop-hlxf
Retro Zine Style Event Poster
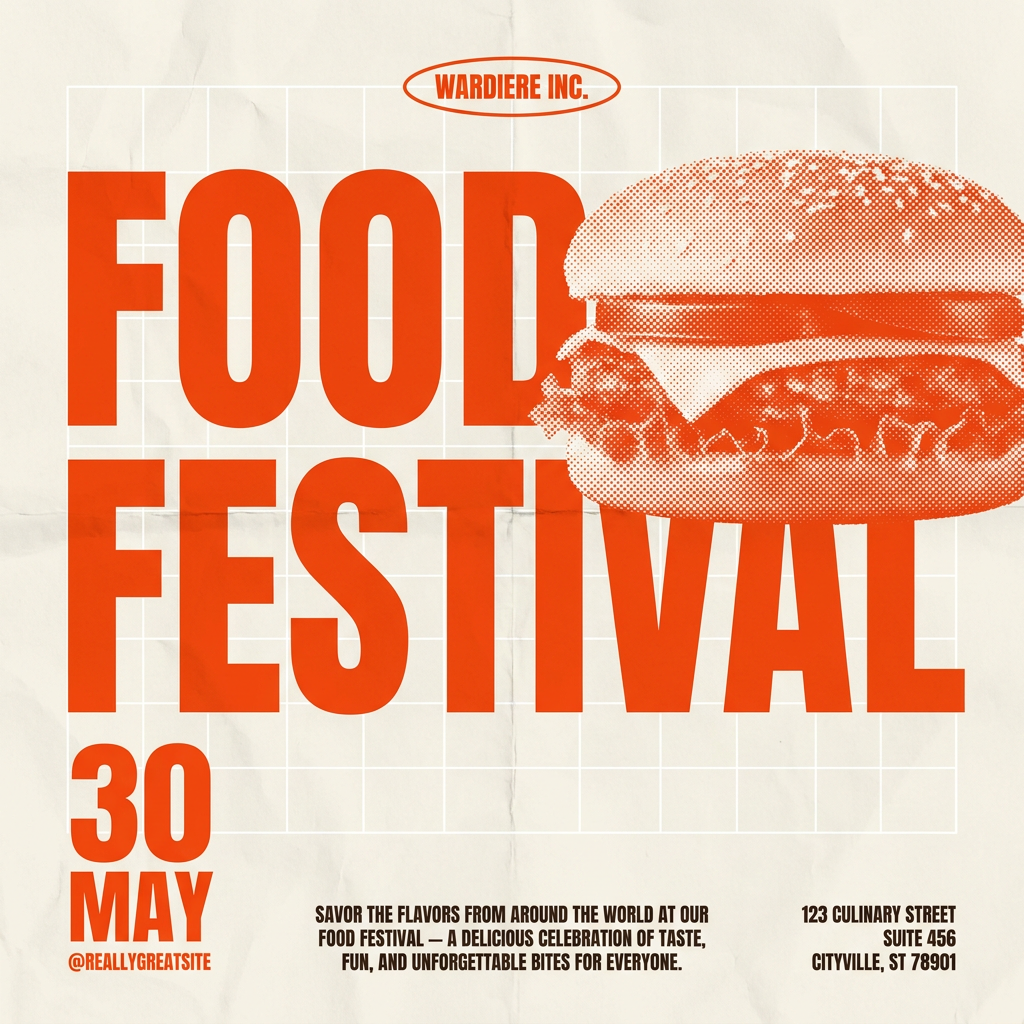
Give your social posts a gritty, analog zine aesthetic. It layers a crumpled paper texture and a subtle grid over a warm cream background to make any event graphic look like a tactile, photocopied flyer. Perfect for DIY gigs and bold promos.
Regenerate using your own assets.
Step 4: From single panels to a full comic page
Generating one perfect panel is a huge step. But stitching them together manually is still a bottleneck. A true AI comic generator needs to understand page layout. MyUP workflows can be designed to produce structured, multi-image outputs, not just single images.
You can create a workflow that generates a three-panel strip or a six-panel grid in a single run. Each step in the workflow would generate a different panel, but all steps would reference the same Character Bible and World Style from your Brandkit, ensuring absolute consistency across the entire page.
This is where automation moves you from artist to art director. You design the system once, then feed it your script, panel by panel. The 'Bold Editorial Grid Poster' workflow is an excellent starting point for building multi-panel layouts. It understands how to arrange multiple images into a cohesive whole, a principle you can adapt for your comic pages.
Workflow code: #myup-n0bi-2wzk
Bold Editorial Grid Poster
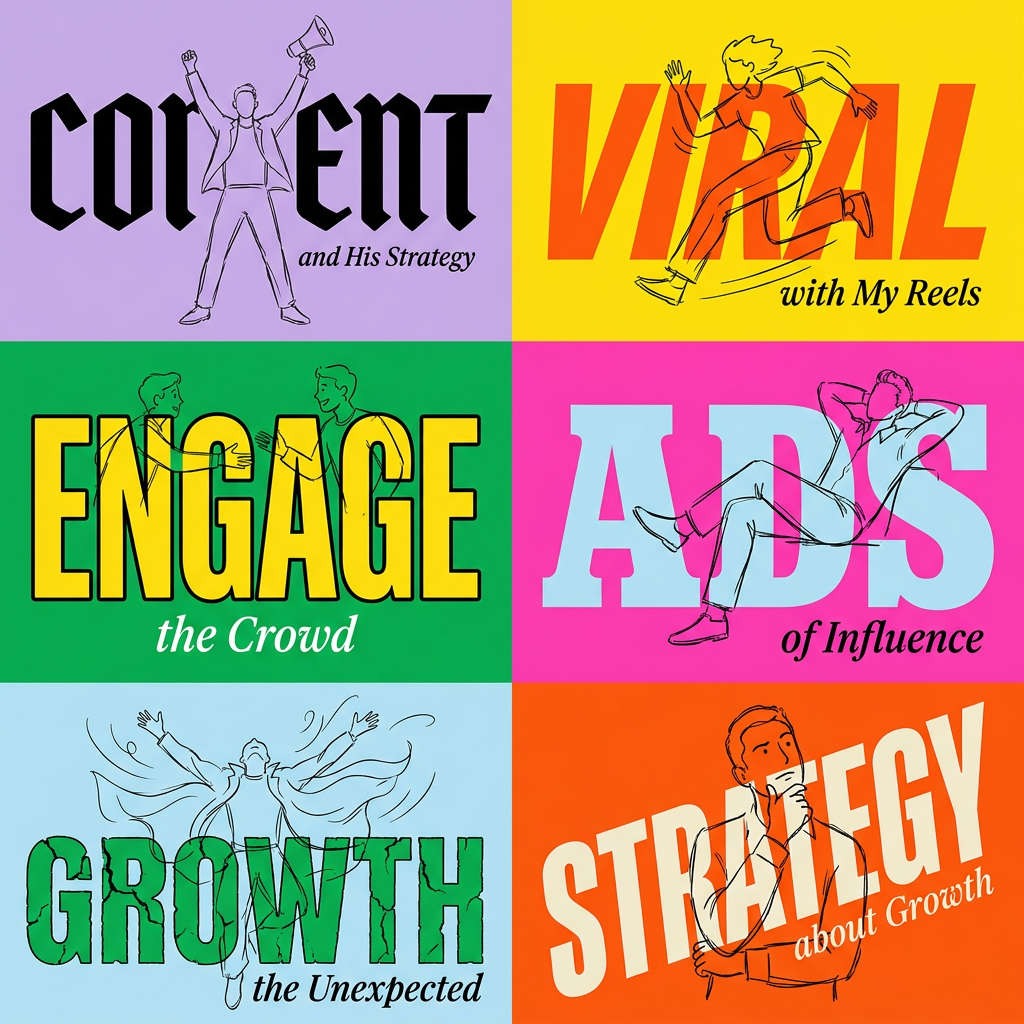
Create striking 2x3 editorial posters with six seamless, flat-color square cards in a perfect 4:5 grid. There are absolutely no gaps between the blocks, giving your content a bold, high-contrast magazine layout. It looks incredibly clean on any social feed.
Regenerate using your own assets.
Step 5 (Bonus): Create your comic cover and promo art
The power of the Character Bible extends beyond the comic's pages. Because your characters are defined as reusable assets, you can pull them into any other workflow to create promotional materials. Need a high-impact cover, a social media announcement, or a poster?
Simply start a new workflow and call your character into a different context. For example, you could use a workflow designed for a high-fashion magazine cover to create a dramatic, stylized portrait of your main character for the cover of Issue #1. The core features of the character will remain consistent, but the style and composition will be tailored to the new format.
This saves you from having to redraw or re-prompt your character from scratch for every marketing asset. Your Brandkit becomes the single source of truth for your entire intellectual property. Try it with the 'High-End Editorial Fashion Magazine Cover' workflow to see how easily you can repurpose your character for promotional art.
Workflow code: #myup-yk1h-uqy8
High-End Editorial Fashion Magazine Cover
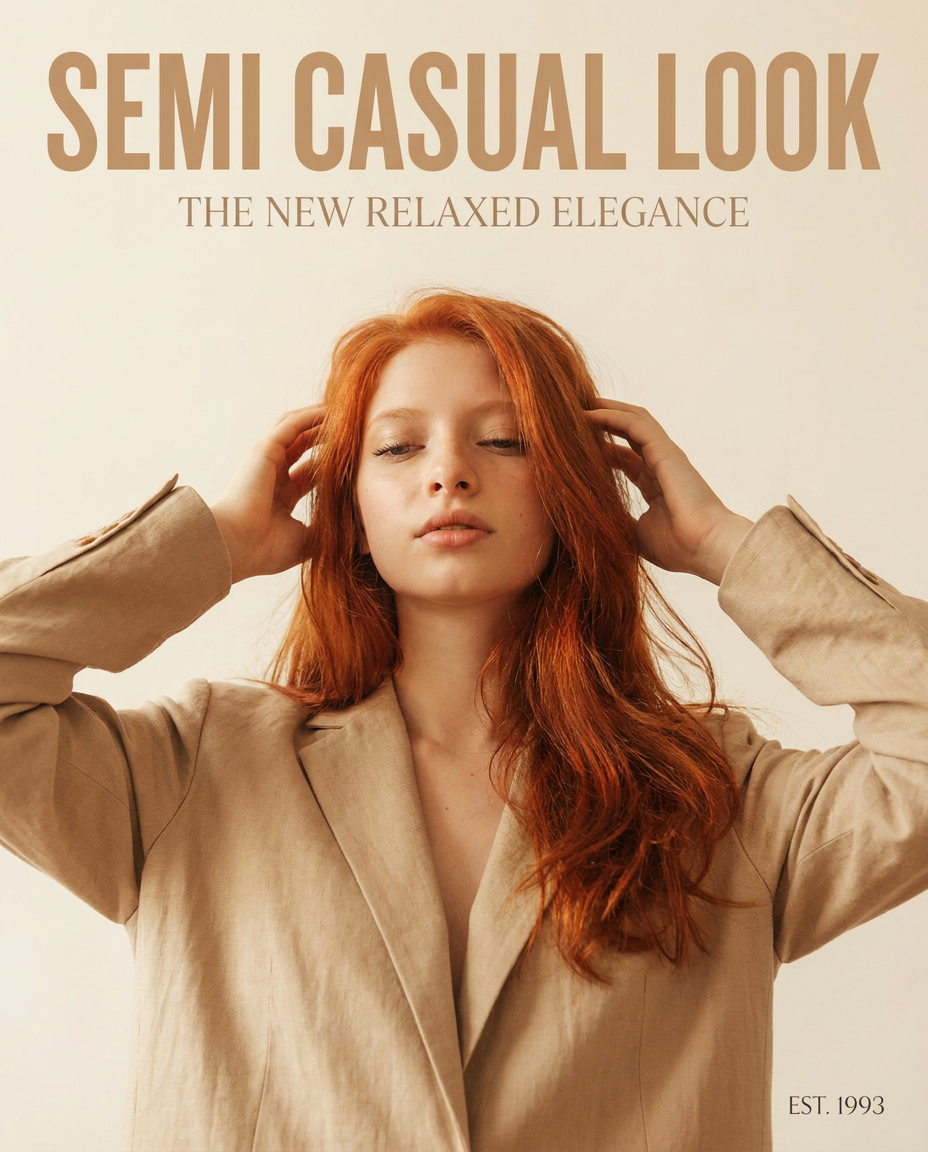
Drop in any portrait and turn it into a high-end editorial magazine cover. It frames your subject beautifully with relaxed, high-fashion posing and soft styling for a polished print aesthetic.
Regenerate using your own assets.
You're the director, not the gambler
The frustration with AI character consistency comes from treating creation like a slot machine. You pull the lever (write a prompt) and hope for a jackpot. This is a slow, unreliable, and ultimately uncreative process.
The MyUP approach is different. By building a Character Bible in a Brandkit and executing with structured workflows, you change your role from gambler to director. You establish the rules of your world and the look of your cast. You provide the creative spark and the story beats. MyUP handles the production, ensuring that the character you designed on page one is the exact same character who completes their arc on page twenty-two. This is the real workflow for consistent AI characters that lets you focus on what matters: telling a great story.
