
You’ve scrolled past them on TikTok and X: slick, compelling trailers for movies that don’t exist, all generated by AI. Some are stunningly coherent, telling a miniature story with a consistent hero and a defined visual world. Others fall apart after the first shot, with characters who change faces and styles that shift from scene to scene. The difference isn't a magic prompt. It's a professional workflow.
The creators nailing this trend aren't just typing 'make a movie trailer'. They're doing pre-production. They're breaking down a script, creating a shot list, and defining a visual identity before they generate a single frame. This is the part of the process most AI tools ignore, and it's why your results feel random and disconnected. This tutorial lays out the exact four-step workflow to go from a simple idea to a complete, cinematic storyboard where every panel tells the same story.
Why your AI characters change in every shot
The core problem is consistency. When you ask a generic AI image generator for 'a woman in a trench coat in a rainy city,' it has no memory of the woman it created for your previous shot. It generates a new woman, a new coat, and a new city every time. Trying to fix this with complex, multi-line prompts is fragile and time-consuming. You end up wrestling with the tool instead of directing your story.
A professional storyboard isn't a collection of random images; it's a narrative blueprint. To achieve this with AI, you need a system that acts as your project's 'Director of Photography'—a single source of truth for your visual identity. This is where a platform built for workflows, not just one-off images, becomes essential.
On MyUP.ai, you solve this problem systematically. Instead of relying on a fragile prompt, you create a Brandkit that stores your visual DNA: character features, color palettes, lighting styles, and even camera lens characteristics. The Brandkit is applied to every single panel you generate, ensuring the character from frame one is the same person in frame twelve. MyUP handles the production; you validate the creative direction.
Step 1: Break your script into a cinematic shot list
Before you can visualize a story, you need to structure it. Professional filmmakers don't just shoot a script; they break it down into a shot list. This is your first step. A shot list translates your narrative into a series of specific camera instructions. It's the structured input that an AI workflow can understand and execute reliably.
Take a simple concept: a detective finds a clue in a futuristic city.
Your script idea might be: 'A detective walks down a neon-lit alley, finds a mysterious data chip on the ground, and looks up, concerned.'
Your cinematic shot list would be:
- SHOT 1: WIDE SHOT - Detective walking down a narrow, neon-lit alley in a futuristic city at night. Rain-slicked pavement.
- SHOT 2: INSERT SHOT - Close-up of a glowing data chip lying in a puddle on the ground.
- SHOT 3: MEDIUM SHOT - Detective kneels down, picking up the data chip.
- SHOT 4: CLOSE-UP - Detective's face, illuminated by the chip's light, looking up with a worried expression.
This structure turns a vague idea into a precise production plan. Each line item will become a distinct panel in your storyboard, ready to be fed into a MyUP workflow.
Step 2: Define your visual world with a Brandkit
With your shot list ready, the next step is to define the look and feel of your world. This is the most critical step for ensuring consistency. In MyUP, you do this once by creating a Brandkit for your project. Think of it as creating a style guide for your movie.
Your 'Sci-Fi Noir' Brandkit might include:
- Colors: A palette of deep blues, electric pinks, and dark greys.
- Characters: Define your 'Detective' with specific features: 'male, grizzled, late 40s, cybernetic eye, wearing a worn leather duster jacket.'
- Style: Lock in visual descriptors like 'cinematic lighting, high contrast, anamorphic lens flare, moody atmosphere, detailed cyberpunk aesthetic.'
By building this Brandkit first, you're telling the AI the non-negotiable rules of your world. You establish the visual language upfront, so every subsequent generation is automatically on-brand and consistent. This is how you move from generating random images to producing a cohesive visual narrative. To see how a powerful style can be defined and reused, try establishing a high-fashion look with a ready-made workflow.
Workflow code: #myup-yk1h-uqy8
High-End Editorial Fashion Magazine Cover
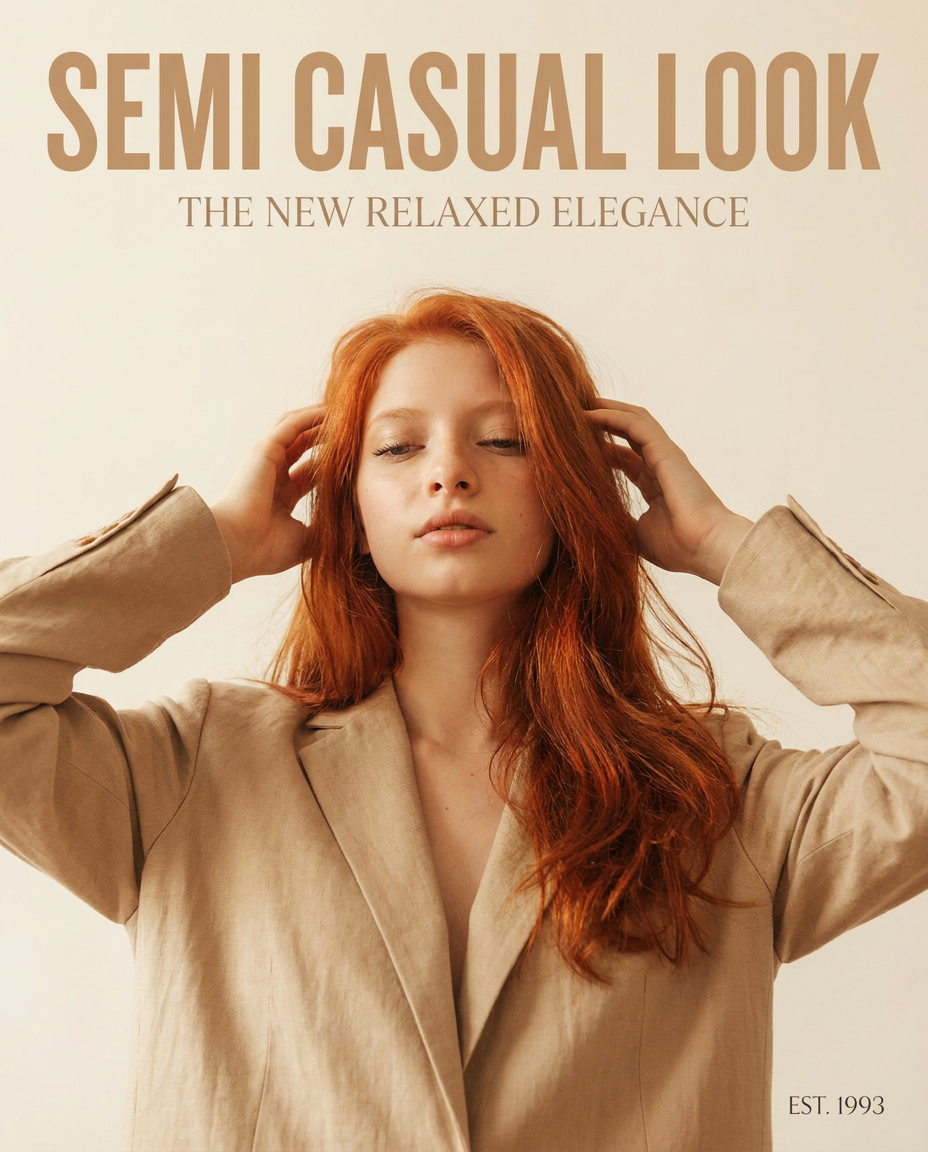
Drop in any portrait and turn it into a high-end editorial magazine cover. It frames your subject beautifully with relaxed, high-fashion posing and soft styling for a polished print aesthetic.
Regenerate using your own assets.
Step 3: The prompt workflow for a full storyboard
Now you combine your structured shot list (Step 1) with your visual identity (Step 2). MyUP's workflow system is designed for this kind of batch production. Instead of generating images one by one, you can feed your entire shot list into a single workflow that uses your Brandkit.
The process is simple: you create a workflow that takes each line from your shot list and combines it with the style parameters from your Brandkit. The AI will then generate all the panels in a single operation.
For example, the workflow will process:
- '[Brandkit: Sci-Fi Noir] + [Shot 1] WIDE SHOT - Detective walking down a narrow, neon-lit alley...'
- '[Brandkit: Sci-Fi Noir] + [Shot 2] INSERT SHOT - Close-up of a glowing data chip...'
- ...and so on for every shot.
Because the Brandkit is the constant, the detective's face, jacket, and the city's color grade remain identical across every frame. You are no longer prompting; you are directing a system. This is crucial for creating dynamic, on-brand scenes, like those needed for a high-energy product ad.
Workflow code: #myup-ywpr-rqz6
Professional Sportswear Ad
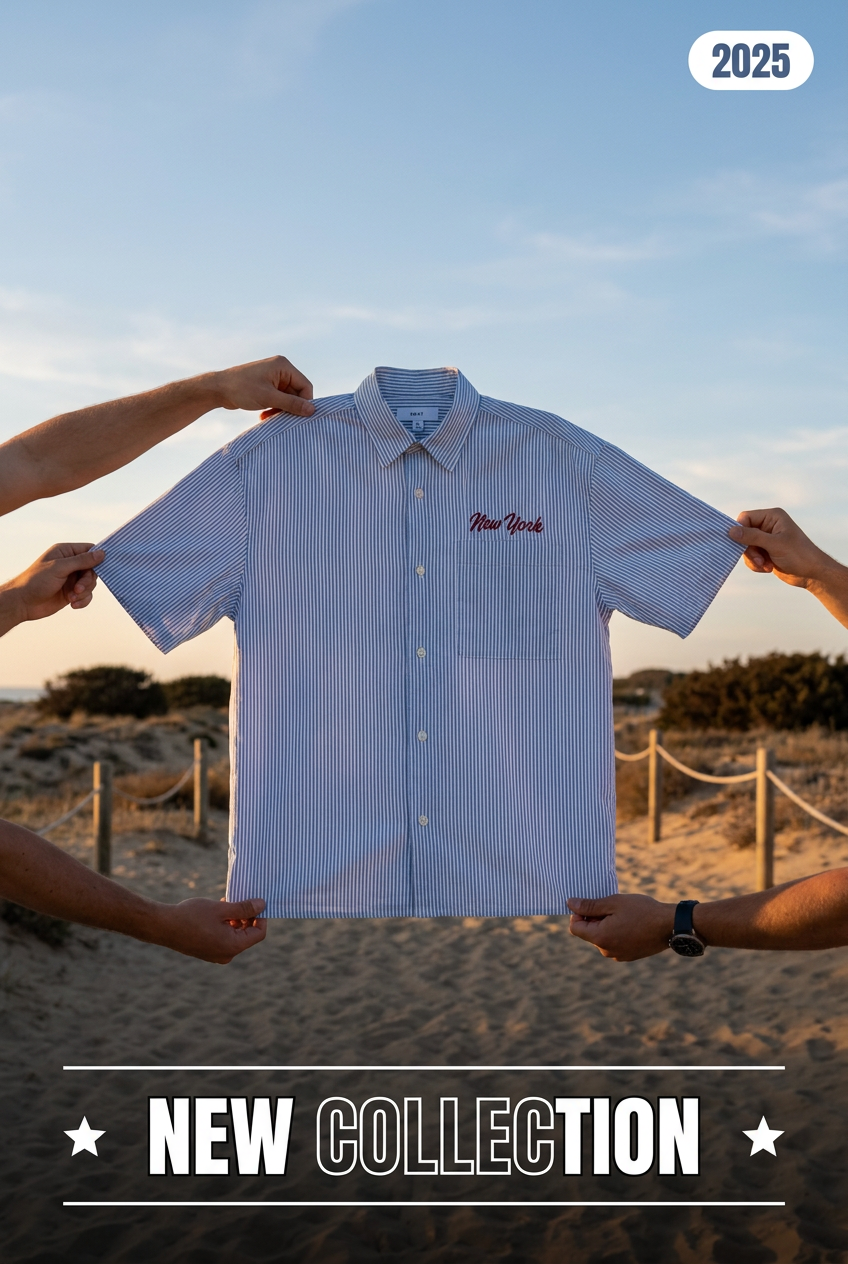
Suspends your apparel right in the center of a high-energy promo shot, held up by hands around the frame. It gives your shirts or jerseys a gritty, collaborative streetwear editorial look that feels alive and physical.
Regenerate using your own assets.
Step 4: Generate, review, and approve your final frames
With your workflow configured, you execute the generation. In a few minutes, MyUP will deliver a grid of 12, 16, or even more storyboard panels, all following your shot list and adhering to your Brandkit's visual rules. This is where the human control aspect becomes key. MyUP handles the repetitive production work, but you, the creative director, make the final approvals.
Review the full storyboard. Does the narrative flow correctly? Does a particular shot need a different camera angle? You can easily regenerate a single panel without disrupting the others, or adjust a detail in your Brandkit and run the entire sequence again. This iterative process gives you creative control without the manual labor, allowing you to perfect your visual story efficiently. The end result is a series of polished, consistent assets ready for the next stage of production.
Workflow code: #myup-tbky-nciq
Food Brand Poster
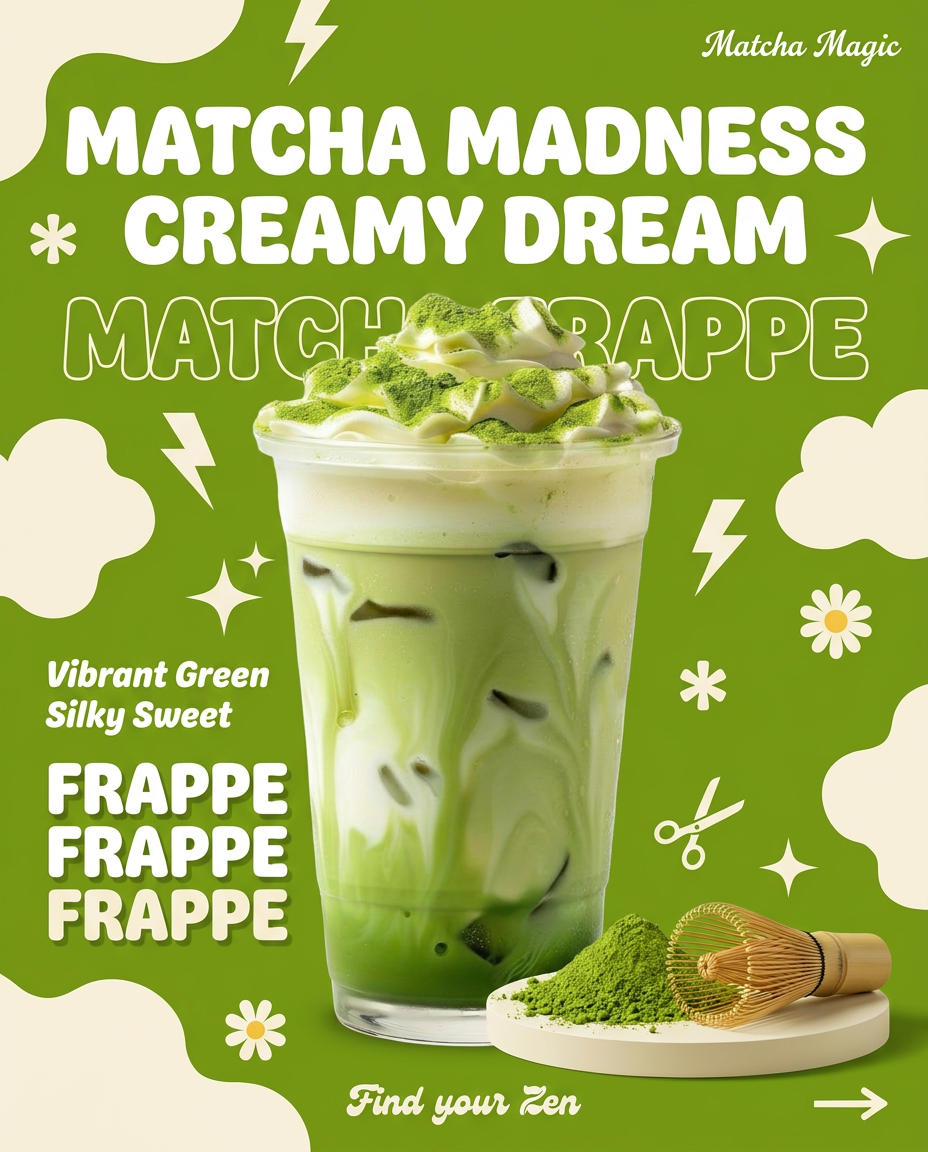
Instantly turn any food or drink product packaging into a bold, vibrant retro poster. The system automatically reads your bottle or box to grab its exact colors and ingredients, then crafts a perfectly coordinated vintage background around it.
Regenerate using your own assets.
Your storyboard is done. Now, make the movie.
You now have a professional, visually coherent storyboard that serves as the blueprint for your video, ad campaign, or social media story. This systematic approach—shot list, Brandkit, and workflow—is what separates random AI images from intentional, narrative-driven content. You've solved the consistency problem that trips up most creators.
A great storyboard is the foundation for everything that follows. With a set of consistent keyframes, the leap to generating video clips for each shot becomes dramatically simpler. You’ve already defined the world and its characters; now you just need to add motion. For a deeper dive into creating sequential visuals, explore our guide on generating a 50-frame storyboard in minutes.
