
You’ve crafted the perfect prompt. The composition is brilliant, the lighting is cinematic, and the subject looks exactly right. But then you zoom in and see it: a six-fingered hand, a thumb bending the wrong way, or a mangled collection of digits that ruins the entire image. It’s the most common and persistent frustration in AI image generation.
Endlessly re-rolling your prompt is a gamble that wastes time and credits. The professional solution isn’t a magic prompt—it’s a reliable workflow. This guide will show you the systematic, two-step process for generating your core image and then surgically correcting the hands, all within MyUP.
Why 'prompt-hacking' for hands is a losing game
Before we build the right workflow, we need to understand why the most common approach fails. Simply adding phrases like “perfect hands,” “anatomically correct,” or “five fingers” to your prompt is unreliable. AI models struggle with hands for a few key reasons:
- Anatomical Complexity: Hands are incredibly complex, with 27 bones, numerous joints, and a vast range of possible poses. They are one of the most intricate parts of the human body.
- Data Scarcity: While image models are trained on billions of images, hands are often partially obscured, in motion, or a minor part of the overall picture. The model has less clear, high-quality data for hands compared to faces.
- Occlusion and Perspective: A hand can look dramatically different from various angles or when gripping an object. This variability makes it hard for the model to learn a single, consistent representation.
When you try to solve this complex anatomical problem in a single, massive prompt, you're asking the AI to get everything right at once. A much more efficient strategy is to separate the tasks: generate the overall scene first, then focus the AI’s attention exclusively on fixing the small, problematic area.
The systematic workflow for fixing hands in MyUP
The professional approach is a simple but powerful generate-and-refine process. Instead of trying to achieve perfection in one go, you break the task into two distinct steps inside a single MyUP workflow. This gives you precise control, saves time, and produces consistently usable results for your brand assets.
- Generate Your Initial Image: Focus your main prompt on the overall composition, style, and subject. Get the 95% of the image that works.
- Isolate and Refine with Inpainting: Use MyUP’s integrated editing tools to select only the flawed hands and regenerate them with a new, highly specific prompt.
This method allows the user to validate the initial concept and then direct MyUP to execute the detailed repair work. You are in control; MyUP handles the production.
Step 1: Generate your initial image
First, focus on the big picture. Let’s say you’re creating a magazine cover. Your prompt should describe the model, the setting, the lighting, and the overall mood. Don't obsess over the hands at this stage. The goal is to get an image that is creatively strong, even if it has minor flaws.
In MyUP, you can use a template to accelerate this process. For example, the High-End Editorial Fashion Magazine Cover template is designed to produce stunning, professional shots right away. You provide the core details, and the workflow handles the stylistic elements.
Workflow code: #myup-yk1h-uqy8
High-End Editorial Fashion Magazine Cover
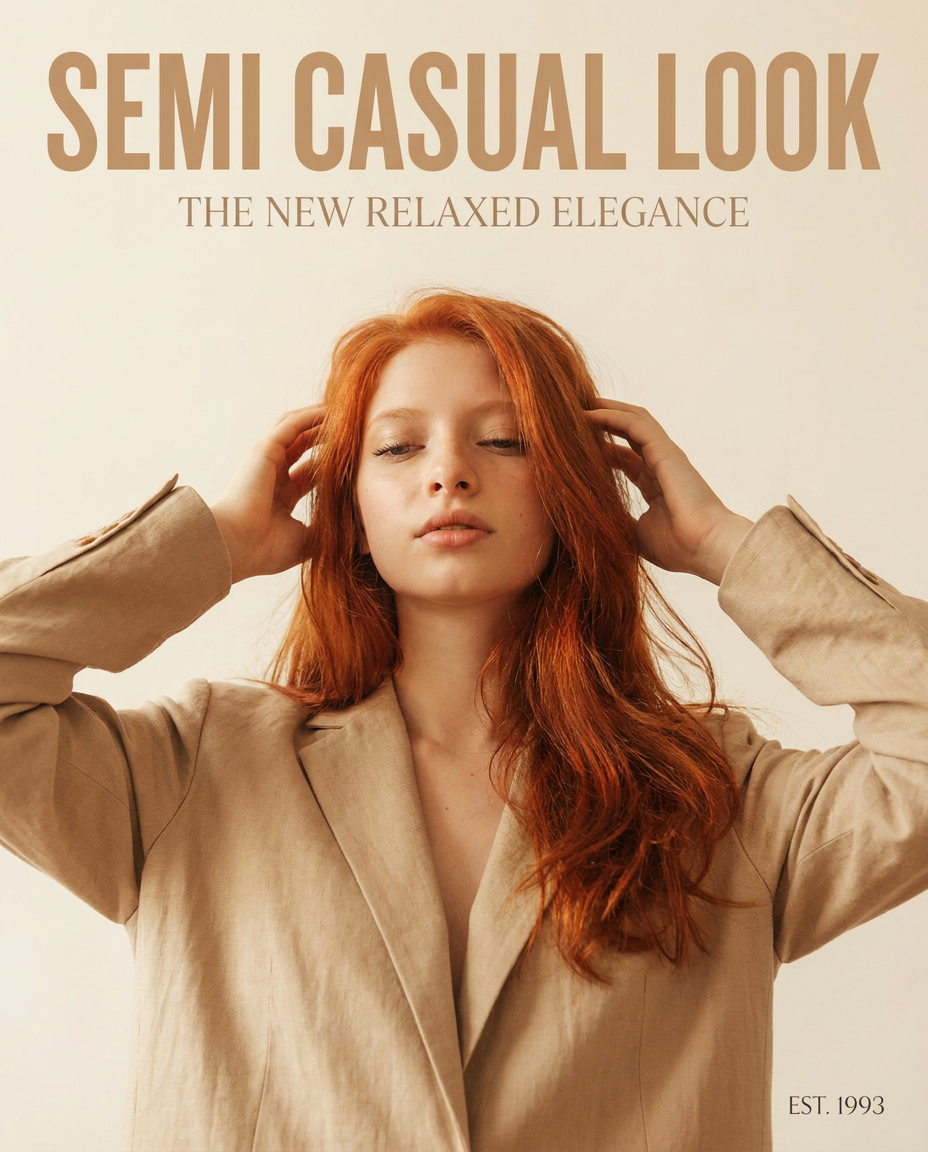
Drop in any portrait and turn it into a high-end editorial magazine cover. It frames your subject beautifully with relaxed, high-fashion posing and soft styling for a polished print aesthetic.
Regenerate using your own assets.
Once you run the workflow, you’ll get your image. The model looks great, the style is perfect, but her hands holding the designer bag are slightly distorted. This is exactly what we expect. Now, instead of starting over, we move to the correction phase.
Step 2: Isolate and refine with inpainting
This is where the magic happens. Inpainting (or image-to-image editing) allows you to “mask” a specific part of your generated image and tell the AI to re-draw only that section. The rest of your perfectly good image remains untouched.
Within the MyUP workflow, you can add an image editing step. Simply use the brush tool to paint over the problematic hands. This tells the AI, “Ignore everything else and focus all your processing power right here.”
This integrated process is a huge time-saver. The alternative is downloading the image, importing it into a separate tool like Photoshop or a local Stable Diffusion instance, performing the inpainting, exporting it again, and then re-uploading it to your asset library. In MyUP, it’s just the next step in the same workflow.
Step 3: Master the correction prompt
Your prompt for the inpainting step needs to be different from your original one. It should be short, descriptive, and focused exclusively on the object you want to create: a realistic hand. Forget the background, lighting, and model’s expression—the AI already knows that from the rest of the image. Your job is to guide the detailed rendering.
Effective Positive Prompts
Be direct and specific. Describe the hand's appearance and action.
- “A woman's left hand with manicured nails, resting gently on a leather handbag.”
- “A man's hand, fingers slightly curled, realistic skin texture, clean fingernails.”
- “Close up of a perfectly formed human hand, five fingers, natural pose.”
Crucial Negative Prompts
The negative prompt is just as important. Here, you list everything you want the AI to avoid. This helps prevent the model from repeating its common mistakes.
--no extra fingers, fused fingers, missing fingers, deformed, disfigured, distorted anatomy, malformed, mutated, blurry, bad anatomy, poorly drawn hands
Combine your specific positive prompt with a strong negative prompt. Run the generation. Because the AI is only focused on a small, well-defined area, its chances of success are dramatically higher. You can re-run this step a few times with slight prompt variations until the result is perfect, without ever touching the rest of your image. This is the same principle used to fix garbled text in AI images—isolate and repair.
Putting it into practice: fixing hands for a product ad
This workflow is essential for any commercial project where hands are visible, especially in product advertising. Imagine creating an ad for a new sports watch. A distorted hand would instantly make the product and the brand look unprofessional.
You can start with a MyUP workflow built for this exact purpose, like the Professional Sportswear Ad. It creates dynamic shots of athletes in action. Generate your core image of a runner checking their watch. If the hand is flawed, simply add the inpainting step, mask the hand and watch, and use a correction prompt like:
“A male athlete's hand, wearing a black sports watch, detailed view of the watch face, realistic skin, well-defined fingers.”
This ensures your product is displayed perfectly, every time. It transforms AI image generation from a game of chance into a reliable production tool.
Workflow code: #myup-ywpr-rqz6
Professional Sportswear Ad
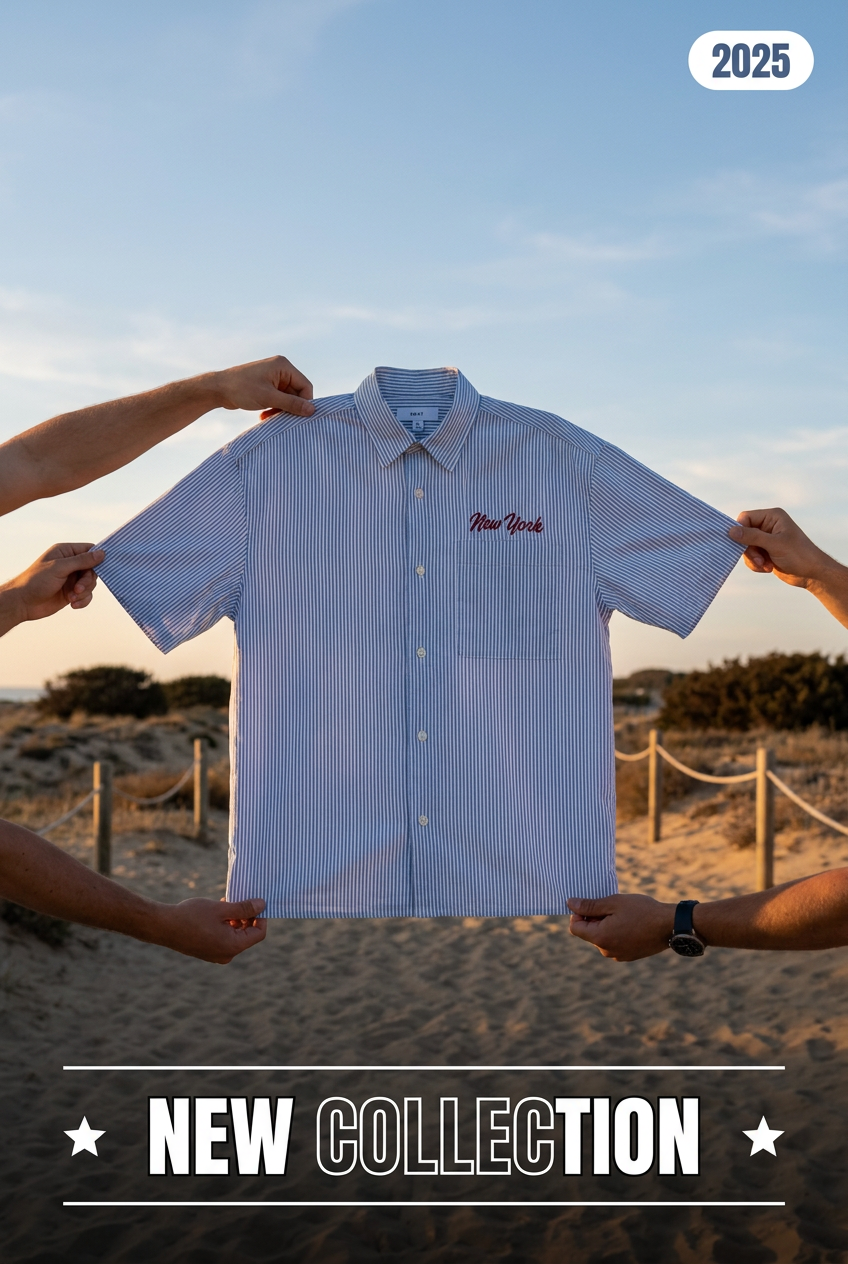
Suspends your apparel right in the center of a high-energy promo shot, held up by hands around the frame. It gives your shirts or jerseys a gritty, collaborative streetwear editorial look that feels alive and physical.
Regenerate using your own assets.
Stop gambling on generations, start building workflows
The secret to fixing AI hands isn't a secret prompt; it's a professional process. By separating generation from refinement, you gain the control needed for commercial-quality work. Re-rolling and hoping for the best is an amateur's game. Building a simple, two-step workflow in MyUP is how you deliver flawless creative assets on time, every time.
This approach—where you provide the creative direction and MyUP executes the iterative production—is the most efficient way to get polished, brand-aligned results from AI. It turns a common point of failure into a simple, solvable step in your content pipeline.
