
The launch of plugins like StageCraft AI for Revit on July 4, 2026, was met with predictable excitement. The promise of one-click virtual staging is compelling for any real estate professional, architect, or designer short on time. But as the first results filled social feeds, a familiar problem emerged: a sea of generic, stylistically detached rooms. The automation is there, but the vision is not.
These tools are great at filling a space, but they fail at communicating a specific design aesthetic. You get a vaguely 'modern' sofa and a predictable art print, but you lose control over the materiality, the lighting, and the cohesive story that sells a property. For professional use, where every image in a portfolio must reinforce a singular vision, this lack of control is a dealbreaker. This guide isn't about one-click results; it's about a professional workflow that delivers one-vision results, every time.
The professional workflow: from empty room to a cohesive vision
Automated staging is a gimmick. Professional visualization requires a system. Instead of generating one-off images and hoping for the best, the goal is to define your unique design language once and apply it systematically. This ensures every staged room, from the living area to the master bedroom, feels like part of the same home, telling the same story.
On MyUP.ai, this process is built around a workflow that combines your creative direction with AI execution. It breaks down into four clear steps:
- Define the Style: You translate your design aesthetic—be it 'Japandi minimalism' or 'Industrial Loft'—into a reusable MyUP Brandkit. This goes beyond color to include materials, textures, and mood.
- Generate the Base: Using an image of the empty room as a starting point, you use image-to-image generation to furnish the space according to your defined style.
- Refine the Details: You use inpainting to correct, add, or remove specific elements without regenerating the entire scene, giving you granular control. MyUP handles the production; you validate the results.
- Scale the Vision: Apply the same Brandkit and prompt structure to every room in the property for a perfectly cohesive virtual tour.
Step 1: Define your design aesthetic in a Brandkit
Consistency begins long before you upload a photo. It starts with defining the core components of your design vision. In MyUP, your Brandkit is the single source of truth for this vision. This isn't just for logos and fonts; it's for codifying an entire aesthetic.
For an architectural project, your Brandkit might specify:
- Materials: 'Light oak wood', 'honed marble', 'brushed brass fixtures', 'bouclé fabric'.
- Color Palette: 'Warm off-whites, slate grey, and a single terracotta accent'.
- Mood & Lighting: 'Bright, airy, soft morning light, minimalist'.
By storing these style descriptors, you ensure the AI has clear, consistent instructions for every image it generates. You're not just asking for a 'modern living room'; you're asking for a room that adheres to a pre-defined set of rules. This is the difference between a random output and a directed creation. Defining a clear style is the first step in any creative project, whether you're creating a marketing campaign or staging a home. For example, a simple poster requires a strong aesthetic direction to be effective.
Workflow code: #myup-k4td-9k6z
Minimalist Poster
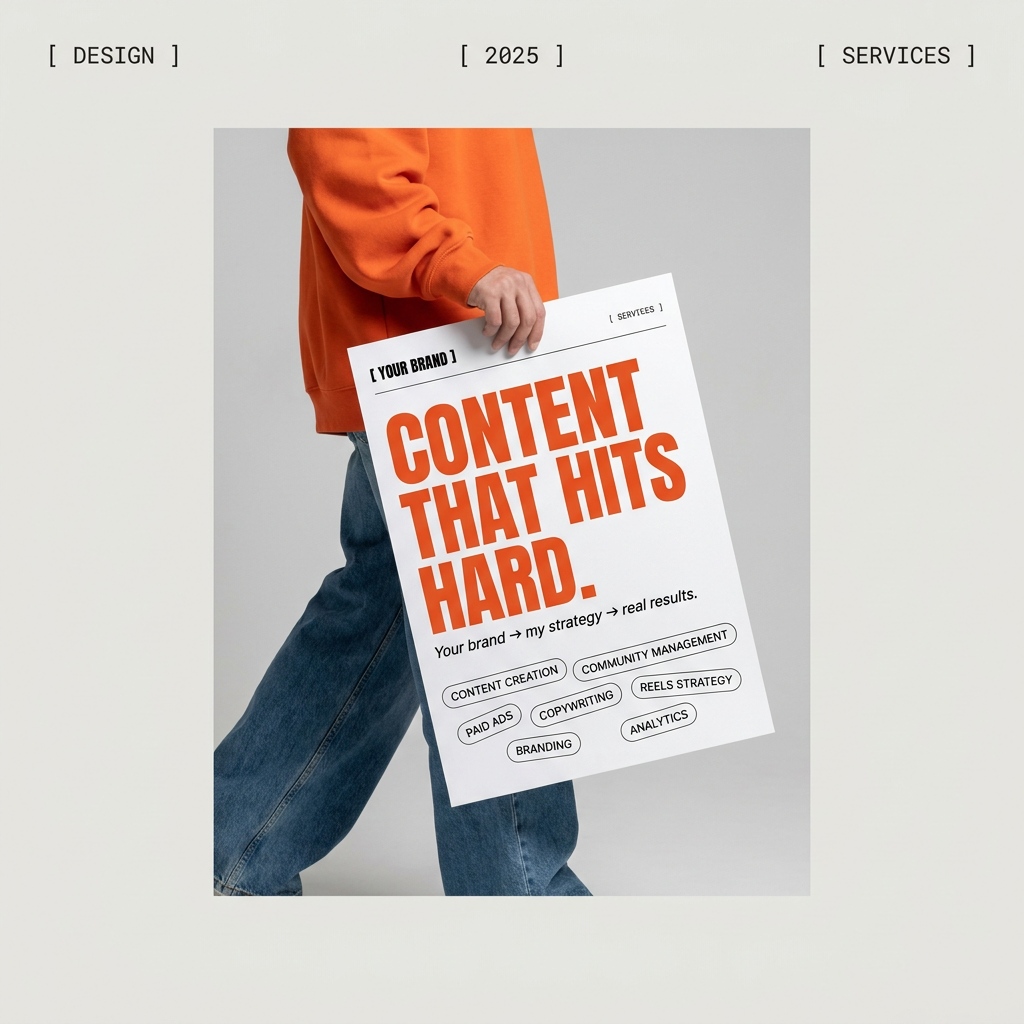
Give your social feed a clean, gallery-like aesthetic. This layout frames your images with structured mono typography and soft, neutral backgrounds for a high-end editorial look. It's perfect for minimal product launches or brand announcements.
Regenerate using your own assets.
Step 2: Generate the core design with image-to-image
With your design aesthetic defined in your Brandkit, you can now stage the empty room. This process uses image-to-image generation, which takes your source photo and transforms it based on your text prompt while preserving the original perspective, scale, and lighting.
Here’s how to execute this in MyUP:
- Upload Your Source Image: Start with a clean, well-lit photo of the empty room. The better the source image, the more realistic the final result will be.
- Write a Descriptive Prompt: This is where you combine the room's function with your Brandkit's style. Don't just say 'add furniture'. Be specific. For example: 'A bright, minimalist living room furnished in a Scandinavian style. Include a large, comfortable off-white sofa, a light oak coffee table, and two leather accent chairs. Large windows with sheer white curtains. Use the style defined in my Brandkit.'
- Adjust the Image Strength: This slider controls how much the AI adheres to your original photo versus your prompt. For virtual staging, you'll want a medium-to-high strength to add furniture convincingly without altering the room's core structure.
The goal is to produce a strong base image that is 90% of the way there. The combination of a clear visual style and a descriptive prompt is key to creating compelling advertising visuals for any product, from a sofa to a sneaker.
Workflow code: #myup-u4lt-o0ho
Studio Product Ad
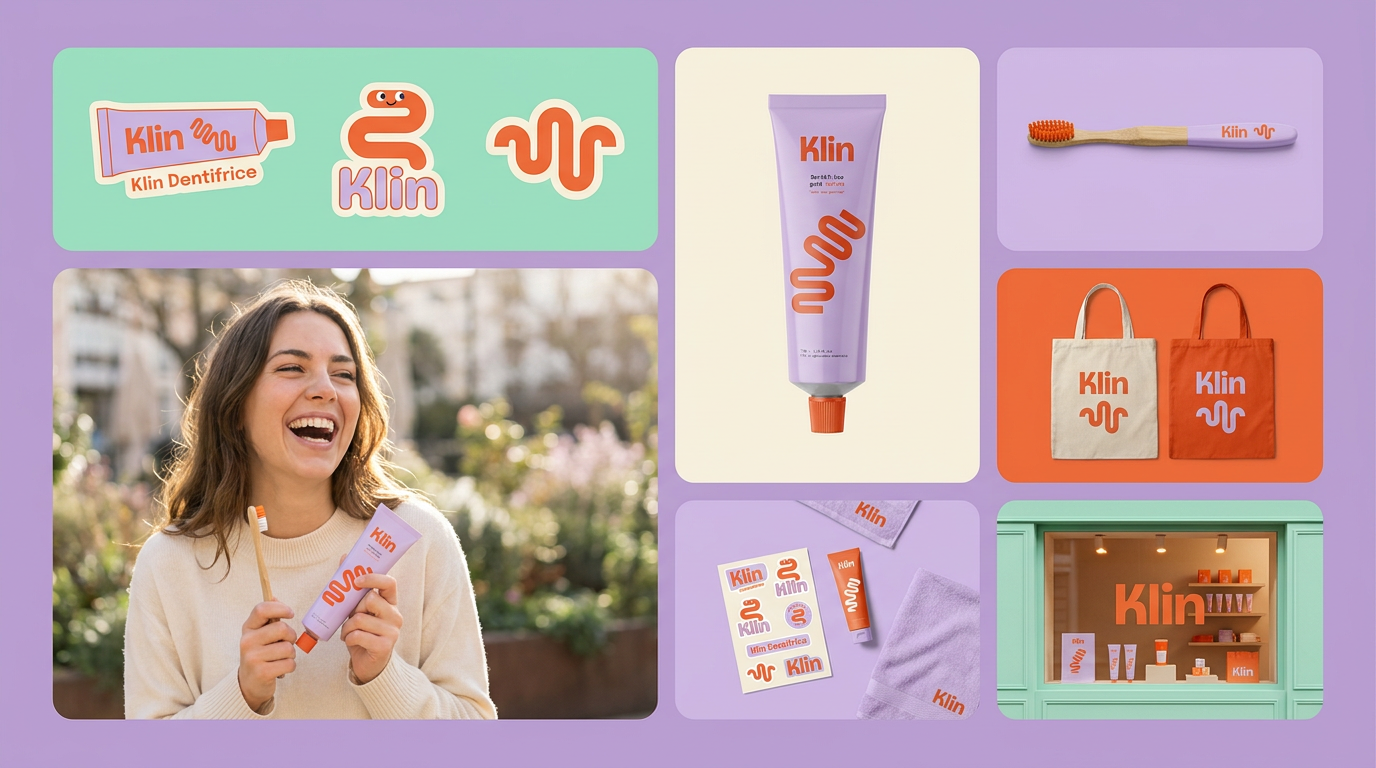
Drop in a single product photo to instantly build a cohesive visual identity. It automatically samples your item's dominant colors to generate a beautifully matched mosaic moodboard, giving your brand an instant, polished aesthetic.
Regenerate using your own assets.
Step 3: Refine and perfect the details with inpainting
No AI is perfect. Sometimes, a generated image will have a minor flaw—a leg of a chair might look awkward, a shadow might fall unnaturally, or a decorative object might not fit the scene. One-click tools offer no solution for this; you either accept the flaw or regenerate everything and hope for a better result. This is where professional control becomes essential.
MyUP's workflow includes inpainting (or 'generative fill') to solve this. Instead of starting over, you can target and fix specific areas of the image. For example, if the AI places a vase on a coffee table that you don't like:
- Mask the Area: Use the brush tool to select the vase.
- Prompt the Change: Write a simple prompt like 'a stack of art books' or simply 'remove'.
- Generate: The AI will regenerate only the masked area, leaving the rest of your perfectly staged room untouched.
This is the core of the MyUP philosophy: the user is in control. The AI executes the heavy lifting of production, but you make the final creative decisions and refinements. This ensures the final output meets your professional standards, something you can't guarantee when you give up control to a fully automated tool.
Step 4: Scale your vision, not just your images
The true test of a virtual staging workflow is not whether it can produce one beautiful image, but whether it can produce a dozen cohesive ones. Your goal is a virtual tour where a potential buyer feels they are walking through a single, thoughtfully designed property.
With your Brandkit established and a successful prompt structure from the living room, scaling this vision is simple. You move to the next empty room—the bedroom, for instance—and apply the same system:
- Upload the new photo.
- Adapt the prompt for the new space:'A bright, minimalist bedroom in a Scandinavian style. Include a king-sized bed with white linen bedding, two light oak nightstands, and a single leather armchair. Use the style defined in my Brandkit.'
- Generate, refine with inpainting, and repeat.
The result is a set of images that share the same materiality, color story, and overall mood. The light oak from the living room's coffee table is echoed in the bedroom's nightstands. The color palette is consistent. This is how you sell a lifestyle, not just a collection of rooms. Applying a consistent, high-end aesthetic is crucial for any campaign, whether you're marketing a luxury property or creating premium product mockups.
Workflow code: #myup-tc2h-gy9g
Luxury Editorial Product Photography

Get striking, high-end editorial shots focusing entirely on hands against minimalist backdrops. It strips away the distraction of faces to deliver a moody, fine-art look that's perfect for showcasing rings, nail art, or dramatic poses.
Regenerate using your own assets.
Going further: from virtual staging to virtual renovation
The same workflow that furnishes an empty room can also be used for the increasingly popular use case of 'virtual renovation'. This allows you to show potential buyers the hidden potential in a dated property, a powerful tool for accelerating a sale.
The process is nearly identical, but the prompts become more ambitious. Instead of just adding FF&E (Furniture, Fixtures, and Equipment), you instruct the AI to change the 'bones' of the room. Using a photo of an old kitchen, you could write a prompt like:
'Virtually renovate this kitchen. Replace the dark wood cabinets with modern, white shaker-style cabinets and brass handles. Change the laminate countertop to white marble. Replace the tiled floor with wide-plank light oak flooring. Add a kitchen island in the center. Use the style defined in my Brandkit.'
By setting a higher image strength, you allow the AI more freedom to transform the space while still using the original photo as a guide for layout and perspective. This workflow transforms AI from a simple decorating tool into a powerful visualization engine for architects and real estate agents, allowing you to sell a property's future, not just its present. To start creating your own visualizations, you can create a MyUP account and begin building your first Brandkit.
