
On July 22, 2026, Adobe shipped 'Branded Scene Templates' for Firefly. It was a major admission from an industry giant: the stock asset libraries inside AI video tools are failing. An AI avatar reading a script in front of a generic background isn't a professional training video; it's a slightly more advanced slideshow. The real problem isn't the avatar, it's the bland, off-brand world it inhabits.
You've likely felt this if you use platforms like Synthesia. You get a great avatar, but then you're stuck dropping it onto a stock photo of an office that looks nothing like yours. Adobe’s solution is a step in the right direction, but rigid templates aren't the answer. You don't need to customize a pre-built scene; you need to create an entire visual system that is native to your brand. This is the workflow for building that system in MyUP.
Step 1: Build your visual foundation with a Brandkit
Before you generate a single image, you need a single source of truth for your brand's visual identity. Trying to describe your brand colors and style in every single prompt is inefficient and leads to inconsistent results. This is where a Brandkit becomes the foundation of your entire production process.
In MyUP, you create a Brandkit by simply entering your company's URL. MyUP automatically analyzes the website and extracts your core color palette, typography styles, and overall aesthetic. It captures the DNA of your brand and stores it. This Brandkit is then automatically referenced in every subsequent workflow. You don't have to specify 'use our brand's shade of blue, #0033A0' ever again. The system just knows. This is the core of moving from one-off creations to a scalable system. The user—you—validates the output, while MyUP handles the consistent production.
Step 2: Generate a library of on-brand backgrounds
The most immediate visual upgrade for any training video is the background. It sets the tone and context. Instead of searching a stock library for 'clean office background', you can generate an infinite variety of scenes that are infused with your brand's identity.
Using your MyUP Brandkit, you can prompt for visuals that fit your specific needs. For example:
- 'A bright, modern and minimalist office interior with subtle brand-colored accents on the furniture. The background should be out of focus.'
- 'An abstract background with a soft gradient using the brand's primary and secondary colors.'
- 'A wide shot of a clean, professional workshop space with tools neatly arranged, lit with natural light.'
Because the Brandkit is active, the AI will interpret 'brand-colored accents' correctly every time, ensuring consistency across dozens of background options. This allows you to build a complete library of approved scenes that can be used by anyone on your team. To get started creating clean, professional scenes, this workflow is the perfect starting point.
Workflow code: #myup-xjaq-qhgx
Luxury Product Photography Studio
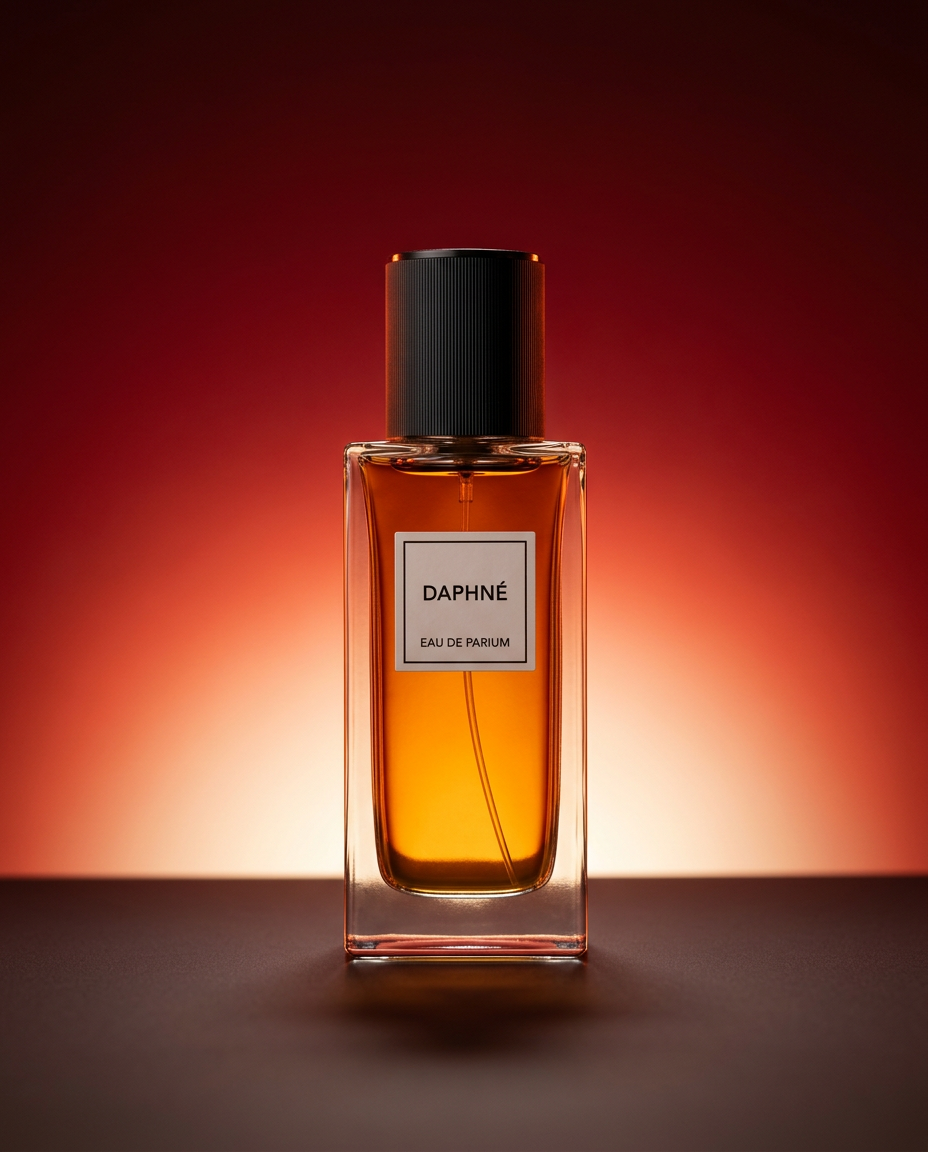
Drop your product into a dramatic, high-end studio setup. It places your item on a sleek flat surface against a rich crimson and orange cinematic gradient background. It's an easy way to get that moody, premium commercial look for any bottle, tech, or cosmetic.
Regenerate using your own assets.
Step 3: Create custom spot illustrations and icons
Effective training content often relies on simple graphics to explain complex ideas. But pulling generic icons from a library breaks the visual cohesion you're trying to build. Your video needs custom illustrations and icons that look like they belong to your brand, not like they were downloaded from a stock site.
With your Brandkit guiding the style, you can generate a complete set of on-brand visual aids. The key is to keep prompts simple and focused on a clear style. For instance:
- 'A minimalist, flat design icon of a handshake, using only the brand's primary color on a white background.'
- 'A simple line art illustration of a flowchart, using brand colors for the different steps.'
This process is not just for videos. Once you have a workflow for creating these assets, you can use it to produce visuals for all your corporate communications, from on-brand presentation visuals to internal documents. The following workflow is designed to generate clean, iconic graphics that are perfect for this purpose.
Workflow code: #myup-sygb-rhnt
Minimalist Vertical Product Advertising Poster
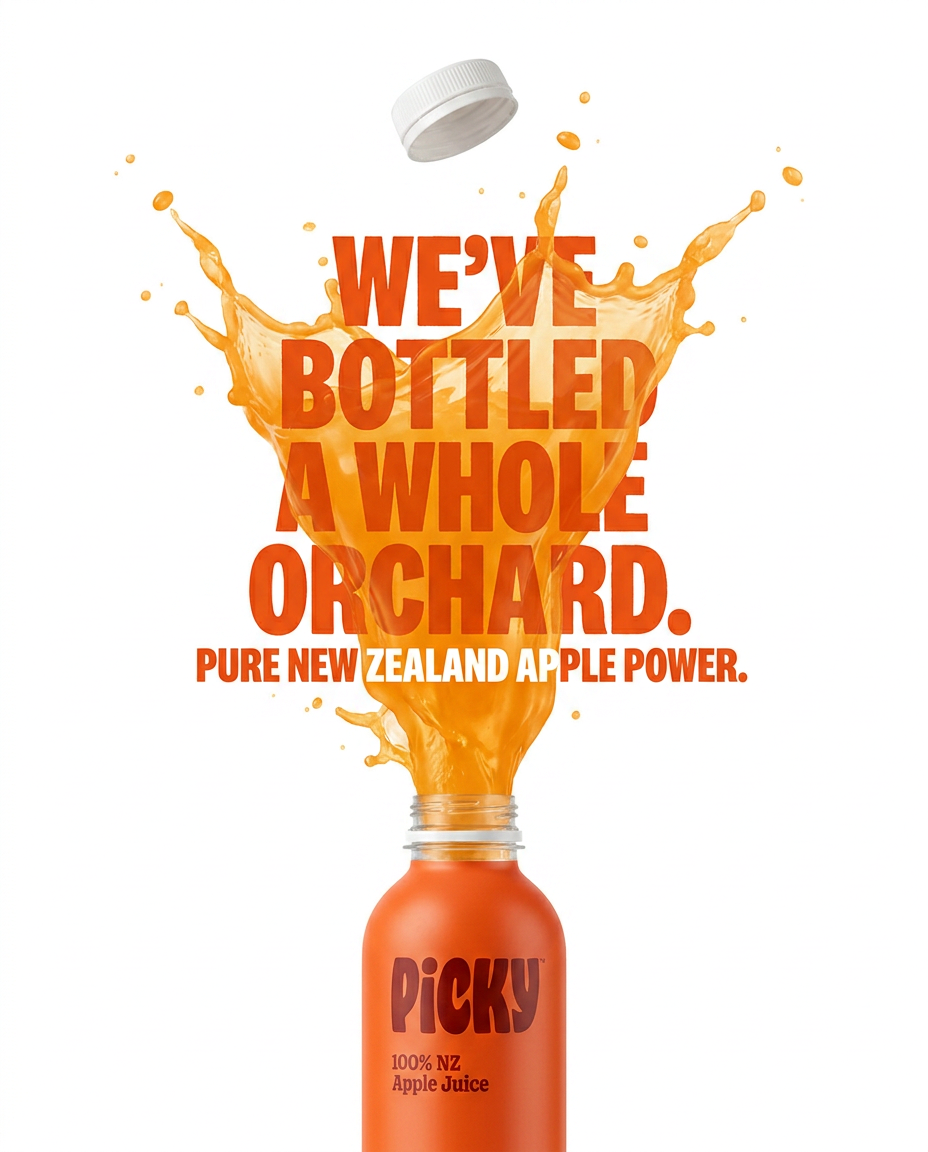
Drop the clutter and put your product in the spotlight. This setup places your item against a pure, seamless white background with a striking vertical flow that draws the eye straight up. It's perfect for creating clean, high-end studio posters.
Regenerate using your own assets.
Step 4: Design consistent title cards and chapter dividers
Professional videos have a clear structure. Title cards, lower thirds, and section dividers guide the viewer through the content. These are critical branding opportunities that are often overlooked. Instead of using your video editor's default text tool, you can generate these as complete, on-brand graphical assets.
In MyUP, you can create workflows that combine text and visuals to produce these structural elements. For example, a prompt could be: 'A title card for a training video. The title is 'Module 1: Introduction to Safety Protocols'. Use the brand's primary font for the title and place it over a subtle, abstract background using brand colors.'
By creating a template for these cards, you ensure every video in a series has the same professional look and feel. This workflow for creating bold, grid-based layouts is an excellent foundation for designing visually interesting and on-brand title cards.
Workflow code: #myup-n0bi-2wzk
Bold Editorial Grid Poster
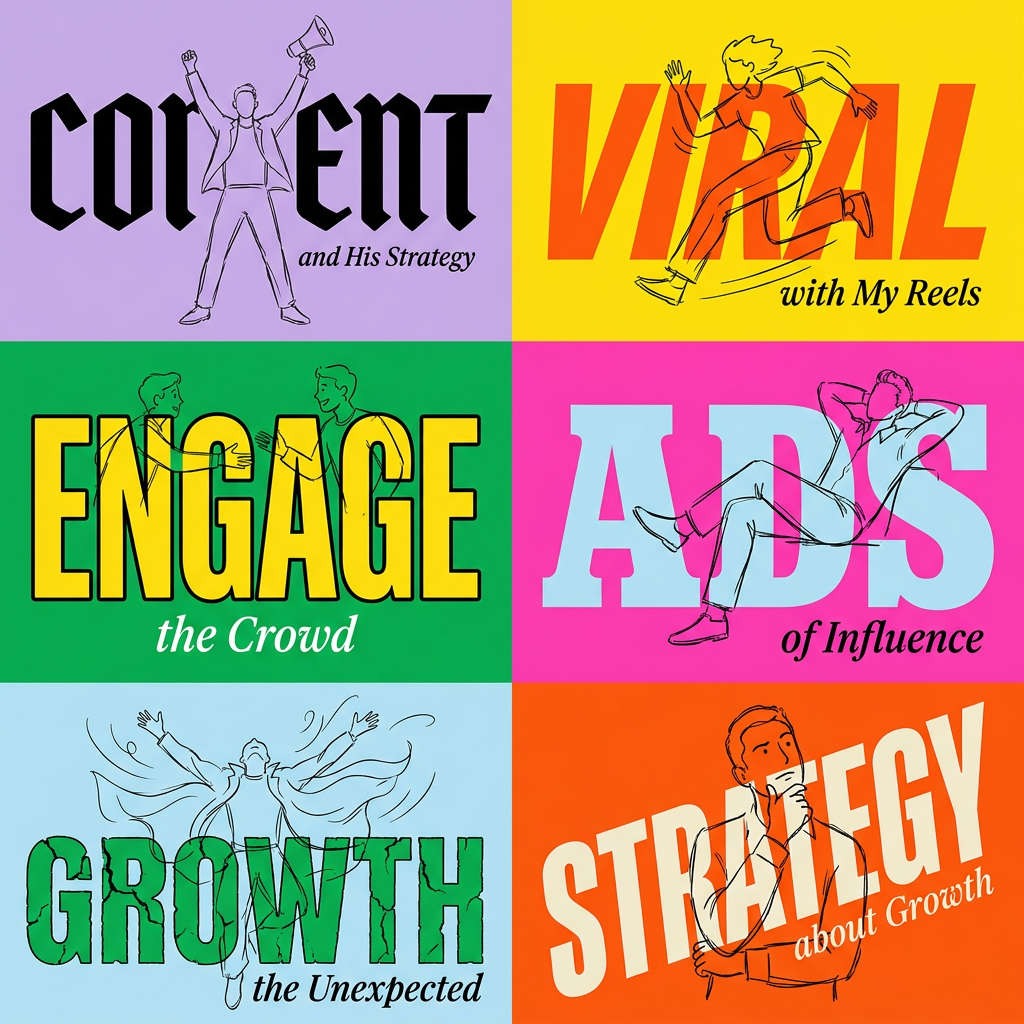
Create striking 2x3 editorial posters with six seamless, flat-color square cards in a perfect 4:5 grid. There are absolutely no gaps between the blocks, giving your content a bold, high-contrast magazine layout. It looks incredibly clean on any social feed.
Regenerate using your own assets.
From single assets to an automated system
Generating a single background or icon is useful. But the real power comes from turning these steps into a repeatable, automated system. Each of the workflows described above can be saved in your MyUP account. This creates a library of custom generators for your brand.
This is the fundamental difference between a workflow and a template. Adobe's 'Branded Scene Templates' give you a few pre-defined boxes to fill. A MyUP workflow allows you to build your own asset-generation machine. Once a workflow is saved, anyone on your team—even non-designers—can run it to produce perfectly consistent visuals for any new training video. This is how you scale content production without diluting your brand. You're not just making a video; you're building the entire branded world for it to exist in, a crucial step we also cover in our guide to branded assets for Synthesia's AI roleplay videos.
