You’ve seen the viral “fake movie trailers” flooding social media. They’re impressive feats of creative engineering, stitched together from five or six different AI tools for the script, images, video clips, and voiceover. They also reveal the central, painful truth of creating with AI in July 2026: getting one great shot is easy, but getting twenty shots that look like they belong in the same film is a nightmare of prompt-wrangling and rework.
The big model providers know this. It’s why Luma just added ‘Character Lock’ and Midjourney launched ‘Style Staging’ this month. These are necessary features, but they treat the symptom, not the cause. Visual consistency isn't a prompt problem to be solved with a new parameter. It’s a workflow problem.
A storyboard isn't a collection of individual images; it's a single, cohesive visual narrative. Standalone generators treat each panel as a fresh start, forcing you to fight for consistency shot after shot. A true AI storyboard generator needs a memory. This guide walks through the professional workflow for building that memory first, then generating the entire board in one automated run.
Step 1: Create your visual bible with a Brandkit
In professional pre-production, you don't start by drawing frames. You start by creating a visual bible—a document that defines the rules for the project's look and feel. It dictates color palettes, lighting styles, camera language, and overall mood. An AI workflow should operate the same way.
Instead of trying to cram all that stylistic information into every single prompt, you define it once. In MyUP, this is called a Brandkit. For a specific project like a storyboard, think of it as a 'Project Brandkit'—a disposable visual identity built for one purpose.
Here’s how you set it up in MyUP:
- Define the Style: Upload reference images or use descriptive text prompts to lock in the core aesthetic. Is it 'Ghibli-style watercolor, soft morning light'? Or 'gritty neo-noir, high contrast, neon reflections'? The Brandkit learns and stores this visual DNA.
- Set the Color Palette: Specify the exact hex codes for key colors to ensure every shot, from the opening to the climax, adheres to the same chromatic rules.
- Establish the Mood: Use keywords to define the emotional tone. Words like 'serene,' 'oppressive,' 'energetic,' or 'dreamlike' will guide the AI's interpretation across all generated panels.
This Brandkit becomes the visual memory for your project. It's a persistent, reusable asset, not a temporary parameter you have to remember. By doing this work upfront, you ensure the AI doesn't just generate an image; it generates a shot that belongs to *your* story.
Step 2: Turn your script into a structured shot list
Automation requires structured input. To generate an entire storyboard at once, you need to translate your script's narrative into a simple, machine-readable format. This doesn't require complex software—just a clear list.
Break your script down scene by scene into a shot list. A simple spreadsheet or a bulleted list in a text document is perfect. For each shot you want to visualize, create an entry with a few key pieces of information:
- Shot Number: A simple identifier (e.g., 1.1, 1.2, 2.1).
- Shot Type / Angle: Specify the camera work (e.g., 'Wide shot,' 'Low angle,' 'Over-the-shoulder shot,' 'Close-up on hands'). This gives you compositional control. For a deeper dive, see our guide to AI cinematic shots.
- Subject & Action: A concise description of what's happening in the frame. (e.g., 'A detective stands under a flickering streetlamp, rain soaking her coat.').
Your input might look like this:
Shot 1.1 | Establishing Shot | A futuristic city skyline at dusk, flying vehicles weave between towering skyscrapers.Shot 1.2 | Medium Shot | Kaelen sits at a holographic terminal, face illuminated by blue light.Shot 1.3 | Close-up | Kaelen's fingers type rapidly on the light-based keyboard.
This structured list is the blueprint for your storyboard. It transforms a creative document (the script) into a production order for the AI.
Step 3: Generate the entire storyboard in one run
With the visual rules defined in your Brandkit and the script broken down into a shot list, you're ready for production. This is where a workflow-based platform like MyUP radically differs from single-generation tools like Midjourney or Firefly. You don't generate one image at a time. You generate the entire sequence.
In MyUP, you can use a workflow that ingests your entire shot list and automatically produces a panel for every single line item. The workflow executes a simple loop: for each shot description, it combines that specific action with the global style defined in your Project Brandkit.
The result is a complete grid of storyboard panels that are generated together and belong together. Shot #20 has the same lighting style, color grading, and artistic texture as shot #1 because they were both created under the exact same set of visual rules. This isn't hoping for consistency; it's engineering it.
To execute this immediately, you can use a workflow designed for creating a series of stylistically-linked visuals. The template below is built for product campaigns, but the underlying logic is identical for storyboarding.
Workflow code: #myup-4mva-7iki
Cinematic Space Product Campaign
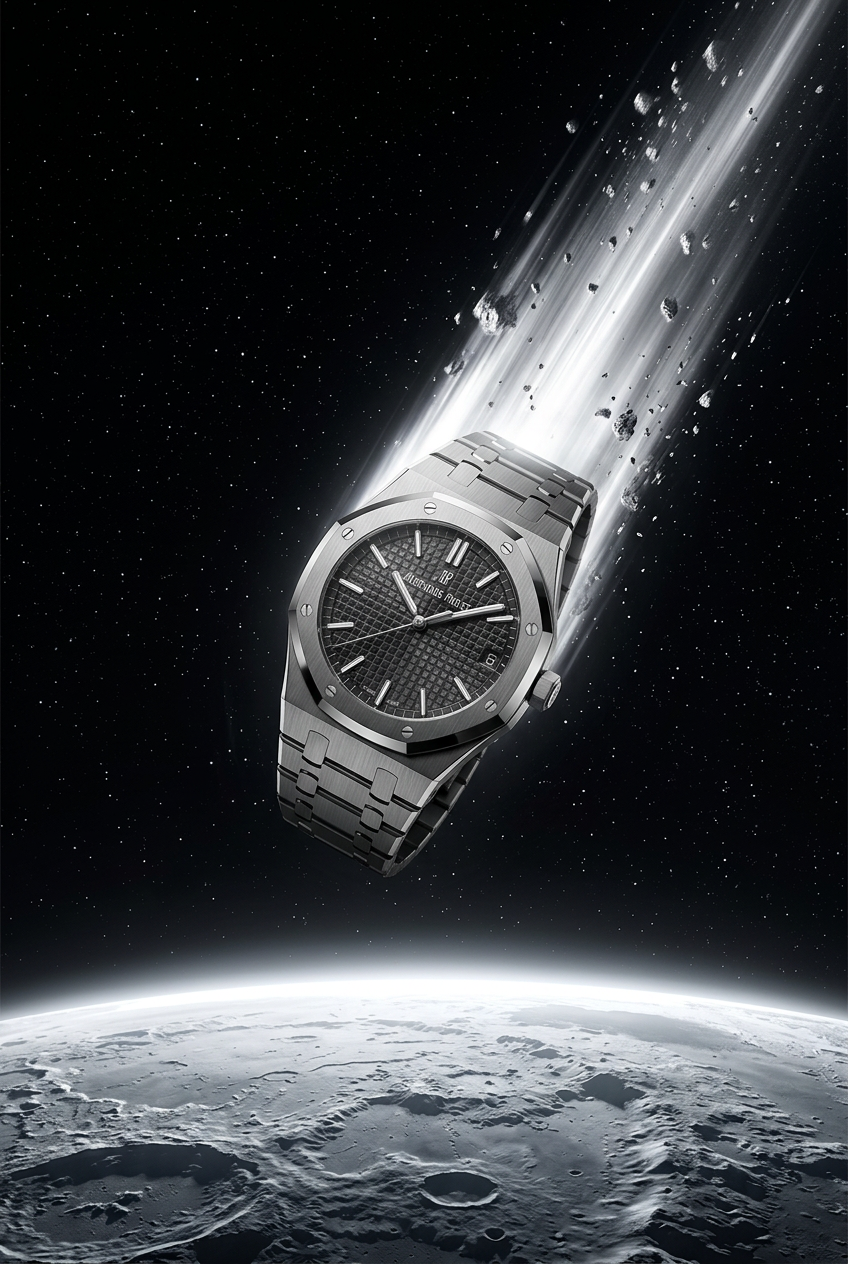
Drop your product into a dramatic, cosmic scene. It creates an epic set of images starting with a dynamic space launch framed by a blazing meteor, followed by a low-angle hero shot and an extreme macro of the surface textures catching the high-contrast light.
Regenerate using your own assets.
Step 4: The director's cut: reviewing and regenerating panels
No automated process is perfect. The goal of AI in a creative workflow isn't to replace the director; it's to act as an incredibly fast and tireless production crew. MyUP executes the high-volume work, but you, the creator, validate the output.
Once your storyboard grid is generated, you review it. Perhaps one panel didn't quite capture the emotion, or the composition of a specific shot is awkward. With a workflow-based system, you don't have to start over. You simply identify the specific panel and regenerate it.
Because the Project Brandkit is always active, the regenerated shot is created with the same visual constraints as the rest of the board. You can tweak the prompt for that specific panel—'change to a more dramatic low angle'—without worrying that it will suddenly have a different color palette or art style. This is the essence of human control: the user approves and adjusts; MyUP handles the production.
This level of creative oversight is crucial when you're working with a very specific aesthetic, like the one in this editorial template.
Workflow code: #myup-5q78-bln0
Luxury Floral Product Editorial

Place any product in an ultra-minimalist, warm studio space. It wraps your item in a seamless cream and beige backdrop with a super soft bokeh that melts away, making the details pop. It’s perfect for giving goods a clean, high-end look.
Regenerate using your own assets.
Advanced control: Locking in characters and composition
For many projects, style consistency is enough. But for narrative work, character consistency is non-negotiable. While tools like Luma's 'Character Lock' are emerging for video, the same principle can be managed within an image workflow by creating a character model sheet first.
Before you start your storyboard, use MyUP to generate a dedicated AI character model sheet. This sheet, showing your character from multiple angles and with different expressions, becomes a key part of your Project Brandkit. By referencing this sheet in your prompts, you anchor the AI's interpretation, dramatically increasing the chances of your character looking the same from scene to scene.
Compositional control is handled through the shot list you created in Step 2. By using precise cinematographic language ('dutch angle,' 'point-of-view shot,' 'rack focus effect'), you can guide the AI to produce more dynamic and intentional framing. This workflow-driven approach is more flexible than single-purpose tools and applies to any style, from photorealism to highly graphic designs like posters or event branding.
Workflow code: #myup-xbur-hzoi
Bold Retro Yellow Event Poster
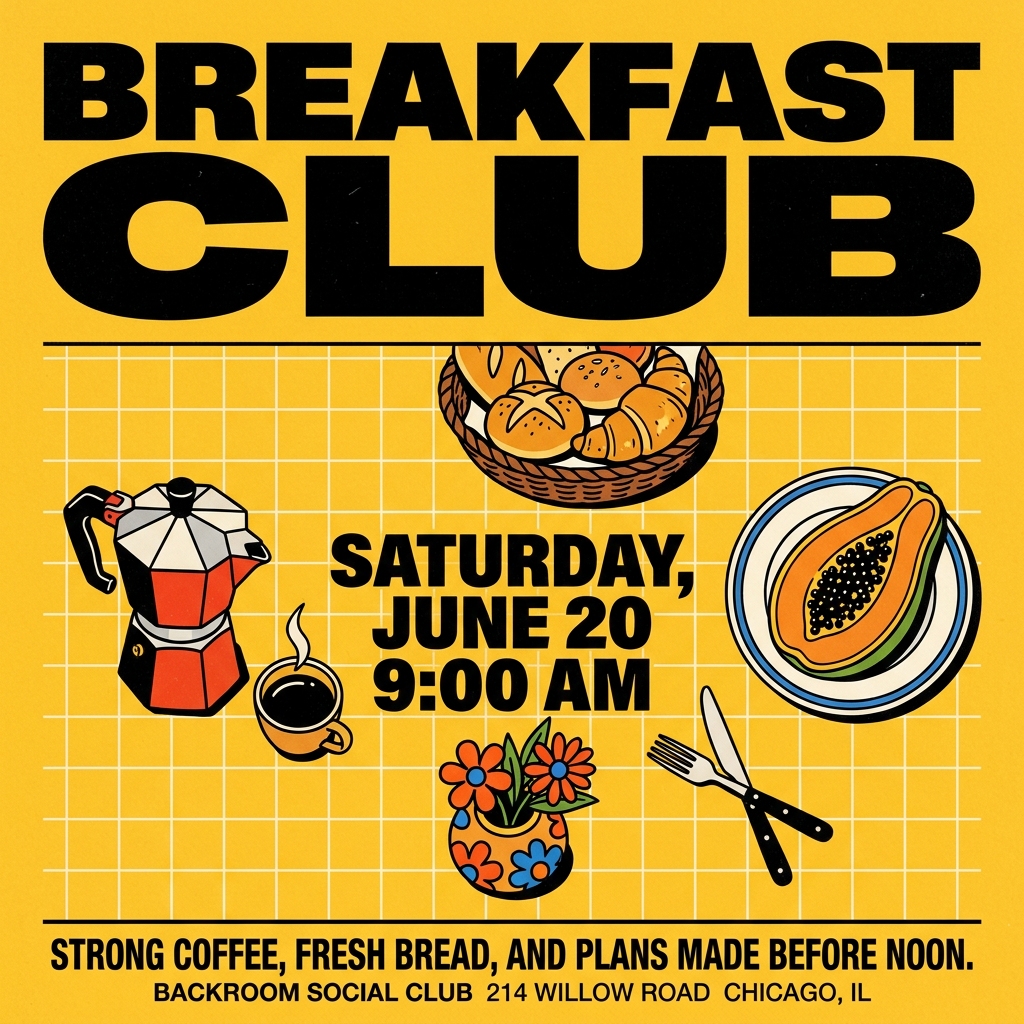
Turn your branding or event details into bold, nostalgic posters. It blends vibrant warm backdrops with a clean, retro square grid pattern to make any announcement look like a classic piece of mid-century graphic design.
Regenerate using your own assets.
A workflow is more than a feature
The race to add consistency features to AI models is a step in the right direction. But for professional creators, a single feature is not enough. Pre-production is a process, and it requires tools built around a process-oriented workflow, not just a series of one-off generations.
By defining your visual rules upfront with a Brandkit, structuring your script for automation, and generating your entire board in a single, managed run, you move from hoping for consistency to building it by design. This is how you reclaim hours or even days from the pre-production cycle and get back to what matters: telling a great story.
