If you were on creative social media around July 22, 2026, you saw it: the viral X thread detailing a labyrinthine, 12-step process to get semi-consistent characters from a standard AI image generator. It involved locking seeds, referencing image weights, and writing prompts the length of a short story. It was a heroic effort that perfectly captured the single biggest frustration for creators: keeping characters and style consistent from one frame to the next.
Those hacks are a symptom of using tools not built for narrative content. A storyboard isn't a collection of random images; it's a sequence. It requires memory and context. Gambling on seed numbers is not a professional workflow. This guide lays out the systematic method—the one that actually works, every time.
You've seen the hacks. Here's the professional workflow.
The core problem with single-prompt generators is that they have no memory. Each generation is a fresh roll of the dice. To create a coherent storyboard, you need a system that enforces consistency across three layers: character, style, and composition. This isn't about finding a magic prompt; it's about building a production framework.
In MyUP.ai, this framework is the Brandkit. Instead of feeding the AI the same complex instructions over and over, you define your character and visual style once, save them as permanent assets, and then reference them in a simple, multi-step workflow. The AI doesn't have to guess; it's given a definitive source of truth for every panel it generates. This is the difference between hoping for consistency and engineering it.
Step 1: Build your character's DNA with a Character Sheet
Your storyboard's hero can't be a vague concept; they need a defined identity. Before you generate a single frame, you need a 'Character Sheet' or model sheet. This is the foundational document that establishes the character's appearance from multiple angles.
A professional character sheet includes:
- A main portrait: A clear, front-facing shot of the character's face.
- A turnaround: Views of the character from the front, side, and back.
- Key features and attire: Close-ups of important details like a unique hairstyle, a specific jacket, or recurring accessories.
- Written descriptors: A short paragraph codifying their appearance, e.g., "A woman in her late 20s with short, choppy blue hair, a silver nose ring, and a worn leather jacket over a gray t-shirt."
In MyUP.ai, you don't just write this down—you build it directly into your Brandkit. You can generate the initial reference images and then save them as a 'Character' asset. This gives your workflow a permanent visual and textual reference to pull from. For a detailed guide on this initial step, see our article on how to create an AI character sheet. This asset becomes the DNA of your character, ensuring every subsequent image is a direct descendant, not a distant cousin.
Step 2: Define your visual world in the Brandkit
A consistent character in an inconsistent world is still a failure. Your storyboard's visual language—its color palette, lighting, and texture—needs to be just as stable as your character's face. This is the second layer of control that hacks like seed locking completely ignore.
Instead of trying to describe your style in every prompt, you define it once in your MyUP Brandkit. This includes:
- Color Palette: Upload your brand's primary and secondary colors.
- Art Style: Define the aesthetic with keywords like "cinematic, high contrast, anamorphic lens flare," "flat 2D illustration, thick outlines," or "gritty risograph print texture."
- Mood & Lighting: Specify the overall feeling, such as "warm afternoon light," "neon-drenched cyberpunk city," or "overcast, moody atmosphere."
By saving these elements, you create a style guide that the AI can apply automatically. The user validates the output; MyUP handles the production. This ensures that panel one and panel ten feel like they belong to the same story, shot by the same director of photography. If you need to establish a distinct, repeatable style, a template can provide the perfect starting point.
Workflow code: #myup-msop-hlxf
Retro Zine Style Event Poster
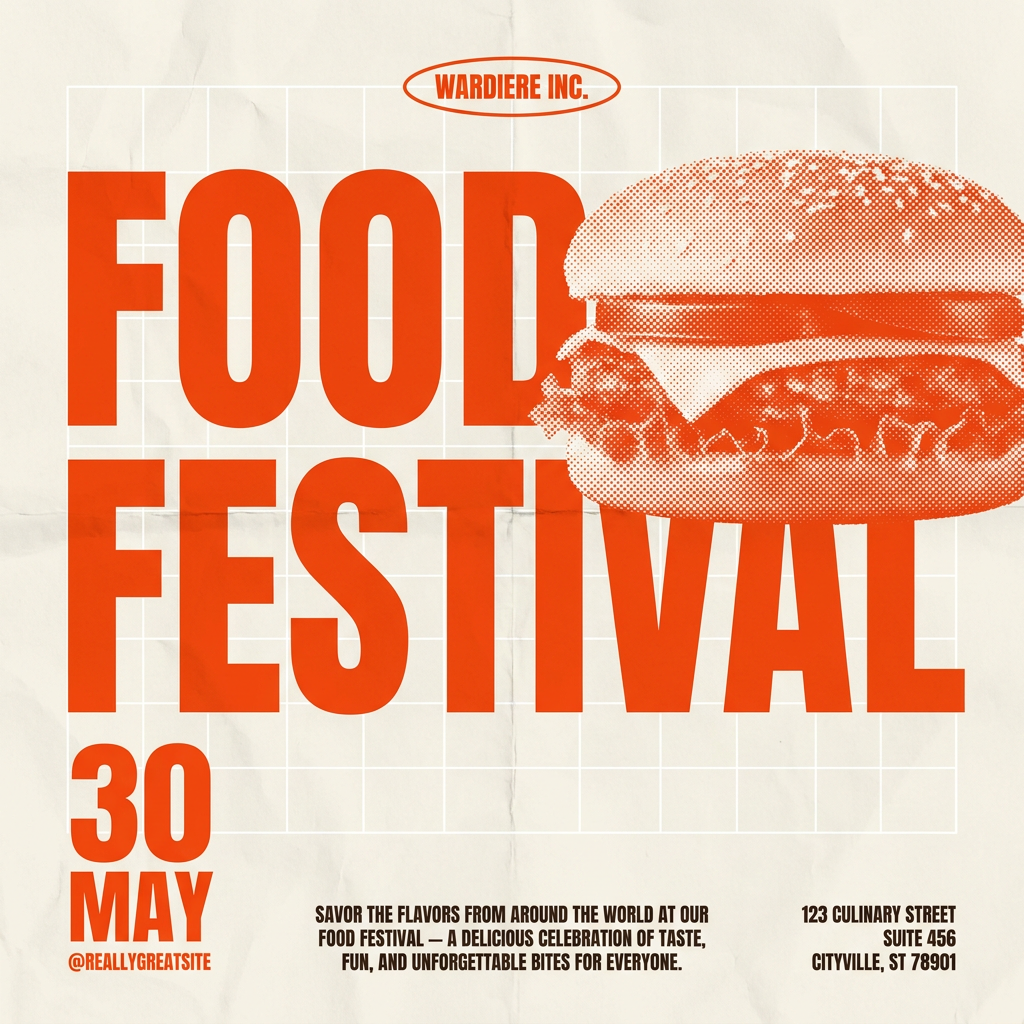
Give your social posts a gritty, analog zine aesthetic. It layers a crumpled paper texture and a subtle grid over a warm cream background to make any event graphic look like a tactile, photocopied flyer. Perfect for DIY gigs and bold promos.
Regenerate using your own assets.
Step 3: Generate your storyboard with a multi-step workflow
With your Character Sheet and Style Guide locked in the Brandkit, you're ready to produce the storyboard. This is where a multi-step workflow in MyUP replaces the chaos of single-prompting.
Panel 1: The Establishing ShotYour first prompt is the most detailed. You'll describe the scene, the action, and the composition, but you won't need to describe the character or style. Instead, you simply instruct the AI to use your saved assets.
Example Prompt: "A wide shot of [Character from Brandkit] sitting at a diner counter at night, looking out the window. The scene should use the [Style Guide from Brandkit]."
Panels 2-N: Building the SequenceFor every subsequent panel, your prompt becomes even simpler. You leverage two key references: the original Brandkit and the image you just generated. This creates a chain of consistency.
Example Prompt 2: "Medium shot of the same scene, now the character is turning their head towards the camera, surprised. Maintain character and style from the previous image."
MyUP understands this sequential context, treating the previous panel as a direct reference for composition and character position. This is how you create fluid action—a character picking up a cup, a conversation with shot-reverse-shot framing, or an object moving through the scene. For building out complex, stylized scenes with multiple layers, a collage-style workflow can be highly effective.
Workflow code: #myup-sacz-tjdn
Y2K Scrapbook Collage Creator
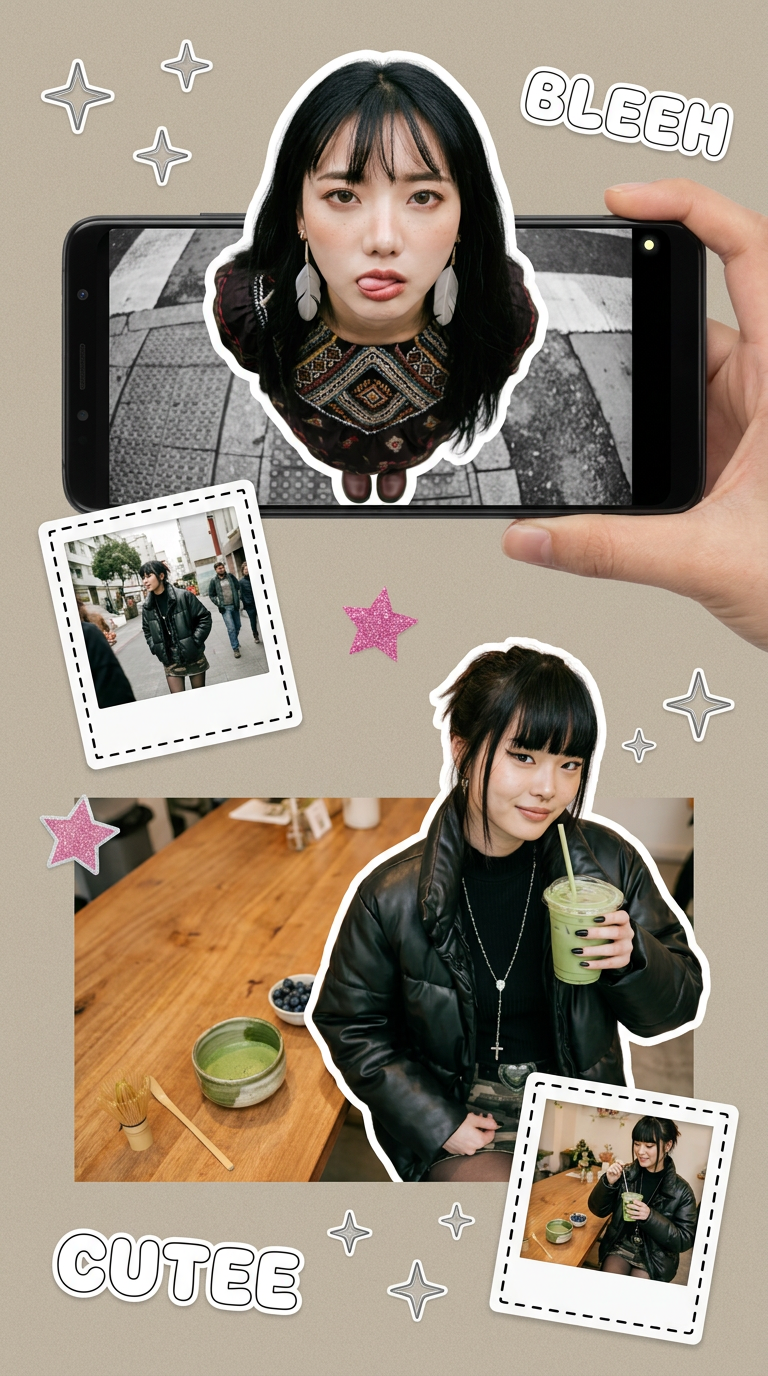
Put two different people into the same scene without losing their real-world features. Just upload two portraits and drop them together into any setting or style you need. It keeps both faces incredibly accurate.
Regenerate using your own assets.
Step 4: Assemble and present your final storyboard
Once you have your sequence of consistent panels, the final step is to arrange them in a professional storyboard format. A clean layout with space for scene numbers, action descriptions, and dialogue is essential for presenting your narrative clearly.
Instead of manually arranging images in a separate design tool, you can use a MyUP workflow to generate the final presentation. By feeding your generated panels into a grid-based template, you can instantly create a polished document ready for a pitch meeting or pre-production brief. This completes the workflow entirely within one platform, from character concept to final deliverable.
Workflow code: #myup-n0bi-2wzk
Bold Editorial Grid Poster
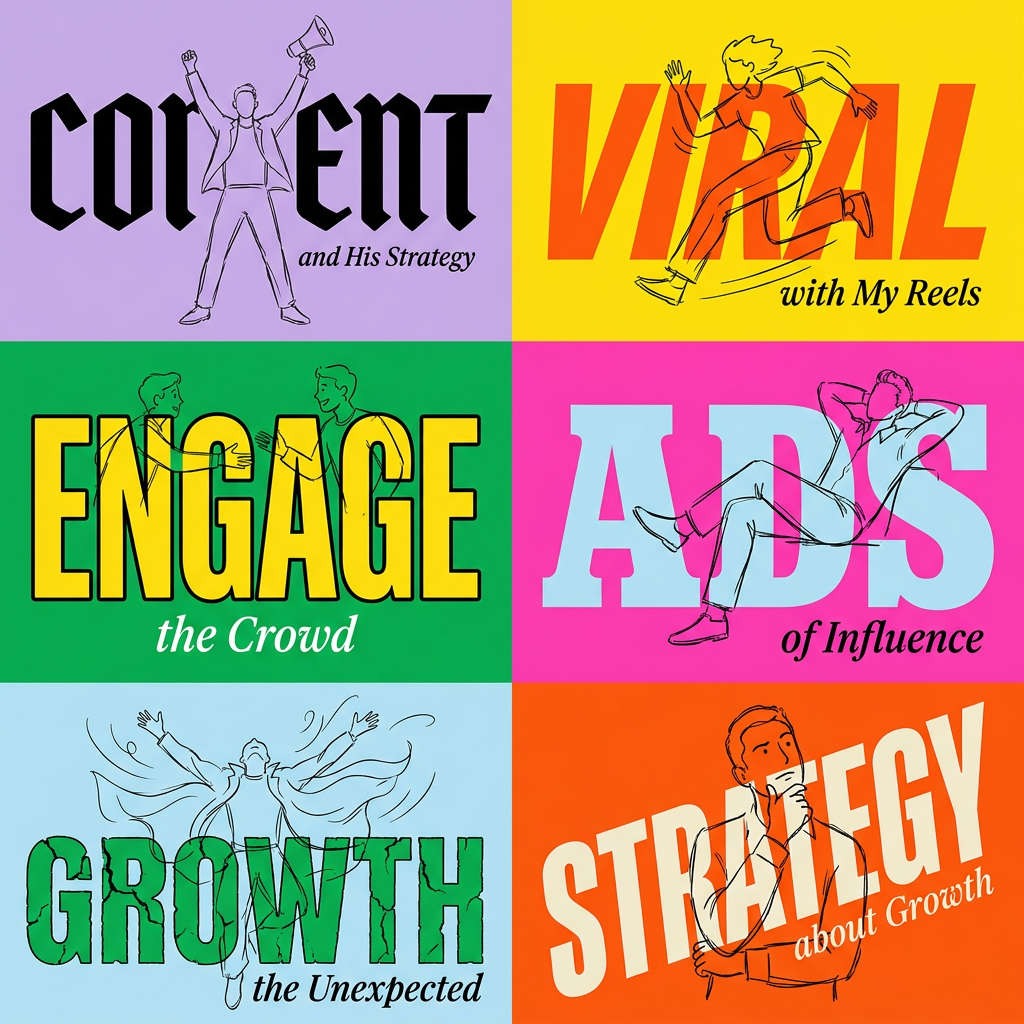
Create striking 2x3 editorial posters with six seamless, flat-color square cards in a perfect 4:5 grid. There are absolutely no gaps between the blocks, giving your content a bold, high-contrast magazine layout. It looks incredibly clean on any social feed.
Regenerate using your own assets.
From random shots to a real story
The viral hacks for AI character consistency are a cry for help. They reveal a deep need for tools that understand narrative structure. A professional creative process cannot rely on luck, and a storyboard is the definition of a structured process. By shifting from single-prompt gambling to a systematic workflow built on a Brandkit, you move from generating random pictures to directing a visual story. The same principles that make this work for storyboards are just as effective for creating sequential narratives like in our AI comic strip workflow. MyUP is designed for this transition, giving you the control to validate the creative choices while it handles the consistent execution.
