For years, generating a storyboard with AI felt like a lottery. You’d get a perfect keyframe for your main character, only for them to become a completely different person in the next panel. That core problem is now, in principle, solved. Midjourney’s multi-image Character Reference update in late June 2026 was a breakthrough, proving that models can lock onto a character's identity. But a feature isn't a workflow.
Trying to manage reference image URLs and complex prompts manually across a 20-panel sequence is a recipe for errors, inconsistency, and wasted hours. The professional solution isn't about chaining prompts; it's about building a system. This guide breaks down the system that works: treating your character and style as a managed asset, and using a workflow to apply it methodically to your entire storyboard.
Step 1: Create your character sheet in a MyUP Brandkit
Before you generate a single storyboard panel, you need a source of truth for your character. In professional animation and comics, this is called a character sheet or model sheet. It shows the character from multiple angles (a 'turnaround'), with consistent clothing, features, and colors. Chaining prompts and hoping for the best is not a professional workflow. True consistency comes from treating your character as a managed asset.
In MyUP, your Brandkit is that asset manager. It’s designed to store not just logos and colors, but the core visual DNA of any project, including recurring characters.
Here’s how to build your character sheet inside MyUP:
- Generate a Turnaround: Create high-quality, front-on, three-quarter, and profile views of your character against a neutral background. The goal is to give the AI a complete 3D understanding from a few 2D images.
- Define the Style: Is the look photorealistic, anime, or graphic novel? What is the lighting style? Add these descriptions to your Brandkit’s style prompts.
- Upload to Brandkit: Save your best character reference images and your style descriptions into a dedicated MyUP Brandkit. This Brandkit now acts as your central 'character file,' ready to be called into any workflow.
To get a high-quality starting image for your character sheet, you can use a workflow designed for polished, editorial-style portraits. This ensures your reference image is clean, well-lit, and detailed.
Workflow code: #myup-yk1h-uqy8
High-End Editorial Fashion Magazine Cover
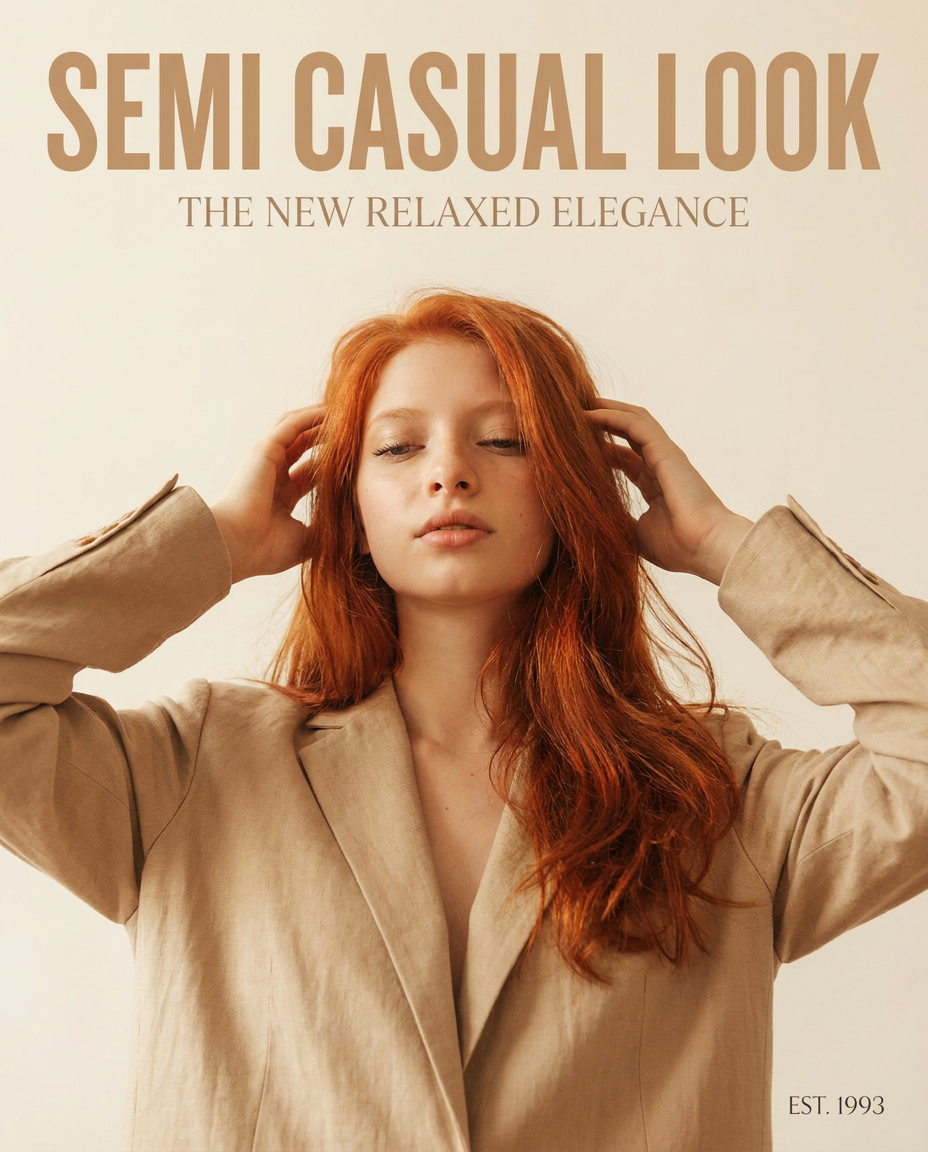
Drop in any portrait and turn it into a high-end editorial magazine cover. It frames your subject beautifully with relaxed, high-fashion posing and soft styling for a polished print aesthetic.
Regenerate using your own assets.
Step 2: The storyboard workflow that uses your Brandkit
With your character defined in a Brandkit, you can now move to production. The goal is to generate each panel of your storyboard by systematically applying your character and style, changing only the action, framing, and dialogue for each shot.
This is where a workflow platform like MyUP becomes essential. Instead of manually pasting reference links and style prompts for every single panel, you build a repeatable process that calls your Brandkit automatically. The user validates the output; MyUP handles the repetitive production.
Here's the step-by-step process in MyUP:
- Start a Workflow: Begin a new creation workflow in MyUP.
- Load Your Brandkit: The first step is to apply your character’s Brandkit. This instantly loads your reference images and style prompts into the workflow’s memory.
- Prompt the First Panel: Write the prompt for your first keyframe. For example: “Scene 1: [Character Name] running through a neon-lit alley at night, wide shot, determined expression.” MyUP will combine this action prompt with the character and style information from your Brandkit to generate the panel.
- Iterate for Subsequent Panels: For the next panel, you don't start from scratch. You simply duplicate the previous step in the workflow and change the action prompt: “Scene 2: Close-up on [Character Name]'s face, looking over their shoulder, sense of urgency.” The Brandkit is automatically applied, ensuring the character's face, hair, and clothing remain identical.
This method is fundamentally more reliable than using a one-off generator. For action scenes where maintaining the look of clothing and gear is critical, a workflow built for commercial-grade output is the direct answer.
Workflow code: #myup-ywpr-rqz6
Professional Sportswear Ad
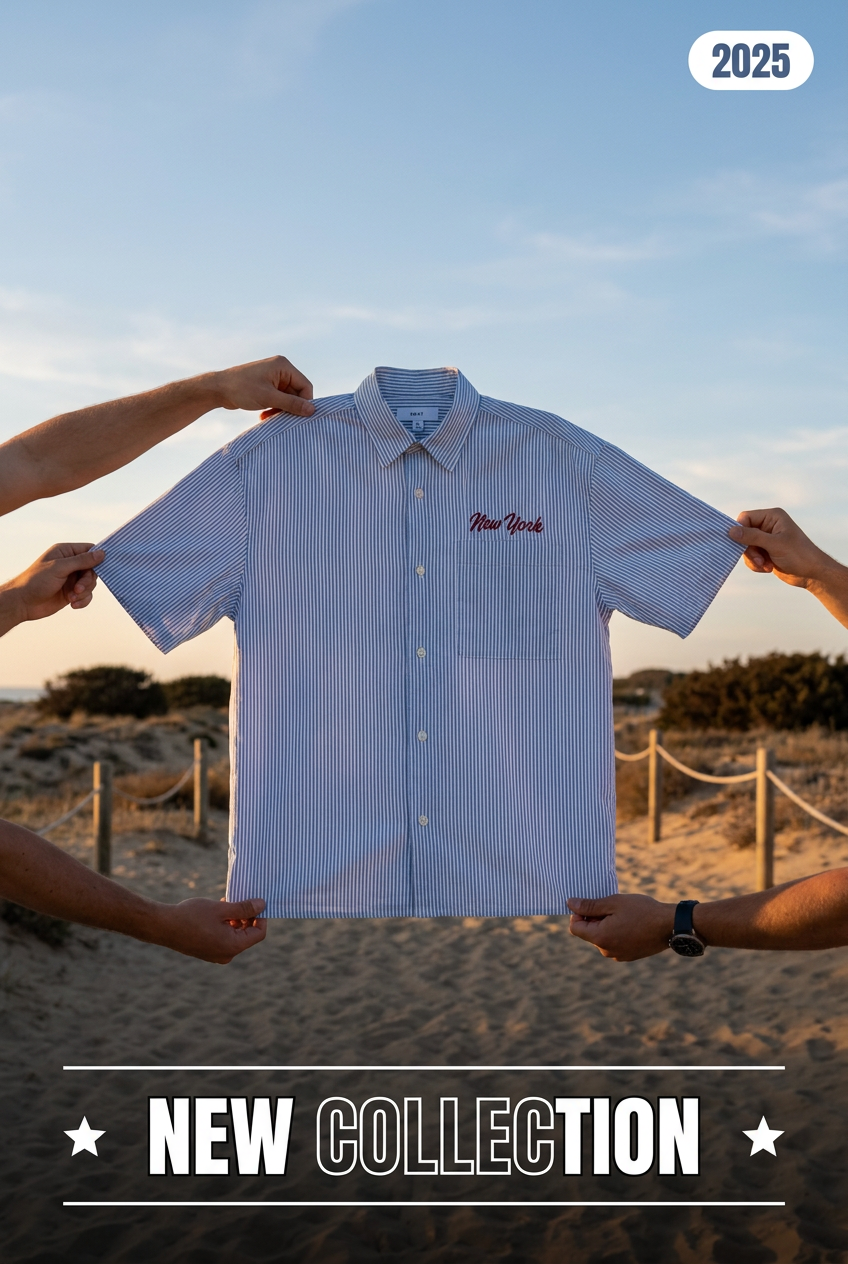
Suspends your apparel right in the center of a high-energy promo shot, held up by hands around the frame. It gives your shirts or jerseys a gritty, collaborative streetwear editorial look that feels alive and physical.
Regenerate using your own assets.
Step 3: Locking down the environment and style
A storyboard is more than just a character. The background, lighting, and camera work tell half the story. Consistency here is just as important. If your scene takes place in a minimalist Scandinavian apartment, you don’t want it to suddenly look like a cluttered Victorian room in the next panel.
This is another area where a MyUP Brandkit excels. It’s not just for characters. You can create Brandkits for specific environments or overall project styles.
To ensure total visual consistency, add these elements to your Brandkit’s style prompts:
- Location & Set Design: Include detailed descriptions of the environment. “A clean, minimalist office with large windows, oak furniture, and potted plants.”
- Lighting Style: Define the mood. “Cinematic, high-contrast lighting, with strong shadows and volumetric light rays from a window.”
- Color Palette: Specify the dominant colors. “A muted color palette of blues, greys, and off-white, with a single accent color of burnt orange.”
- Camera & Lens: Describe the shot style. “Shot on 35mm film, anamorphic lens, shallow depth of field.”
By saving these rules in your Brandkit, every panel you generate will inherit the same cinematic language. The workflow applies the character, the environment, and the camera style consistently, leaving you to focus on directing the action in each shot. This is especially useful for product-focused storyboards, where the environment must remain perfectly controlled.
Workflow code: #myup-u4lt-o0ho
Studio Product Ad
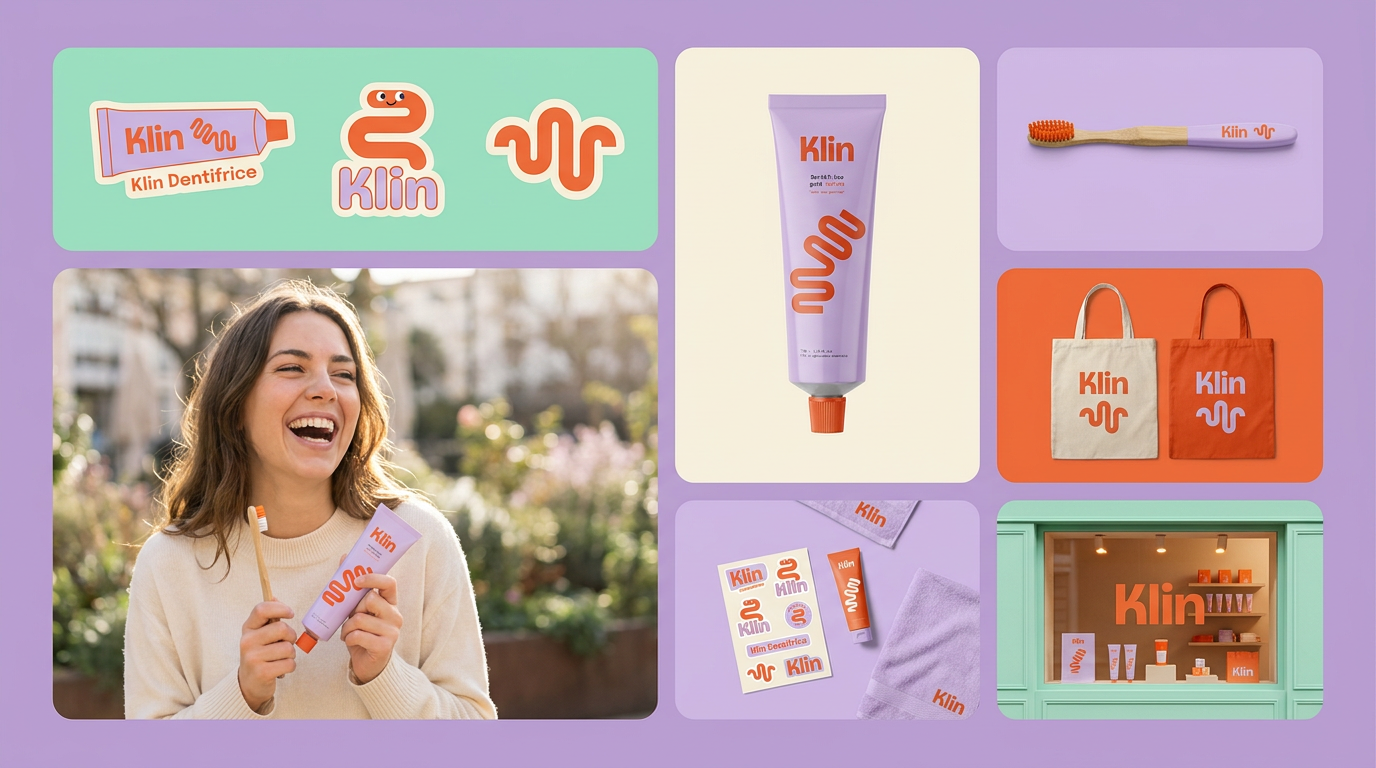
Drop in a single product photo to instantly build a cohesive visual identity. It automatically samples your item's dominant colors to generate a beautifully matched mosaic moodboard, giving your brand an instant, polished aesthetic.
Regenerate using your own assets.
Why a workflow beats a one-off generator every time
The arrival of powerful character reference features is a huge step forward. But for anyone producing narrative content at scale—whether it's a storyboard, a marketing campaign, or a comic book—relying on a manual, panel-by-panel process in a standalone generator is inefficient and error-prone. You become a human copy-paste machine, not a creative director.
A workflow-based approach on a platform like MyUP flips the model:
- System over Repetition: You define the rules once in a Brandkit. The system applies them infinitely.
- Scalability: Generating 5 panels or 50 panels takes the same setup. The process doesn't get more complex with scale.
- Control and Precision: By separating character, style, and action into different parts of a system, you gain granular control and can make targeted changes without breaking everything else.
Ultimately, this is about control. The user provides the creative direction—the script, the character concept, the emotional arc. MyUP executes the production, ensuring the thousand small details that create visual consistency are handled automatically, correctly, every single time.
