On August 12, 2026, Runway's Gen-3 model introduced 'Frame Interpolation' controls, giving creators a simple slider to get that choppy, stop motion effect. It's a fantastic feature for quick results, and it signals that major AI video platforms are finally paying attention to stylized animation. But for any creator who has spent time trying to get a specific pose, a consistent character, or a controlled camera move, it also highlights a fundamental problem.
A simple button gives you a look, but it doesn't give you control. It’s a filter, not a process. The stuttering motion is random, not intentional. The secret to professional-looking AI stop motion isn't in a post-production effect; it's in embracing the same frame-by-frame method that animators have used for a century, supercharged by a modern AI workflow.
The two paths to AI stop motion: in-model vs. frame-by-frame
When you want to create a stop motion video with AI, you have two choices. Understanding the difference is critical to getting the result you actually want.
1. The In-Model Filter: This is the 'easy button' approach used by new features like Runway's. The AI generates a standard, smooth video and then programmatically removes frames or reduces the interpolation between them to make it look choppy. It's fast and accessible, but you have no say in *what* happens in the animation. The AI decides the movement, and the filter just makes it jerky. You're a spectator.
2. The Frame-by-Frame Workflow: This is the animator's method, adapted for AI. Instead of generating one video, you generate a sequence of still images, where each image is a single frame of your animation. You make slight adjustments to the prompt for each frame to create movement—a character raising an arm, a product sliding into view. Then, you compile these images into a video at a low frame rate. You are the director.
On MyUP.ai, this entire frame-by-frame process can be built into a single, repeatable production tool. You define the steps once, and the platform handles the repetitive work of generating and compiling the frames.
Why a workflow gives you more control than a filter
Opting for a frame-by-frame workflow isn't about making things more difficult; it's about gaining the creative control that a simple filter can never offer. For any branded or narrative content, this control is non-negotiable.
- Precise Posing and Action: With a filter, you can't tell the AI 'in the third second, make the character wave.' With a frame-by-frame workflow, you simply change the prompt for that sequence of frames: '...character standing still,' '...character begins to raise hand,' '...character's hand is raised in a wave.' You direct the exact action, frame by frame.
- Unyielding Visual Consistency: This is the biggest failure of most AI video. A simple video generation often results in flickering colors, morphing logos, and inconsistent backgrounds. In a MyUP workflow, you can lock in your visual identity using a Brandkit. Your brand's exact colors, fonts, and style are applied consistently to every single frame you generate, eliminating flicker and ensuring the final video is perfectly on-brand.
- Intentional Cadence: Real stop motion artists don't just make things jerky; they control the timing and rhythm—the cadence—to convey weight, emotion, and personality. The workflow method lets you do the same. You can hold on a single frame for longer to create a pause or generate more frames for a faster action. It's your story, and you control the pacing.
Ultimately, it’s about human validation. MyUP executes the tedious production of each frame, but you direct the performance. This is how you create animation that feels handcrafted and intentional, not like a generic AI effect.
The 3-step process for professional AI stop motion
Building your own stop motion animation on MyUP.ai follows a straightforward, three-part structure. You design the key moments, and the platform automates the production.
Step 1: Create Your Starting FrameEvery animation begins with a single, perfect image. This is your establishing shot or your character's starting pose. Use MyUP's image generators to dial in the exact style, composition, and lighting. If you're creating branded content, apply your saved Brandkit here to ensure the core visual elements are locked in from the start.
Step 2: Generate the Image SequenceThis is where the animation happens. Taking the prompt from your first frame, you create a series of slight variations. For example, if your first prompt was “a claymation robot standing on a table,” the next could be “a claymation robot on a table, its left arm slightly raised.” You create a prompt for each distinct movement. A MyUP workflow can run this sequence automatically, generating all the necessary frames based on your instructions.
Step 3: Compile into a Low-Frame-Rate VideoThe final step in the workflow is to take the sequence of generated images and compile them into a video file. The key is setting a low frame rate—typically between 8 and 12 frames per second (fps). Standard video is 24 or 30 fps; the lower rate creates the signature staccato movement of stop motion. This same process is also the secret to making high-quality, professional GIFs that don't suffer from the terrible quality of most online converters. You can learn more about that in our guide to a professional AI GIF workflow.
Example 1: create a claymation character that moves
Let's apply this process to a classic animation style: claymation. The goal is to create a short clip of a clay character waving. You don't need to be an expert prompter to get that tactile, sculpted look.
First, you need your main character. Instead of trying to describe the clay texture and lighting from scratch, you can use a purpose-built tool in MyUP to generate your starting frame.
Workflow code: #myup-79ca-rzwg
D Clay Style Character Portrait

Transform any portrait into a charming, clay-modeled 3D character with soft, rounded features. It adds a playful plasticine texture and warm, vibrant lighting to your subjects while keeping their unique expressions intact.
Regenerate using your own assets.
This 'D Clay Style Character Portrait' template instantly gives you the right aesthetic. Once you have your character, you build the animation sequence with simple, descriptive prompts:
- Frame 1-5: `A claymation character, full body shot, smiling.` (Hold the static pose for a few frames).
- Frame 6: `...left arm beginning to lift.`
- Frame 7: `...left arm raised to its chest.`
- Frame 8-12: `...waving its left hand.`
The MyUP workflow generates these 12 images, then compiles them at 12fps into a one-second animation. You've just directed a character performance, frame by frame.
Example 2: animate a product ad, frame by frame
The same technique is incredibly powerful for creating dynamic social media ads that stop the scroll. Imagine you want to animate a can of soda sliding into view and popping open.
A generic video prompt might give you a blurry, inconsistent mess. A frame-by-frame workflow gives you crisp, art-directed results. First, establish the visual style of your ad. You want something bold and vibrant that matches your product's packaging.
Workflow code: #myup-zpby-tzie
Minimal Vibrant Product Advertising Poster
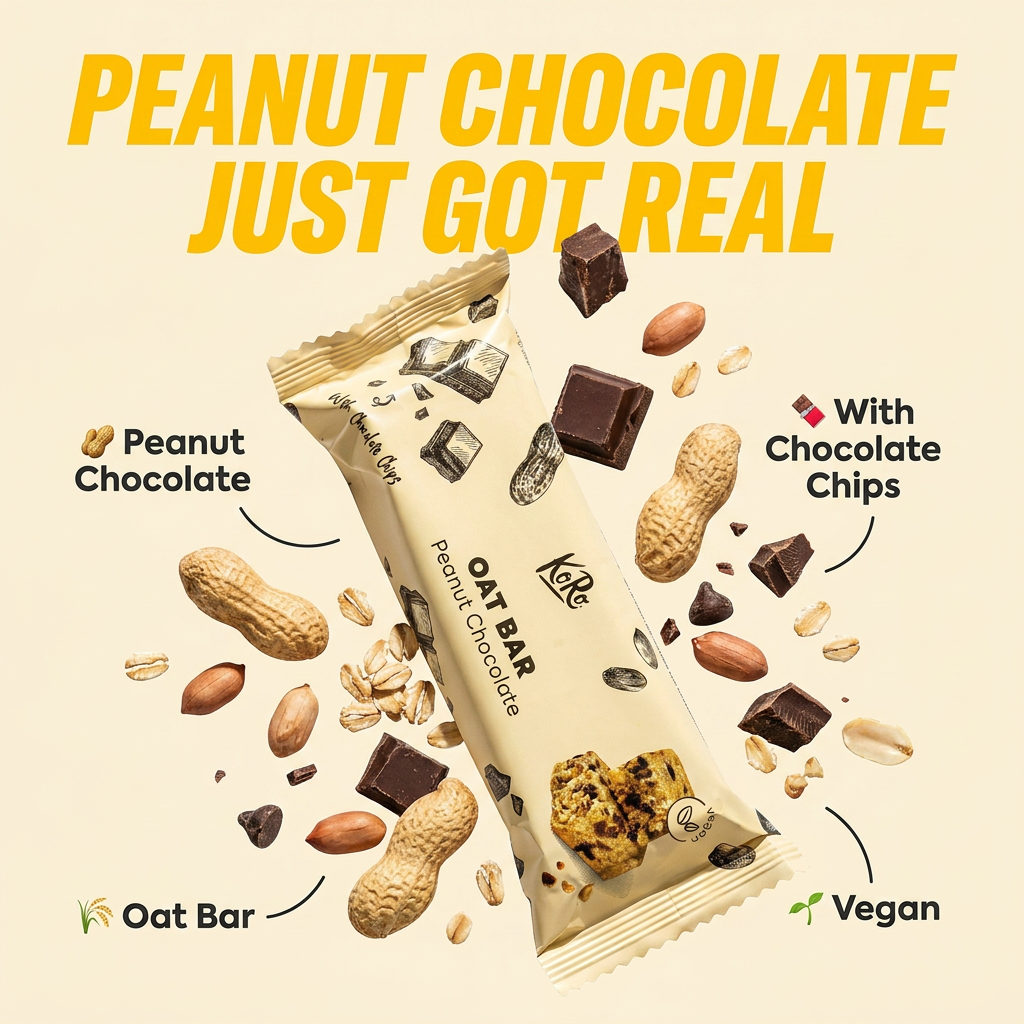
Drop in any product shot and watch it turn into a bold, high-energy square ad. It automatically reads your packaging to pull out the dominant colors and text, then builds a vibrant poster styled perfectly around your brand.
Regenerate using your own assets.
The 'Minimal Vibrant Product Advertising Poster' template is designed for this. It analyzes your product image and creates a perfectly on-brand poster. This becomes your final frame (Frame 10). Now, you work backward to create the motion:
- Frame 1: `Empty scene, vibrant background.`
- Frame 2-5: `The top of the soda can slides into frame from the bottom.`
- Frame 6-9: `The full soda can slides to the center of the frame.`
- Frame 10: `The soda can is in the center, perfectly still.`
Because you're using a MyUP workflow with a Brandkit, the can's logo, the background color, and the overall lighting stay 100% consistent across every frame.
Example 3: bring a food poster to life
This method works for any visual, not just characters or products. Let's say you want to create a short video for a restaurant where ingredients assemble themselves into a final dish. Your starting point is the final, delicious-looking result.
A template can help you create a beautiful, poster-worthy image of your dish that will serve as the animation's climax.
Workflow code: #myup-tbky-nciq
Food Brand Poster
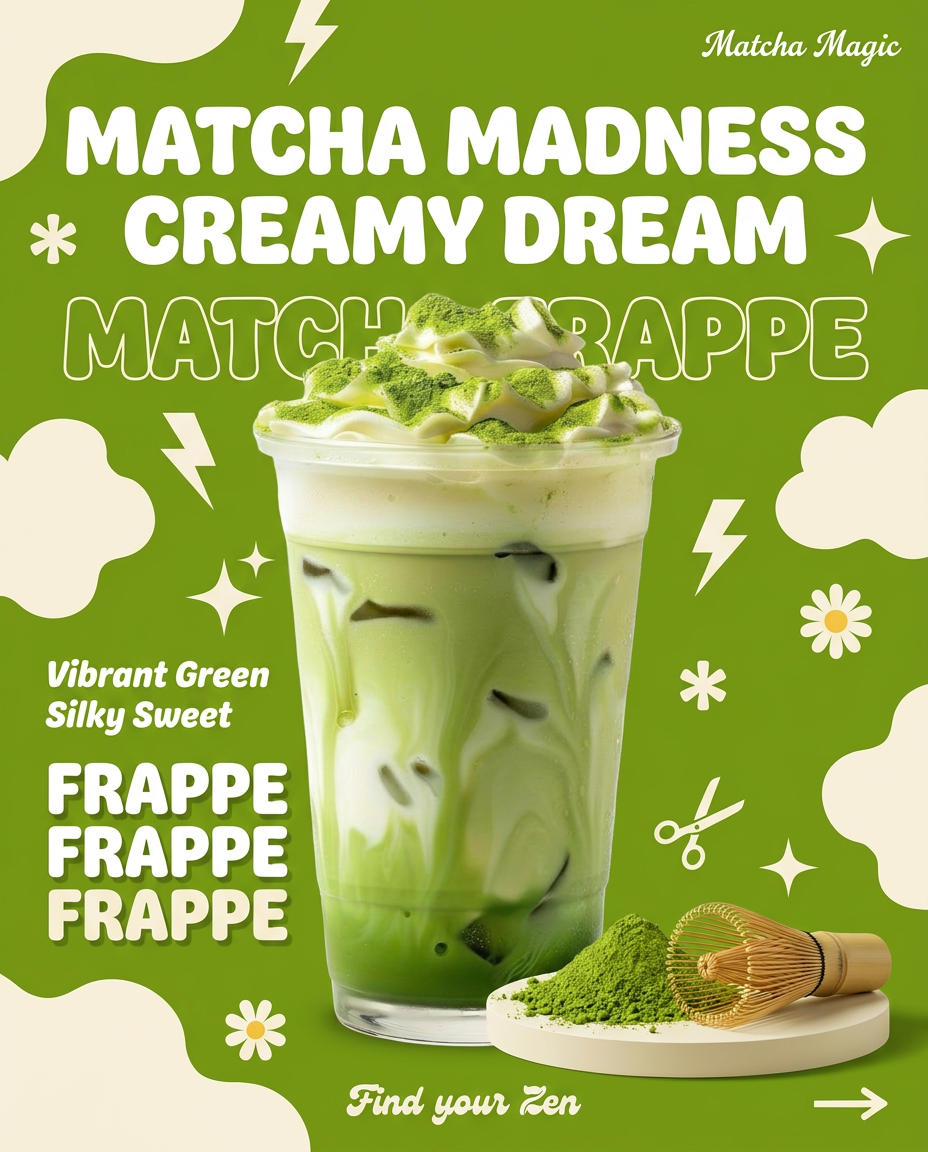
Instantly turn any food or drink product packaging into a bold, vibrant retro poster. The system automatically reads your bottle or box to grab its exact colors and ingredients, then crafts a perfectly coordinated vintage background around it.
Regenerate using your own assets.
Using the 'Food Brand Poster' template gives you a stylized shot to work from. This is your last frame. Then, you generate the preceding frames in reverse order, deconstructing the dish:
- Final Frame: `A beautiful hero shot of a hamburger on a poster.`
- Previous Frames: `The top bun is hovering above the hamburger.`
- Earlier Frames: `The lettuce, tomato, and patty are separated and floating.`
- First Frames: `An empty plate on the poster background.`
When you compile these frames in the correct order, you get a magical animation of a burger assembling itself. It's a high-end motion graphic, created with the control of an animator, not the randomness of a text-to-video prompt.
Stop motion is a process, not a prompt
The arrival of one-click 'stop motion' filters is a great sign that AI tools are maturing. But convenience often comes at the cost of creativity. For anyone serious about creating unique, high-quality animated content, the answer isn't a simpler button—it's a smarter process.
The best results come from combining your creative intent with AI's production power. By thinking like an animator and controlling your project frame-by-frame, you can direct the performance, ensure brand consistency, and create visuals that stand out. Stop searching for the perfect prompt and start building your animation. Try the frame-by-frame method on MyUP.ai and take back control of your creative process.
