You created the perfect AI sticker. The style is sharp, the character is exactly what you wanted. Now, you just need to make a second one where the character is waving. You run the prompt again, and... it's a completely different character. The style is off, the face is wrong, and the consistency is gone. You're not alone in this frustration. In just the last week of July 2026, searches for 'AI sticker generator' spiked over 300% as creators on Reddit and X voiced this exact problem: single-image tools are useless for creating a cohesive *pack*.
A single sticker is a novelty; a full sticker pack is a brand asset. It requires visual discipline. This tutorial walks you through the professional workflow to produce an entire pack of 10, 20, or more on-brand stickers where every single one is perfectly consistent—all from a single automated run on MyUP.ai.
Why your AI sticker generator fails at making a full pack
The core issue is that most AI image generators are stateless. Each prompt is a new roll of the dice. They have no memory of the character you just created, no understanding of its specific features, proportions, or style. Trying to achieve consistency by tweaking text prompts is an exercise in pure luck, not a reliable production process. You might get close, but you'll never get the precision needed for a professional brand asset.
This is a recognized industry problem. We're seeing major players like Stability AI launch APIs like 'Stable Artisan' to tackle 'asset packs,' validating the need for brand-compliant sets of visuals. But that's an API for developers. For marketers, designers, and brand managers, the solution isn't code—it's a better workflow.
The solution: A Brandkit-powered workflow
Instead of relying on prompt luck, a professional workflow separates the 'who' from the 'what'. You first define your brand's visual identity—the character, style, colors, and overall aesthetic—and lock it in. Then, you simply tell the AI what you want that character to *do*.
This is exactly how MyUP is designed to operate. You build your visual identity once in a MyUP Brandkit. This Brandkit acts as a permanent style guide for the AI. It contains your reference images, key style descriptors, brand colors, and logo. Once it's set, you can run any number of tasks against it, and the output will always be on-brand. We're not just prompting for a sticker; we're instructing our brand's visual system to produce a sticker pack. It's a fundamental shift from one-off generation to systematic production.
Step 1: Define your character and style in a MyUP Brandkit
First, we need to teach MyUP what your sticker character and style look like. This is the most important step for ensuring consistency. In your MyUP account, create a new Brandkit specifically for this sticker pack.
- Upload a Reference Image: Add a clear image of your character or an example of the exact style you want. This gives the AI a strong visual anchor. If you're creating a character from scratch, check out our guide on how to create a unique 3D character style with AI.
- Define Your Style Prompts: Be specific. Don't just say 'cartoon style'. Use descriptive keywords that define the aesthetic. For example: "chibi art style, thick black outlines, vibrant flat colors, glossy highlights, simple facial expressions, die-cut sticker."
- Set Brand Colors: Add the hex codes for your brand's primary color palette to ensure every sticker uses the correct shades.
Once saved, this Brandkit becomes your single source of truth for the entire sticker pack.
Step 2: Create your sticker action list
Now for the fun part. Instead of writing a complex prompt for each sticker, you just need to list the different actions or emotions you want your character to express. This list will be the input for our automated workflow. A good starting pack might include 10-15 common reactions.
Create a simple list like this:
- Waving hello
- Laughing out loud
- Crying
- Giving a thumbs up
- Working on a laptop
- Thinking with a lightbulb
- Sipping coffee
- Celebrating with confetti
- Facepalming
- Looking confused
Each item on this list will become a unique, on-brand sticker featuring the character you defined in Step 1.
Step 3: Generate the entire pack with one click
With the Brandkit ready and your action list defined, it's time to connect them in a MyUP workflow. The workflow will automatically take each item from your action list, combine it with your Brandkit's style instructions, and generate a perfectly consistent sticker.
You don't have to build this from scratch. We have a pre-built workflow designed for exactly this task. It's configured to generate clean sticker assets with transparent backgrounds, ready for production.
Workflow code: #myup-swqt-4zo3
Product Stickers
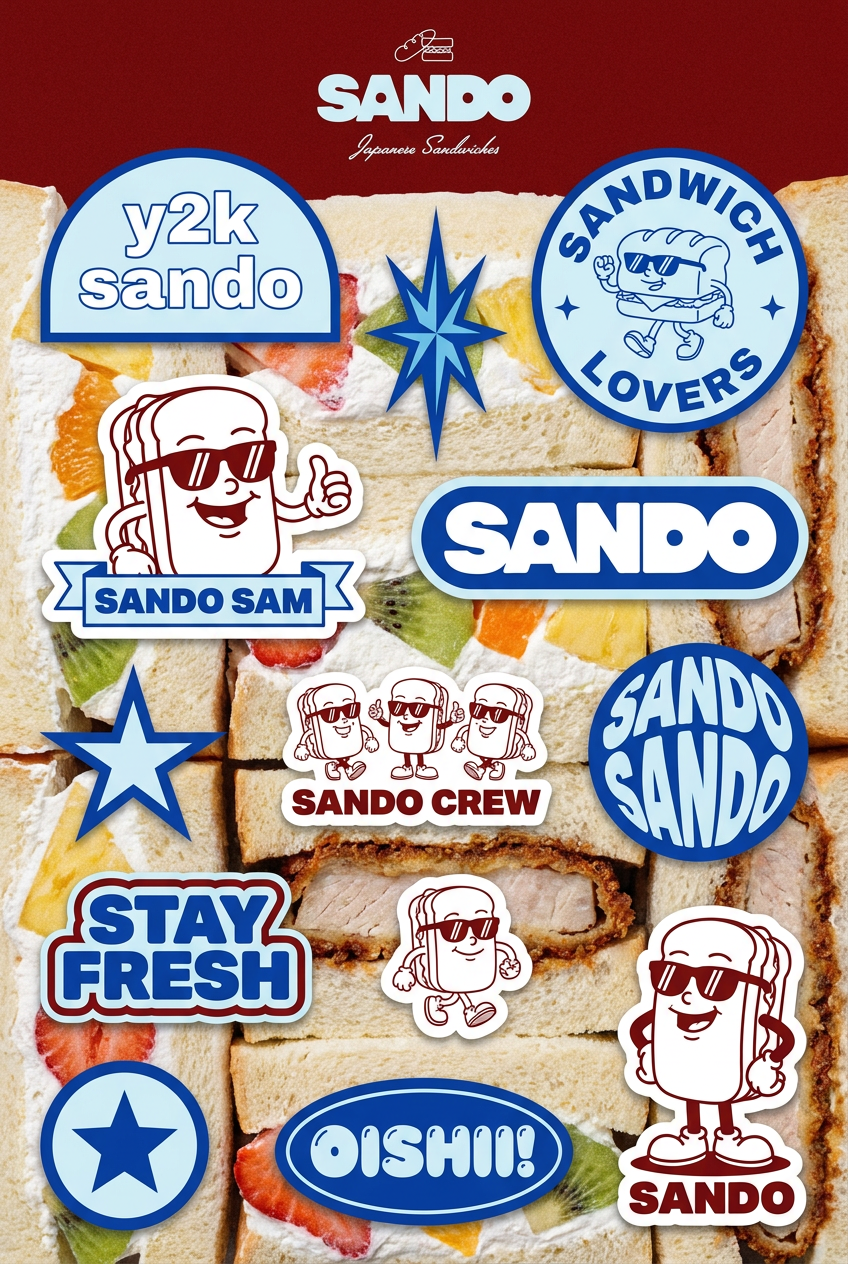
Turn your logo into a nostalgic, vibrant Y2K-style vertical ad. It automatically pulls your brand colors to create matching sweet treats like custom donuts or cupcakes in the background, giving you a super playful retro-pop aesthetic.
Regenerate using your own assets.
Simply start a new creation in MyUP, provide the 'Product Stickers' workflow code, select your Brandkit, and paste in your action list. The system handles the rest, batch-producing your entire sticker pack in a single run.
Step 4: Review, refine, and export your sticker sheet
Automation gets you 90% of the way there, but professional creative work always benefits from a human eye. MyUP is built for this partnership: the platform executes, and you validate. Once the workflow finishes, you'll have a gallery of all your generated stickers.
Scan through the results. If one of the stickers isn't quite right—maybe the 'facepalm' looks more like a headache—you can select just that one and regenerate it without affecting the rest of the pack. Once you approve the full set, you can export them all as individual PNG files with transparent backgrounds, ready to upload to Slack, Discord, Instagram Stories, or to be sent to a printer.
Next level: Using your sticker pack in creative assets
Your new sticker pack isn't just for messaging apps. These are high-quality, consistent brand assets you can use anywhere. Think of them as a new part of your visual vocabulary. You can drop them into social media posts, website banners, or email newsletters to add personality and brand recognition.
For a fun and creative way to use your new assets, try using them in a larger collage. This is a great way to create eye-catching promotional material for your sticker pack launch. The workflow below helps you build a dynamic, scrapbook-style graphic using your newly created stickers as the main elements.
Workflow code: #myup-sacz-tjdn
Y2K Scrapbook Collage Creator
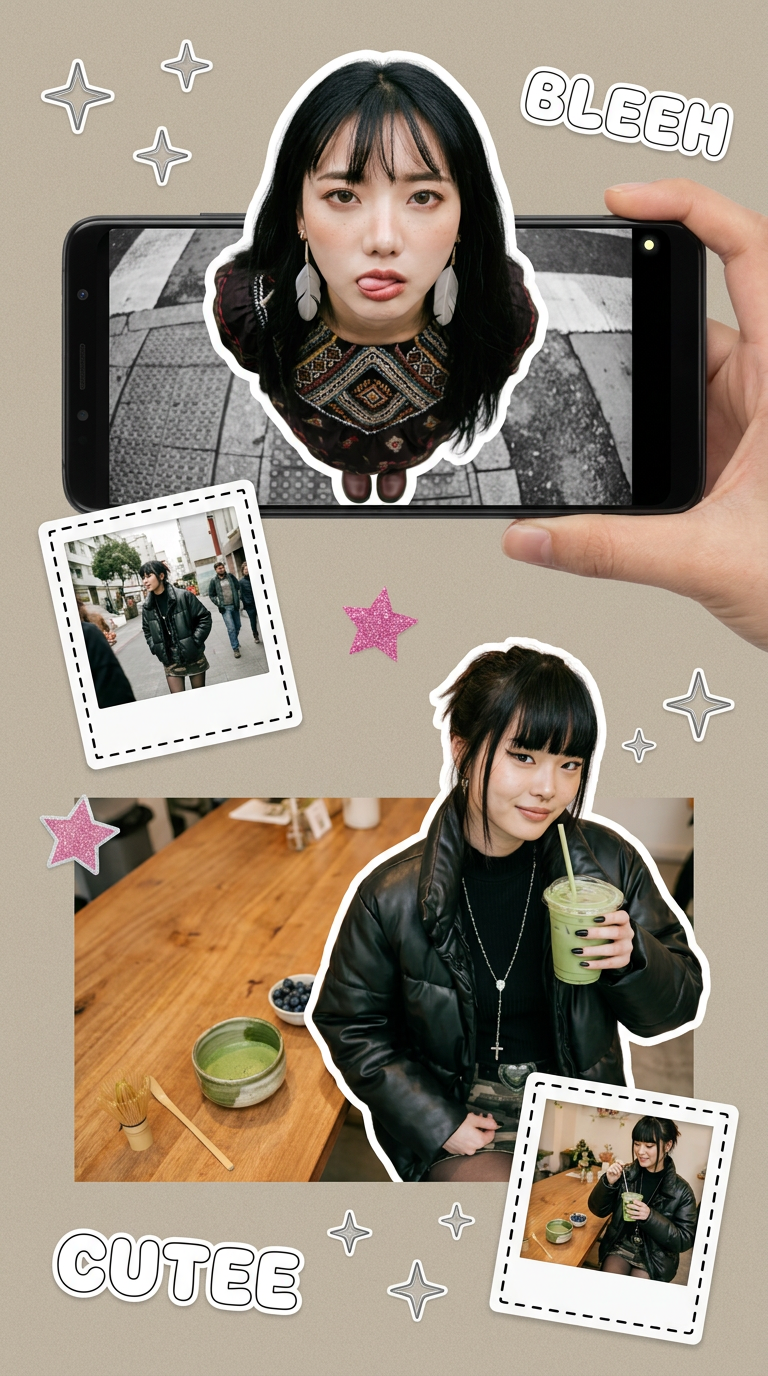
Put two different people into the same scene without losing their real-world features. Just upload two portraits and drop them together into any setting or style you need. It keeps both faces incredibly accurate.
Regenerate using your own assets.
This approach of creating consistent character assets is also the foundation for more complex narrative content. Once you have a character you can reliably generate, you can place them in different scenes to create things like full narratives, which is explored in our guide on the complete AI comic strip workflow.
