
You’ve done it. You generated a stunning, photorealistic AI background—a sun-drenched marble countertop, a moody concrete loft, a lush forest floor. Then you drop in your product photo, and the illusion shatters. Your product looks like a cheap sticker, completely disconnected from the world you just created. The shadows are wrong, the highlights don't match, and the perspective feels off. It screams 'fake'.
This is the most common failure in AI product photography, and it’s not your fault. Most tools just swap backgrounds. They don't solve the real problem: light. A believable composite isn't about blending pixels in post-production; it's about generating a scene where the light is right from the start. This guide lays out the professional workflow to do exactly that, using AI to build a world around your product, not just behind it.
Why your AI product photos look like cheap stickers
The disconnect happens because your original product photo and the AI-generated background have two different, conflicting light sources. Your product was photographed in a studio with a softbox high and to the right. The AI background you prompted for has dramatic, low-angle sunlight coming from the left. No amount of editing can truly fix this fundamental mismatch. The human eye is incredibly sensitive to the physics of light, and when it's wrong, we instantly lose trust in the image.
This is why workflows that rely on fixing the image after the fact—like complex ControlNet setups on X or even Adobe Firefly's reshading tools—are working backwards. They are trying to repair a broken foundation. The professional approach is to ensure the foundation is perfect from the beginning.
The secret: generate a world that matches your product
Instead of trying to force your product into a pre-existing scene, you need to make the AI generate a scene that is purpose-built for your product. This means treating your product photo not just as an object to be placed, but as a reference image containing critical data—specifically, data about its lighting, shadows, and perspective.
In MyUP, this isn't a complex, multi-step process. It's a single, elegant workflow. You provide your product image and then instruct the AI with a 'light-aware' prompt. You tell it to generate a background that conforms to the reality of your product photo. The result is a composite where the product and background feel like they were shot together, with the same camera, in the same room, under the same light. It's a 'generate-right' approach, not an 'edit-to-fix' one.
The 4-step workflow for seamless product backgrounds in MyUP
Let's walk through the exact process for creating a believable product shot. This workflow assumes you have a clean product photo with its background already removed (a transparent PNG).
Step 1: Upload your product image
Start by uploading your product photo into a new MyUP project. This image will serve as the anchor for the entire scene.
Step 2: Analyze its lighting
Before you write a single word, look at your product like a photographer. Ask yourself three questions:
- Direction: Where is the main light source coming from? Is it from the top, the side, the front? Look for the brightest highlights on your product.
- Quality: Is the light hard or soft? Hard light creates sharp, well-defined shadows. Soft light creates gentle, diffused shadows with smooth transitions.
- Color: Is the light warm (yellowish, like sunlight) or cool (bluish, like overcast daylight)?
For example, a product shot in a studio might have soft, cool light coming from the top right.
Step 3: Write a 'light-aware' prompt
Now, translate your analysis into your prompt. Don't just ask for a 'marble countertop'. Describe the countertop and the light that should be hitting it. The key is to include phrases that describe the light source relative to your product.
Prompt Formula: [Surface/Environment Description] + [Lighting Direction] + [Lighting Quality] + [Color Temperature]
Example Prompt:"A clean, white marble countertop. The scene is lit by a soft, cool light source coming from the top right, matching the highlights on the product."
Step 4: Generate and refine with your Brandkit
Run the generation in MyUP. Because you've guided the AI on the lighting, the resulting background will already be a 90% match. From here, you can make minor adjustments and use your MyUP Brandkit to add logos, text, and other brand elements that automatically match your visual identity. The human validates, MyUP produces.
To execute this simple studio setup immediately, use the Studio Product Ad workflow in MyUP. It's designed for exactly this kind of clean, professional composite.
Workflow code: #myup-u4lt-o0ho
Studio Product Ad
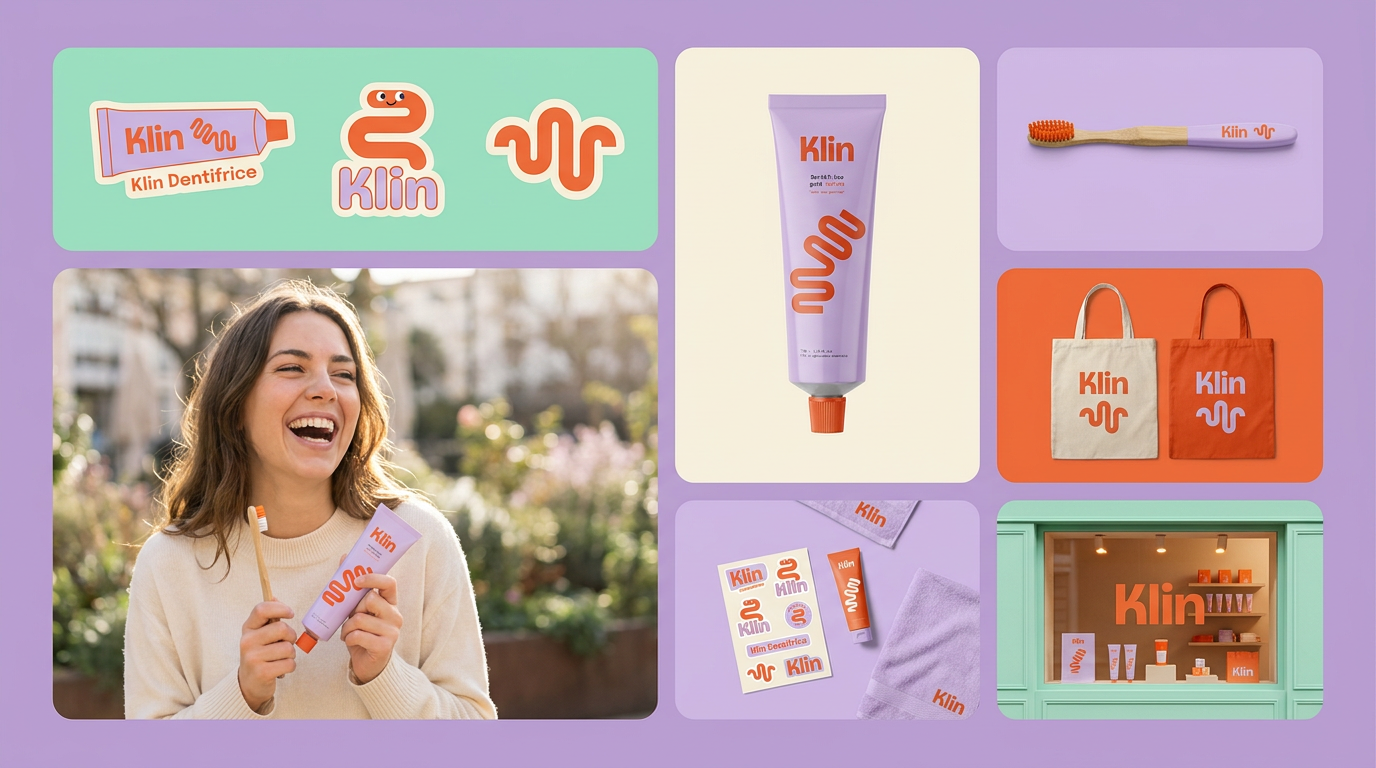
Drop in a single product photo to instantly build a cohesive visual identity. It automatically samples your item's dominant colors to generate a beautifully matched mosaic moodboard, giving your brand an instant, polished aesthetic.
Regenerate using your own assets.
Workflow code: #myup-aon6-zvop
Studio Product Ad
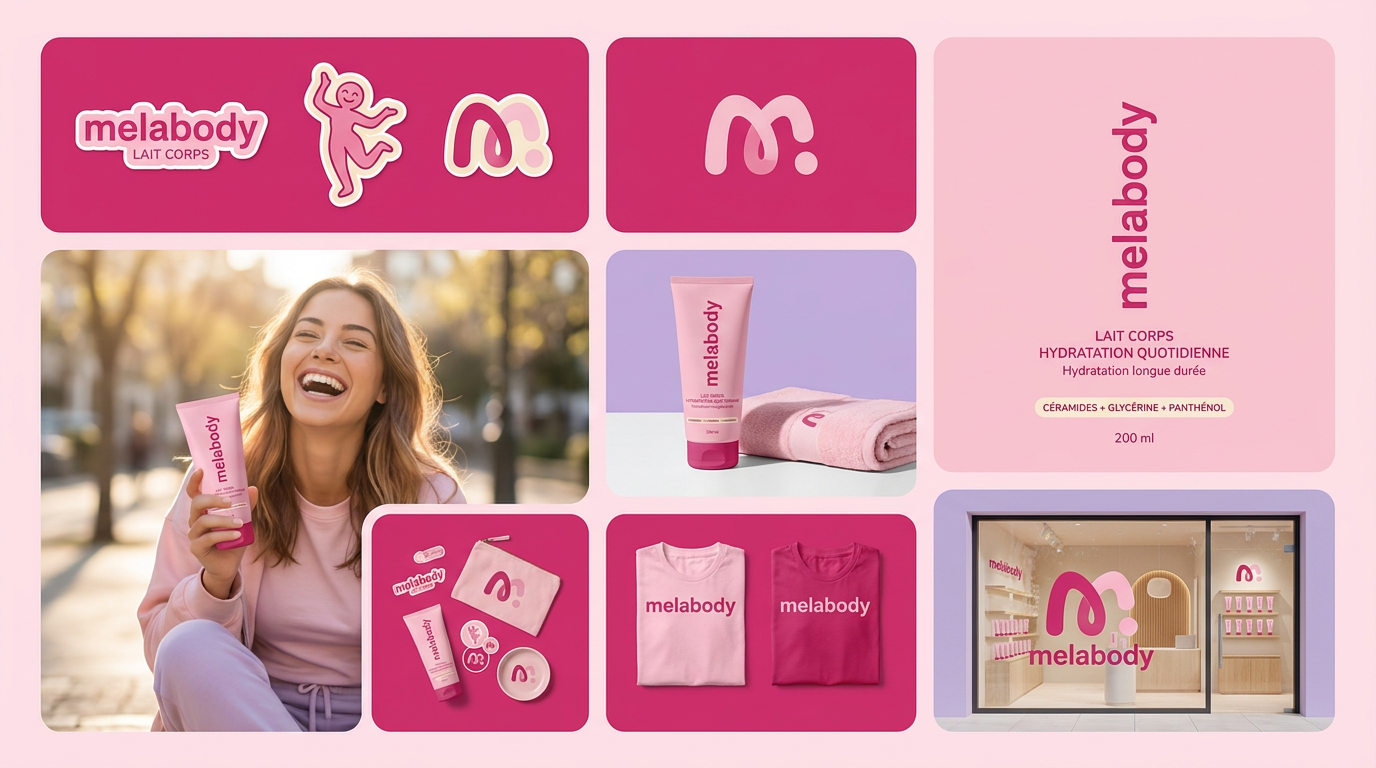
Turn any product photo into a cohesive brand moodboard. It automatically extracts the dominant color from your image to style the background, framing everything in a clean mosaic layout that perfectly matches your aesthetic.
Regenerate using your own assets.
Prompting like a photographer: advanced techniques for realism
Once you've mastered matching the light source, you can add more layers of detail to your prompts to sell the realism even further. Think about the details a professional photographer would consider.
Match the camera perspective
Is your product shot from eye-level, from a low angle, or from directly above (a flat lay)? Your background prompt should specify the same perspective. If your bottle was shot head-on, your prompt should request an 'eye-level shot of a wooden bar'. If your product was shot top-down, ask for a 'flat lay of a textured concrete surface'.
Describe the surface properties
How should the surface interact with your product? A glossy surface will create reflections, while a matte surface will absorb light. You can add this to your prompt.
Example:"A dark, polished wooden table with subtle reflections, lit by soft window light from the left."
Create realistic contact shadows
The most important detail for making an object feel grounded is the contact shadow—the small, dark shadow right where the object touches the surface. You can prompt the AI to include this.
Example:"Product sitting on a stone slab, with a soft, small contact shadow where it touches the surface."
Combining these elements allows you to create incredibly rich and realistic product photos for any scene. The Photo Product Ad workflow in MyUP is perfect for building these more complex, lifestyle-oriented shots.
Workflow code: #myup-seli-mtp0
Photo Product Ad
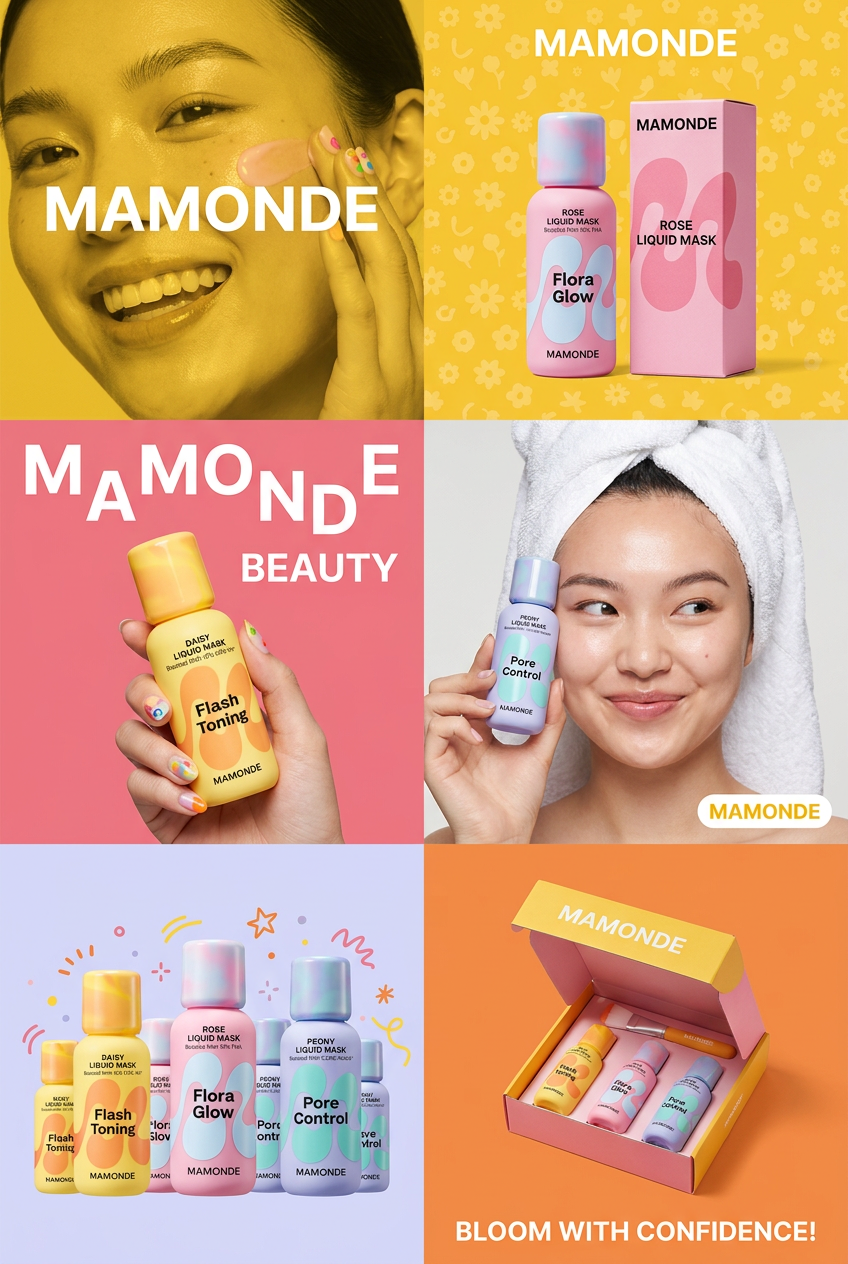
Get that high-end editorial look with a stacked, multi-panel campaign layout. It slices your brand visuals into a bold three-tier grid, pairing tight product close-ups right next to lifestyle shots for a cohesive, modern beauty poster.
Regenerate using your own assets.
Case study: creating ads for cosmetics and beverages
Reflective and transparent objects like lip gloss or drink bottles are notoriously difficult to composite realistically. Their surfaces need to reflect the new environment to be believable. The 'generate-right' workflow handles this naturally.
For a cosmetic product, you can prompt for a scene that complements its texture and color. The AI will generate a background where the lighting logically creates the highlights and reflections you see on the product itself.
Example Prompt for a Lip Gloss:"A macro shot of a glossy pink surface with swirling textures, lit by a bright, focused studio light from the top, creating sharp highlights."
You can create this type of shot with the Gourmand Candy Lip Gloss Ad workflow.
Workflow code: #myup-iffs-sdef
Gourmand Candy Lip Gloss Ad
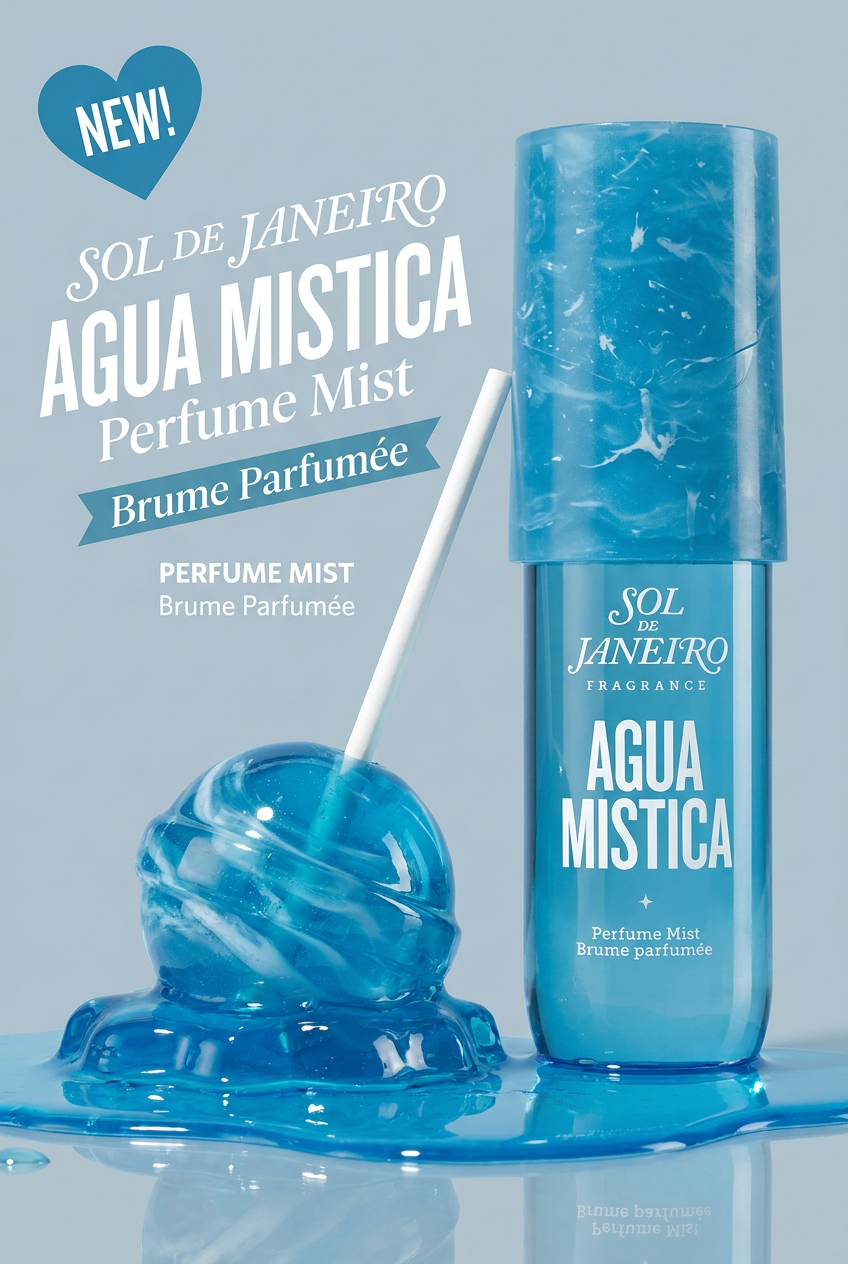
Drop your product photo in and watch it transform into a sleek, modern cosmetic ad. It automatically extracts your item's signature colors to build a vibrant, gourmand-style backdrop that matches perfectly.
Regenerate using your own assets.
For a beverage bottle, especially a glass one, you need to consider how light passes through it and reflects off it. Prompting for a background with a clear light source gives the AI the information it needs to render these effects believably.
Example Prompt for a Drink Bottle:"A rustic wooden bar top with condensation drops, backlit by warm afternoon sun coming through a window from behind, causing the liquid in the bottle to glow."
The Drink Product Ad workflow is tailored for these exact scenarios.
Workflow code: #myup-cqnu-i50m
Drink Product Ad
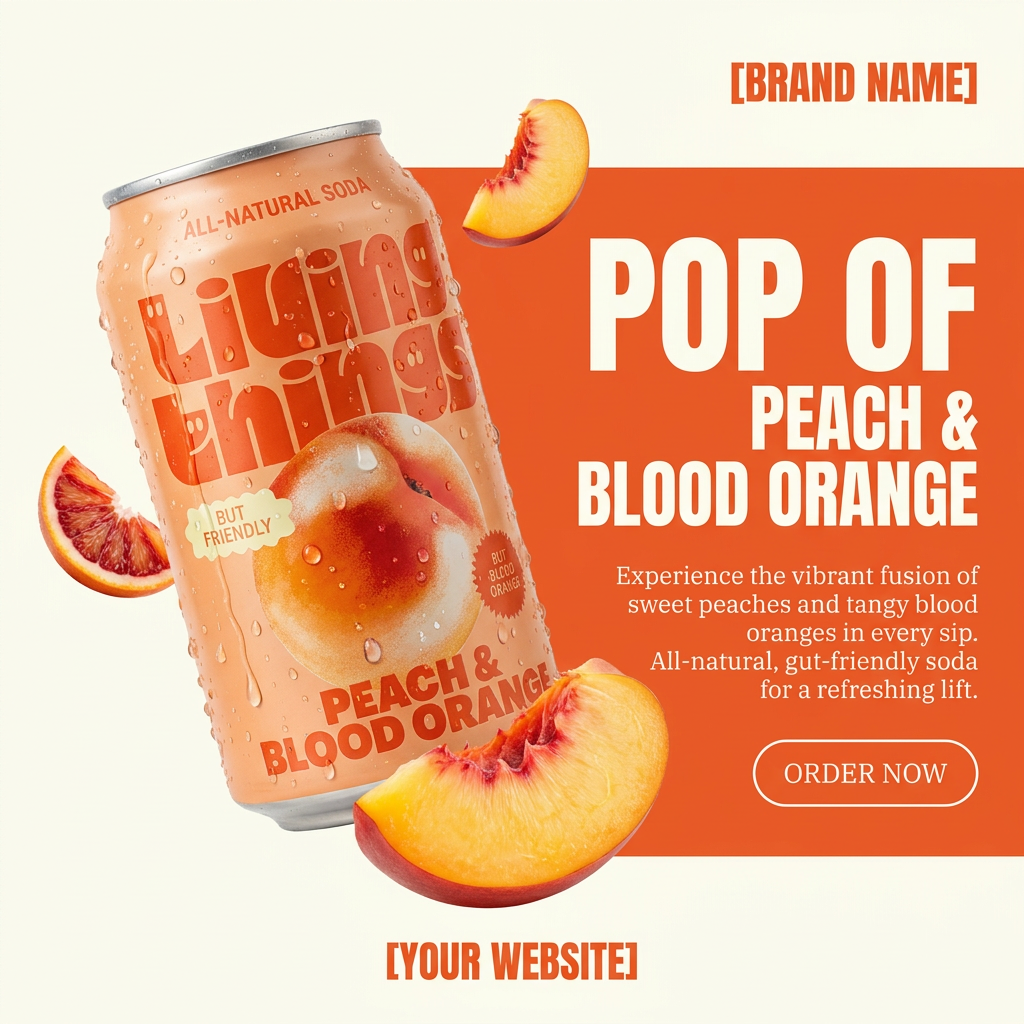
Turn any product photo into a bold, modern ad poster. It automatically frames your item against a split-color background, pairing a clean cream tone with a solid block of your product's dominant color. Super clean, minimal, and ready for social feeds.
Regenerate using your own assets.
From a single shot to an entire campaign
This workflow isn't just for creating a single perfect image. Its real power comes from its repeatability. Once you have a prompt that perfectly matches the lighting of your product photography, you can save it as a custom workflow in MyUP.
From there, you can generate dozens of variations for an entire campaign in minutes. Need to A/B test different backgrounds for a social media ad? Just tweak the surface description in your prompt—'marble countertop', 'slate tile', 'butcher block'—while keeping the lighting instructions identical. Every single output will remain perfectly lit and on-brand, thanks to your saved Brandkit.
This is how you move from tedious, one-off edits to a scalable system for visual content production. You're not just making images; you're building a machine that can generate an endless stream of on-brand, high-quality product shots, and it can even be the foundation for creating AI UGC video ads that actually look real.
