You prompted for a “line art icon of a coffee cup,” and the AI returned a wobbly, smudged drawing with uneven lines and weird shading artifacts. It’s a common frustration. As creators on Reddit and design forums are sharing, getting clean, production-ready line art from standard AI image generators feels more like luck than skill. They resort to complex, multi-tool workarounds because default models are trained on photos and paintings, not the clean precision of vector-style illustration.
Getting crisp, usable line art isn't about finding a magic keyword. It’s about implementing a system. This guide provides a specific, repeatable prompt structure that gives you control over the output, and shows you how to automate it in MyUP so you never have to fight for clean lines again.
Why your AI line art looks wobbly and inconsistent
The core of the problem is that most AI image models think in pixels, not paths. They are designed to create rich, textured images by predicting the color of adjacent pixels. This is perfect for photorealism but terrible for line art, which relies on the mathematical precision of vectors—smooth curves and straight lines with consistent weight.
When you ask a pixel-based model for a “line,” it’s essentially trying to paint a very thin shape. This process introduces unwanted variables:
- Inconsistent Line Weight: The “brush” size varies, creating lines that get thicker and thinner randomly.
- Digital Artifacts: The model adds noise, stray pixels, and smudges because it’s trying to add texture where none is needed.
- Unwanted Shading: Models often default to adding subtle gradients and shadows to give objects a 3D feel, which destroys the flat, clean aesthetic of line art.
To get clean results, you can’t just describe the subject; you have to aggressively instruct the AI on what *not* to do. You have to force it to ignore its training and think like a graphic designer.
The 4-part prompt structure for crisp, clean lines
Instead of a simple description, a successful line art prompt is a structured command with four distinct parts. This formula works by leaving no room for the AI to make its own stylistic assumptions.
The Formula: [Style] of [Subject], [Composition], [Negative Commands]
Let's break down each component:
1. Style Declaration: Be explicit about the type of line art. This is your most important keyword.
- Good examples: Minimalist line art, Clean icon illustration, Technical line drawing, Single line vector art.
- Avoid: Drawing, Sketch, Illustration (these are too vague and invite texture).
2. Subject: Describe the object or concept clearly and simply.
- Examples: a steaming coffee mug, a running shoe, a happy cat.
3. Composition & View: Tell the AI how to frame the subject. This removes ambiguity.
- Good examples: isolated on a plain white background, flat 2D view, centered, orthographic view.
4. Aggressive Negative Prompts: This is where you eliminate all the unwanted pixel-painting behaviors. Use your tool's negative prompt feature (often prefixed with --no or similar syntax) to forbid specific attributes.
- Essential negatives: --no shading, texture, color, gradients, 3d render, photorealistic, shadows, blurry lines, messy, artifacts, noise.
Putting it all together, a weak prompt like “line art of a coffee cup” becomes a powerful command:
Minimalist line art of a steaming coffee mug, centered, isolated on a plain white background --no shading, texture, color, gradients, 3d render, photorealistic, shadows, blurry lines, messy, artifacts, noise
This structure gives the AI a narrow, well-defined target, dramatically increasing your chances of getting a clean, usable asset on the first try.
Turn your prompt into a repeatable workflow in MyUP
Copying and pasting that long prompt formula is better than guessing, but it’s still manual work. The real power comes from turning this system into an automated workflow. In MyUP, you can build this logic once and reuse it forever.
Instead of starting from a blank text box, you create a workflow that has the core prompt structure pre-loaded. Your only job is to input the subject—like “a bicycle” or “a lightbulb”—and MyUP handles the rest. This is how you move from generating one good image to building an entire library of consistent brand assets.
Even better, you can connect it to your MyUP Brandkit. A Brandkit stores your brand's visual identity—colors, fonts, and logos. When you run your line art workflow, you can set it to automatically use your brand’s specific black (or any other color) and apply it to a background of your brand’s white. This enforces perfect consistency across hundreds of icons without you ever having to check a hex code. The user validates the final creative, but MyUP handles the tedious production.
This workflow transforms the line art generator from a creative tool into a production machine. You can start with a template designed for clean, minimalist visuals and adapt it to your needs.
Workflow code: #myup-sygb-rhnt
Minimalist Vertical Product Advertising Poster
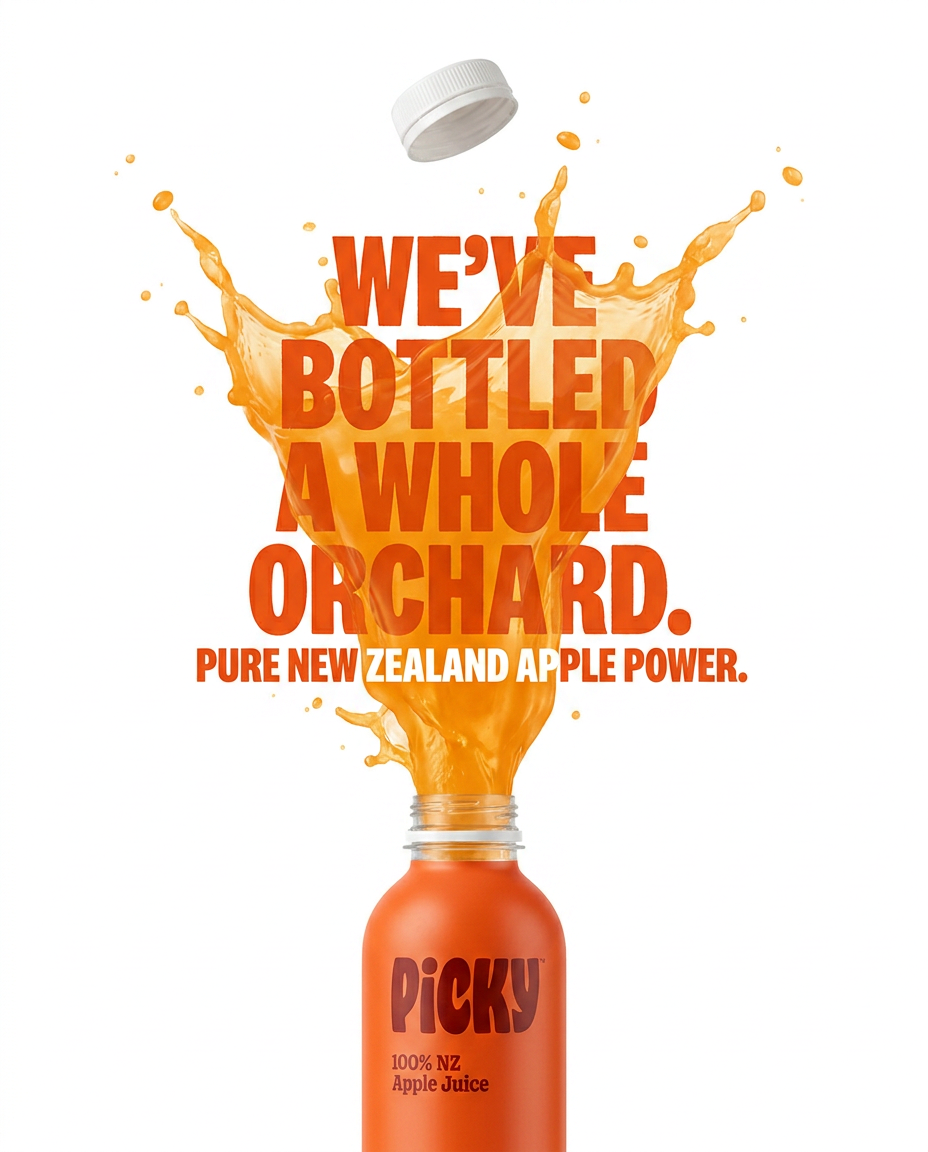
Drop the clutter and put your product in the spotlight. This setup places your item against a pure, seamless white background with a striking vertical flow that draws the eye straight up. It's perfect for creating clean, high-end studio posters.
Regenerate using your own assets.
Use case: generating a consistent set of brand icons
Imagine you need a set of five icons for your new website's features section: a gear, a shield, a rocket, a user profile, and a bar chart. Manually prompting for each one risks getting five slightly different styles, line weights, and compositions.
With a MyUP workflow, the process is different:
- Set up the workflow: You save the 4-part prompt structure, leaving the [Subject] part as a variable.
- Connect your Brandkit: You configure the workflow to use your brand's official black for the line color and white for the background.
- Run in batches: You simply provide the list of subjects: “gear,” “shield,” “rocket,” “user profile,” “bar chart.”
MyUP runs the workflow for each subject, generating five icons that are perfectly matched in style, color, and line weight. The output is a cohesive set of assets, ready for use. This is the difference between fighting the AI for each image and having an automated system that produces on-brand content on demand. It's a method that works just as well for getting clean lines in AI-generated text as it does for images.
Once you have your icon set, you can even use another MyUP workflow to instantly arrange them into a polished graphic for a social media announcement or presentation slide.
Workflow code: #myup-n0bi-2wzk
Bold Editorial Grid Poster
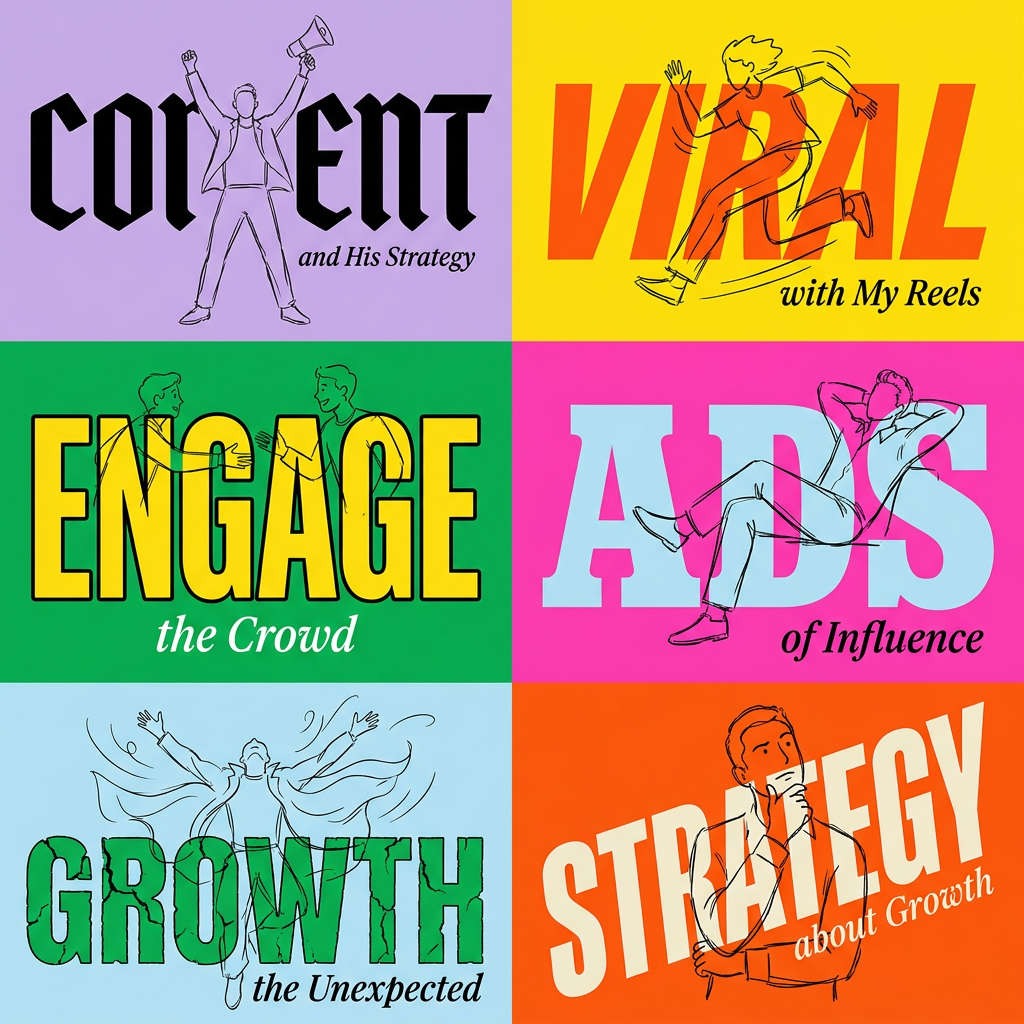
Create striking 2x3 editorial posters with six seamless, flat-color square cards in a perfect 4:5 grid. There are absolutely no gaps between the blocks, giving your content a bold, high-contrast magazine layout. It looks incredibly clean on any social feed.
Regenerate using your own assets.
Adapting the workflow for different line art styles
The core 4-part formula is a robust starting point, but you can adapt it for more specific use cases by modifying the 'Style Declaration' and adding relevant keywords.
For technical diagrams and schematics:
Add keywords like technical drawing, schematic diagram, blueprint style, orthographic, precise lines. This guides the model toward engineering-style graphics, perfect for instructions or product feature callouts.
Technical line drawing of a mechanical watch movement, exploded view, isolated on a white background...
For coloring book pages:
Use terms like coloring book page for kids, bold simple outlines, thick lines, whimsical. This will produce images with clear, closed shapes that are easy to fill in.
Coloring book page for kids of a friendly dragon in a forest, bold simple outlines, full page...
For product illustrations:
For clean outlines of products for manuals or e-commerce sites, use product illustration outline, assembly diagram style, clean vector style. This is ideal for showing product features without the distraction of a full photograph.
Clean vector style line art of a modern office chair, side view, isolated on white...
From clean lines to finished design
Generating the perfect line art is only the first step. The asset needs to be incorporated into a finished design—a social post, a presentation slide, a webpage header. MyUP workflows can bridge this gap instantly. Once your clean illustration is generated, you can pipe it directly into a design template.
For example, you could generate a minimalist line drawing of a plant and then use a workflow to automatically place it onto a textured paper background with your brand's typography for a calendar post. Or, you could take a line art icon of your product and have a workflow insert it into a sleek, minimalist advertising poster. The system handles the layout, fonts, and colors, letting you go from idea to finished creative in a single, continuous process.
Workflow code: #myup-hcix-fsva
Textured Paper Calendar Close-Up
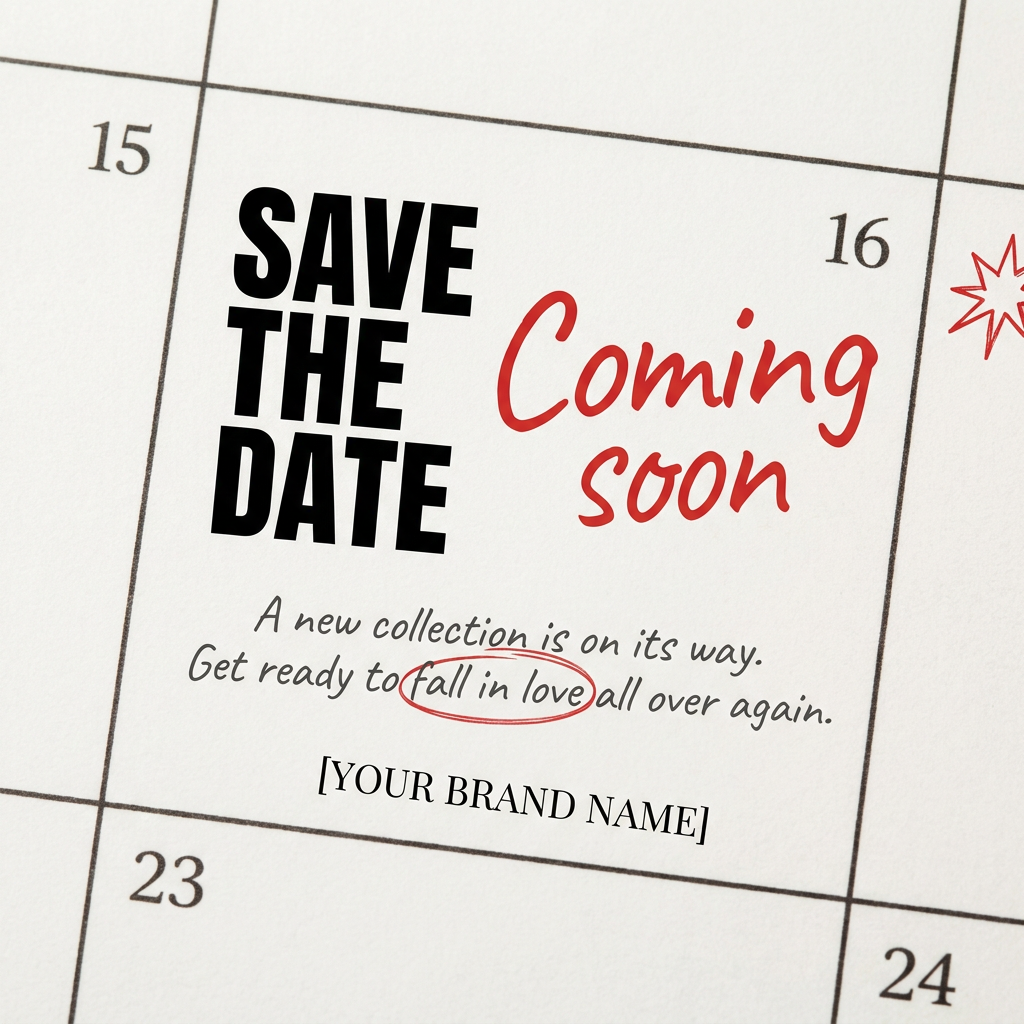
Turn your upcoming dates or launch schedule into a beautiful, tactile physical calendar. It renders crisp minimalist grids on heavy textured paper with realistic macro focus. Perfect for sharing events on social media without looking like a generic graphic.
Regenerate using your own assets.
Stop fighting for clean lines—automate them
The frustration with AI-generated line art comes from treating the AI like a creative partner when it should be treated as a production tool. By replacing vague requests with a strict, repeatable system, you take control of the output. One-off prompt battles are a waste of time; a well-defined workflow is an asset that pays you back with speed and consistency every time you use it.
Instead of hoping for a lucky result, build your own line art generation engine in MyUP. Combine the 4-part prompt structure with your Brandkit to create an automated system that delivers exactly what you need, every single time. That is how you stop being a prompter and start being a producer.
