You’ve seen the new tools. With the launch of apps like RoomCraft AI and hyper-realistic models like Flux AI's FLUX-1-AR this month, the promise of one-click AI interior design is everywhere. But as a professional designer, you know the difference between a style filter and a design vision. Your clients hire you for your unique aesthetic, not a generic 'modern farmhouse' preset that looks like everyone else's feed.
The real challenge isn’t generating *an* image; it's generating the *right* image, consistently, that reflects your signature style. This is where one-click tools fail. They offer novelty without control, diluting your brand with every generation.
This guide outlines a professional workflow in MyUP.ai to do the opposite. We’ll show you how to take a client's raw room photo and use it as a canvas to scale your specific creative vision, letting you produce dozens of on-brand concepts in the time it used to take to create one.
The professional workflow: from client photo to concept presentation
A successful AI-assisted design process isn’t about hitting 'generate' and hoping for the best. It's a structured workflow that puts your creative direction in control, with AI handling the production. This is how you move from a client's 'before' photo to a compelling concept presentation:
- Step 1: Codify your aesthetic in a reusable 'Stylekit'. You'll translate your signature design language into a MyUP Brandkit you can apply to any project.
- Step 2: Use the client's photo as your structural base. You'll use image-to-image generation to restyle the space while preserving its core architectural integrity.
- Step 3: Iterate with precision. You'll learn to refine specific elements within the design without losing the entire composition.
- Step 4: Package your concepts for client review. You'll assemble your best mockups into a professional mood board or presentation in minutes.
Step 1: Build your signature 'Stylekit' in MyUP
Your value as a designer is your unique point of view. The first step is to teach the AI what that looks like. In MyUP, you can use a Brandkit as a professional 'Stylekit'—a central repository for your aesthetic DNA.
Go beyond just saving brand colors and logos. Create text assets in your Brandkit that define your core design language. This is how you ensure every AI-generated visual is consistent and on-brand. Here’s what to include:
- Material Palettes: Save prompts describing your go-to textures and finishes. For example: "A material palette of unlacquered brass, travertine stone, raw oak, and bouclé wool."
- Lighting Styles: Define how you light a space. For example: "Soft, indirect morning light from large windows, creating long, gentle shadows." or "Dramatic, high-contrast lighting with focused spotlights on key furniture pieces."
- Mood & Style Descriptors: Codify your signature styles. Examples could be "Japandi serenity with minimalist forms and natural materials," or "Maximalist art deco opulence with bold geometric patterns and jewel tones."
By building this Stylekit once, you create a reusable asset that lets you apply your signature look to any client space instantly. This is the foundation for creating consistent, on-brand visuals with AI, moving from random generation to a reliable production system.
Step 2: Generate initial concepts using image-to-image
With your Stylekit ready, you can now address the client's specific space. Start by uploading their 'before' photo to an image-to-image workflow in MyUP. This technique uses the photograph as a structural guide, ensuring the AI respects the room's layout, windows, and core architecture—what designers call maintaining spatial integrity.
Your prompt will combine elements from your saved Stylekit with the specific request. For example:
'A photorealistic interior design mockup of this room. Apply a [Japandi serenity] style. Use a [material palette of raw oak, tumbled limestone, and brushed bronze]. The lighting should be [soft, indirect morning light]. Add minimalist furniture and a large olive tree in a ceramic pot.'
The bracketed terms are where you'd insert the pre-saved prompts from your Stylekit. MyUP will then generate a batch of initial concepts that blend the client's actual space with your signature aesthetic. This process is far more controlled and relevant than starting from a blank canvas, and it's a core technique in professional applications like AI virtual staging.
Step 3: Iterate with precision—don't just re-roll
The first batch of images gives you a creative foundation, but professional work requires refinement. Instead of just hitting 'generate' again and hoping for a better result, you iterate with targeted prompt adjustments. This is where you, the designer, validate and direct the output.
Found a concept that's 90% there but the sofa is wrong? Don't discard it. Use that image as your new input and refine the prompt:
'Same composition and style, but change the cream bouclé sofa to a cognac brown leather chesterfield sofa.'
This level of control allows you to explore variations on a promising direction quickly. You can swap materials, change furniture pieces, or adjust the time of day without losing the composition you and the client already like. It transforms the process from a lottery into a focused, iterative dialogue with the AI. This is the kind of rapid feedback loop that makes it possible to even run live AI design sessions with clients.
Step 4: Create a client-ready mood board in minutes
A folder of loose image files is not a client presentation. The final step is to package your curated mockups into a professional, compelling format that tells a design story. Instead of spending hours arranging images in Canva or InDesign, you can use a MyUP workflow to generate a polished mood board or concept sheet instantly.
Once you've selected your best 2-3 design variations, you can feed them into a layout template. This closes the loop on the entire workflow, taking you from raw photo to a deliverable asset inside a single platform.
For a clean, architectural presentation that focuses on one primary concept, the Minimalist Poster template is a perfect choice. It frames your design without distraction.
Workflow code: #myup-k4td-9k6z
Minimalist Poster
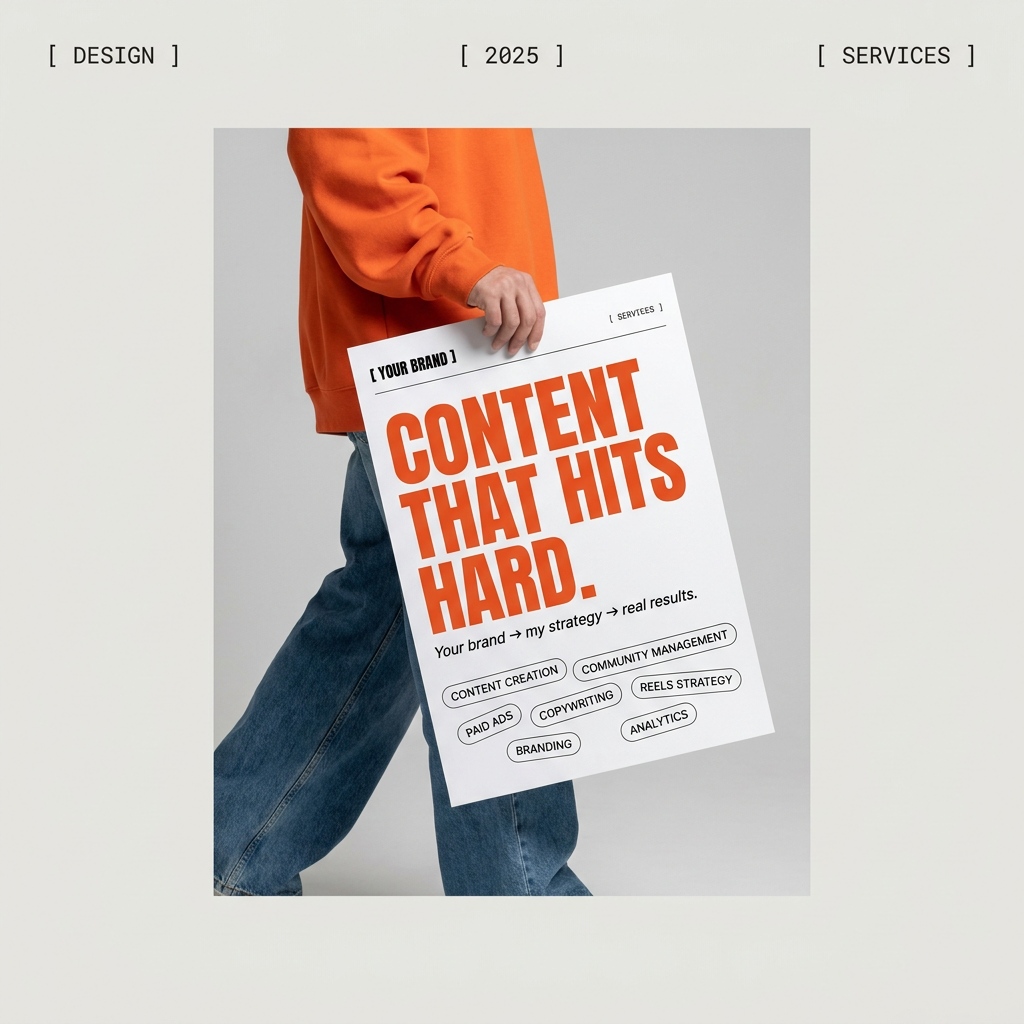
Give your social feed a clean, gallery-like aesthetic. This layout frames your images with structured mono typography and soft, neutral backgrounds for a high-end editorial look. It's perfect for minimal product launches or brand announcements.
Regenerate using your own assets.
If you want to showcase multiple options or compare material palettes side-by-side, a grid layout is more effective. The Bold Editorial Grid Poster provides a dynamic, magazine-quality finish that looks highly professional.
Workflow code: #myup-n0bi-2wzk
Bold Editorial Grid Poster
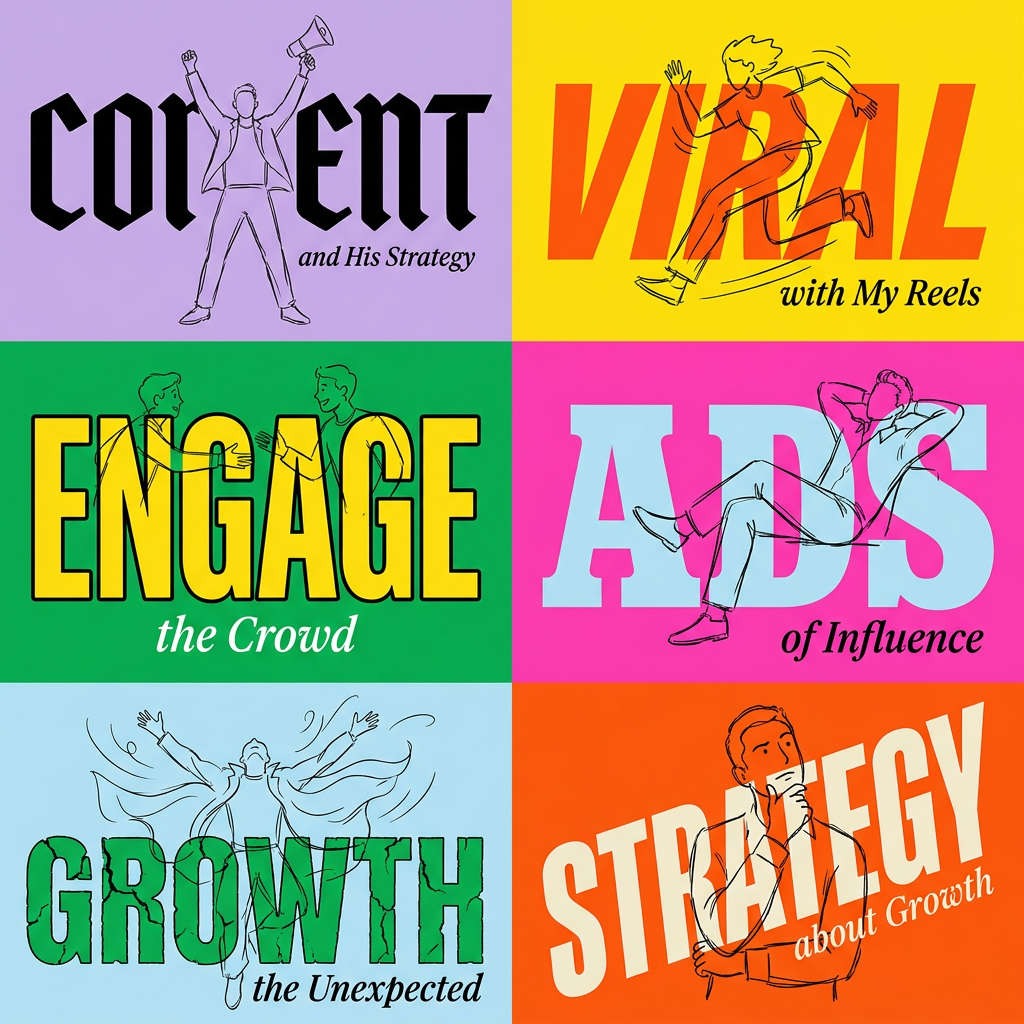
Create striking 2x3 editorial posters with six seamless, flat-color square cards in a perfect 4:5 grid. There are absolutely no gaps between the blocks, giving your content a bold, high-contrast magazine layout. It looks incredibly clean on any social feed.
Regenerate using your own assets.
Your vision, scaled
Generic AI tools give generic results. They offer a fleeting glimpse of what's possible but ultimately rob you of the very thing a client pays for: your unique creative vision. A professional AI workflow does the opposite. It's not about replacing your expertise but amplifying it.
By using MyUP to build a repeatable system—one based on your signature Stylekit and a controlled, iterative process—you can explore more creative directions for every project, deliver stunning concepts faster, and give clients a clearer picture of the final result. You remain the creative director; MyUP just became your new production studio.
