
On July 12, 2026, Adobe announced a new Firefly feature called 'Room Mapper,' designed to let you upload a photo of your room and place furniture into it. The concept is exactly what people want: a way to try before you buy, to see how that new sofa or armchair looks in your actual space before spending thousands of dollars.
But there's a catch. Like many one-click AI solutions, it works within a walled garden. You can only place products from a pre-approved catalog of 3D models. What happens when the perfect piece of furniture you found on a boutique website isn't in their system? You're out of luck.
The best use of AI in design isn't generating fantasy spaces from a limited menu. It's reducing uncertainty in the real world. You need a workflow that works with *any* product from *any* store. Here’s how to do it.
The workflow for testing any product in your real space
Instead of relying on a finite library of 3D models, a truly flexible workflow uses 2D images—the kind you can find on any e-commerce product page. By combining a photo of your room with a photo of the product, you can use AI to composite them realistically. This approach is faster, infinitely more versatile, and gives you the creative control that pre-made models can't offer.
On MyUP, this isn't a gimmick; it's a core capability. The platform is built for this kind of multi-image workflow, where the AI understands perspective, lighting, and texture to create a believable result. The goal is to make a confident decision, whether you're a homeowner, an interior designer presenting mockups, or an e-commerce brand creating lifestyle shots. You provide the creative direction and the assets; MyUP handles the complex rendering.
Step 1: Capture your canvas and your product
A great output starts with good inputs. You need two images:
- Your Room (The Canvas): Take a clear, well-lit photo of your space. For best results, shoot during the day with natural light. Make sure the area where you plan to place the new item is visible, including the floor and surrounding walls. This gives the AI crucial lighting and perspective cues to work with.
- Your Product (The Object): Find a high-resolution image of the product you want to test. A standard e-commerce shot on a white or neutral background is perfect. Save the image directly from the retailer's website.
The quality of these source images directly impacts the realism of the final composite. A blurry room photo or a tiny product thumbnail will limit the AI's ability to match scale and lighting accurately.
Step 2: Place and integrate with AI inpainting
This is where the compositing happens. In MyUP, you'll use an inpainting or image-to-image workflow. The process is straightforward:
- Upload Your Canvas: Start by uploading your room photo as the base image.
- Mask the Area: Use the masking tool to paint over the area where you want the new furniture to appear. This tells the AI exactly where to work.
- Provide the Product and Prompt: Upload your product photo as a second image input. Then, write a clear, descriptive prompt that guides the AI. For example: "Place this velvet armchair into the masked area. Match the soft, indirect lighting from the window on the left. Cast a realistic shadow on the oak floor."
The AI will analyze both the room's lighting and the product's texture to create a seamless blend. Getting lighting and texture right is what separates a realistic render from a cheap cutout. An AI workflow trained on complex surfaces, like the one below, is designed to understand how light reflects and diffuses, which is critical for believable results.
Workflow code: #myup-xoux-qmmy
Dark Volcanic Jewelry Editorial
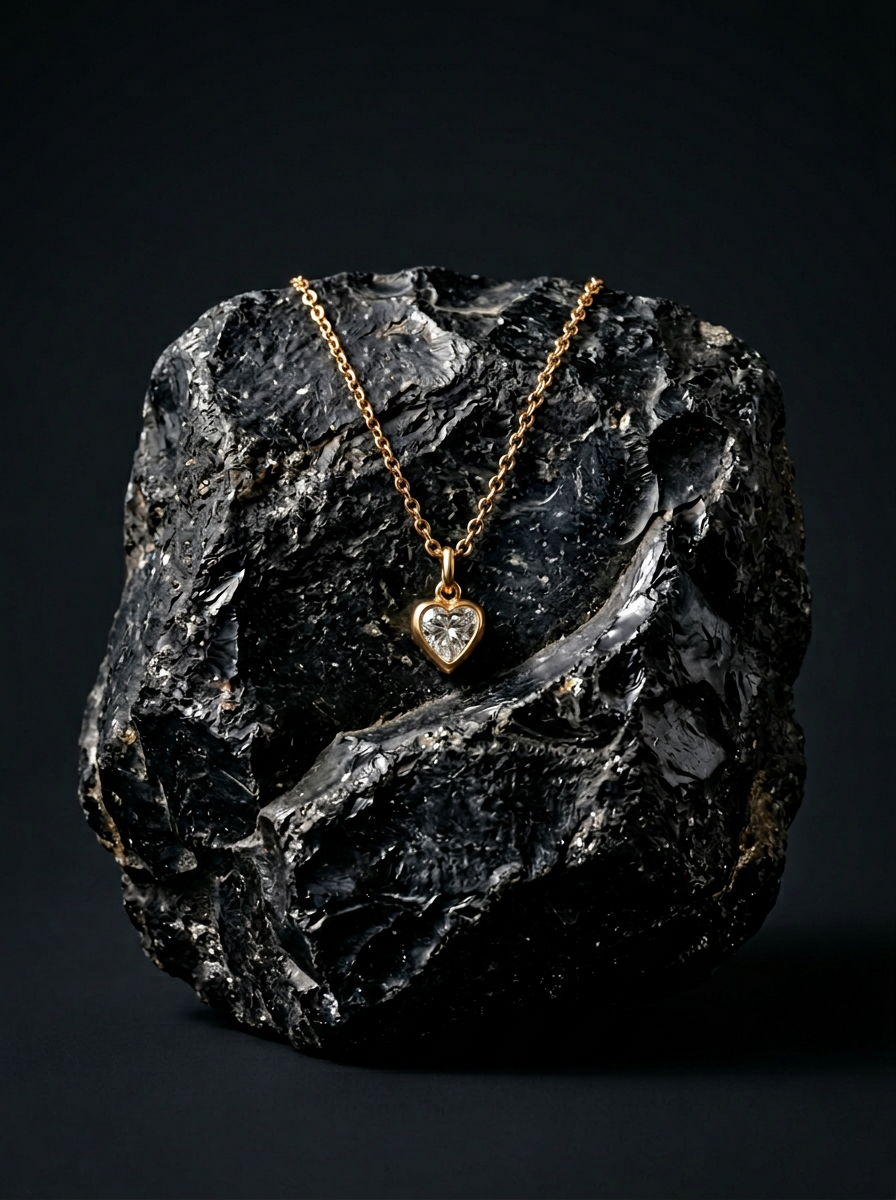
Place your product on a raw volcanic stone pedestal set against a pitch-black, moody studio backdrop. It creates a high-end, dramatic look with deep charcoal tones and sharp contrast. Perfect for making minimalist packaging or sleek tech stand out.
Regenerate using your own assets.
Step 3: Refine the details — where human control matters
The first AI generation might be 90% there, but professional quality lies in that last 10%. This is where a true creative tool proves its worth over a one-click generator. The process is iterative: MyUP executes, and you validate and direct.
If the shadow seems too light or the scale is slightly off, you don't start over. You adjust the prompt and regenerate. Treat the AI as your production assistant:
- "Make the shadow slightly longer and more diffused."
- "Adjust the scale to be 5% smaller."
- "Shift the color temperature of the chair to be a bit warmer to match the room."
This dialogue between you and the AI is how you achieve a photorealistic result that you can trust. It’s the difference between a fun AI experiment and a useful decision-making tool. For professionals, this level of control is non-negotiable, a principle we explore more in our guide to AI virtual staging with creative control.
From visualization to a full lifestyle campaign
This workflow isn't just for personal shopping. For e-commerce brands and marketers, it's a production powerhouse. You can take a single product photo and generate an entire lifestyle campaign without booking a single photoshoot. Imagine placing your new product in dozens of different settings—a minimalist loft, a cozy cabin, a modern office—all from your desk.
This method allows you to create a wealth of marketing assets quickly and cost-effectively, showing your product in contexts that resonate with different customer segments. To take your newly created composite and elevate it to an editorial standard, a dedicated workflow can make all the difference. This gives you a consistent, high-end look for an entire campaign.
Workflow code: #myup-xjaq-qhgx
Luxury Product Photography Studio
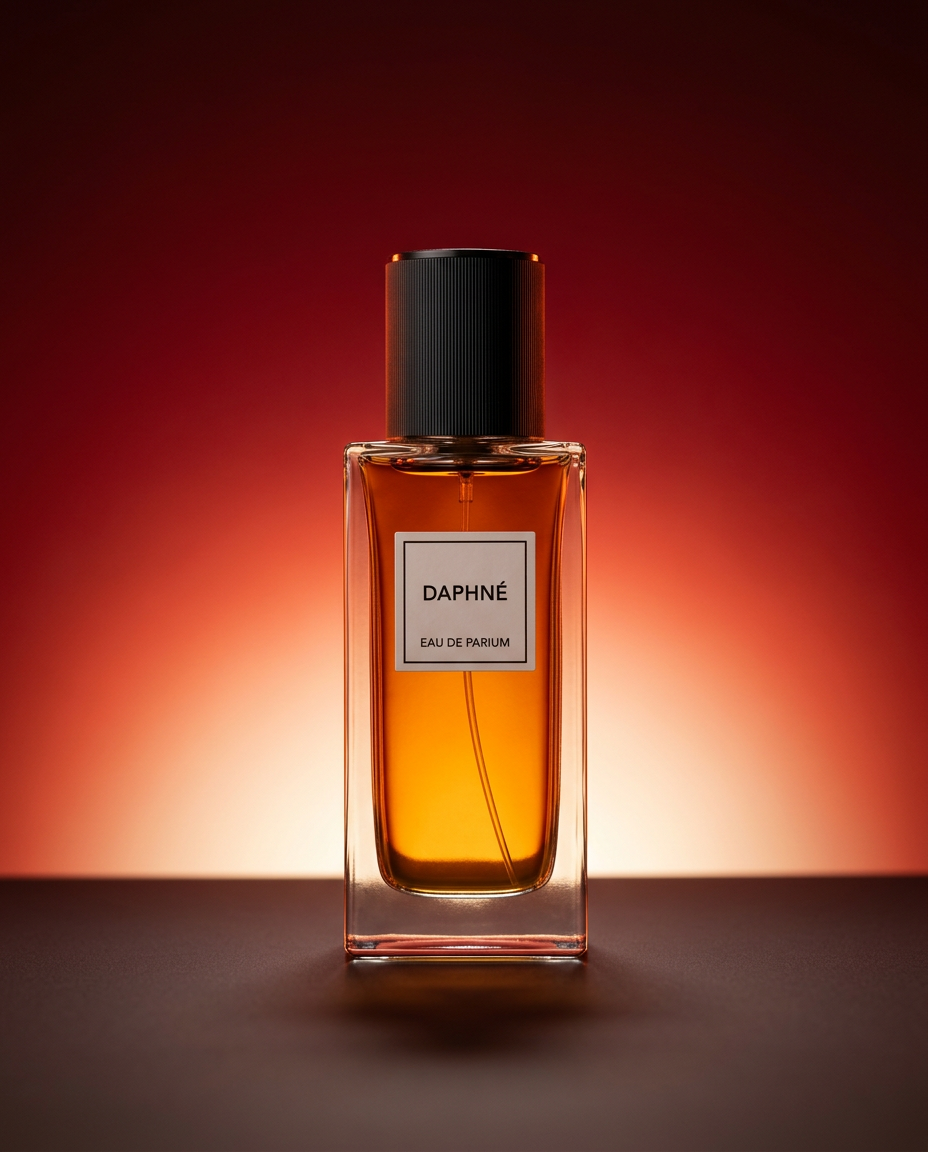
Drop your product into a dramatic, high-end studio setup. It places your item on a sleek flat surface against a rich crimson and orange cinematic gradient background. It's an easy way to get that moody, premium commercial look for any bottle, tech, or cosmetic.
Regenerate using your own assets.
Turn your virtual room into a real ad
Once you have the perfect image of your product in a realistic setting, the job isn't over. The final step is to turn that visual into a performing marketing asset. Within MyUP, you can chain workflows together. Take the approved lifestyle image and feed it directly into a social media template.
This is how you close the loop from visualization to conversion. You can add your logo and on-brand text from your saved Brandkit, and resize the image for Instagram Stories, TikTok, or Facebook ads in seconds. Instead of exporting and importing between different tools, you stay on one platform, maintaining quality and brand consistency from start to finish. A workflow like the one below is built to do exactly that, transforming a simple image into a polished, vertical ad ready for launch.
Workflow code: #myup-sygb-rhnt
Minimalist Vertical Product Advertising Poster
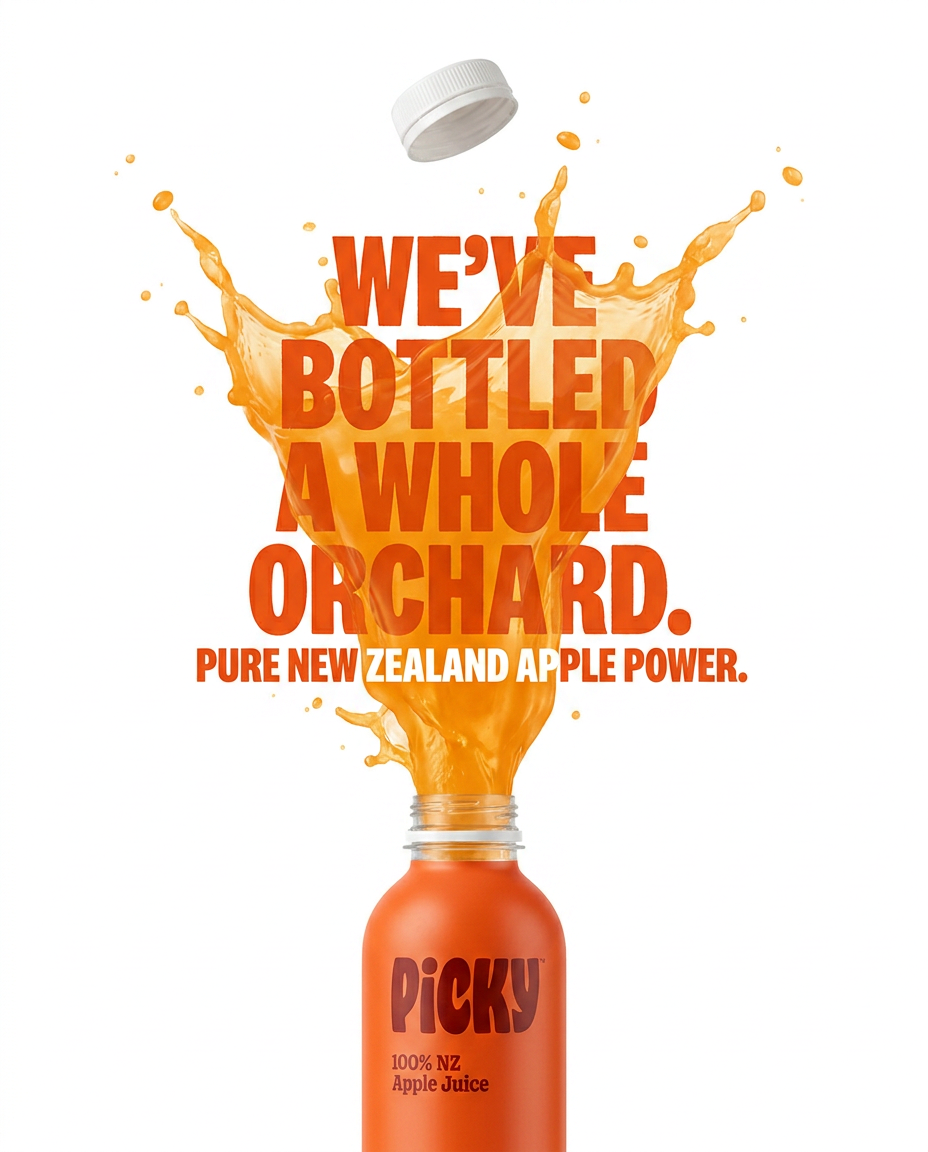
Drop the clutter and put your product in the spotlight. This setup places your item against a pure, seamless white background with a striking vertical flow that draws the eye straight up. It's perfect for creating clean, high-end studio posters.
Regenerate using your own assets.
