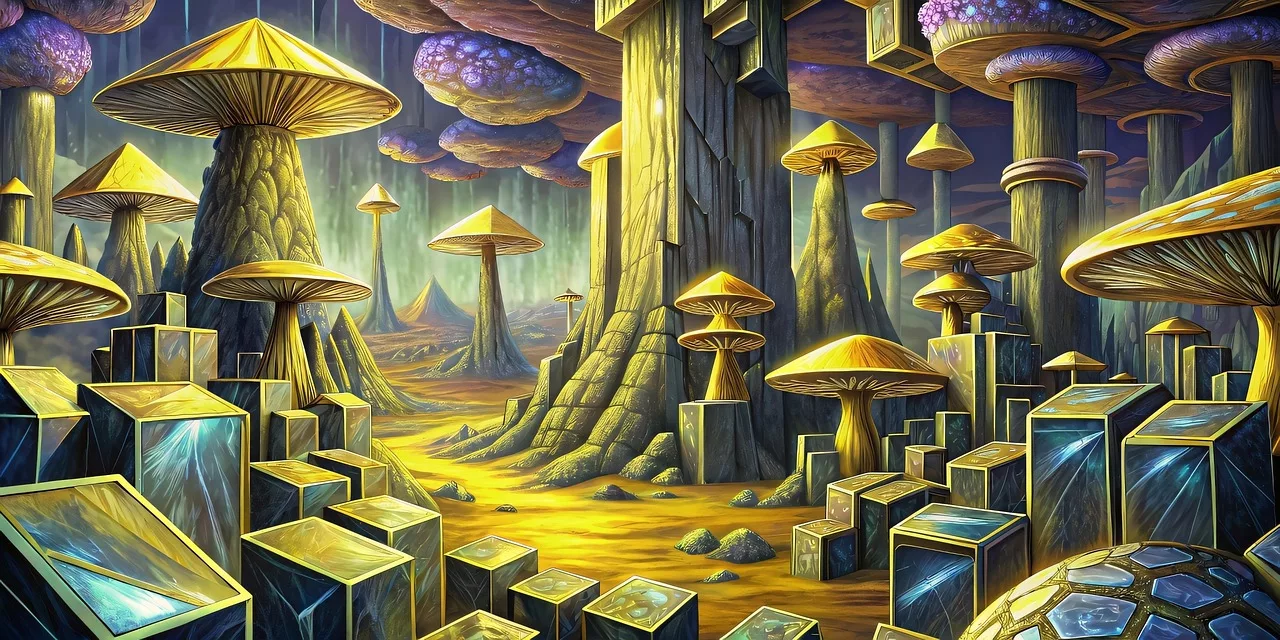
As of this week, the game has changed. On June 25, 2026, Canva launched its 'AI Video Scene Generator', a day after Adobe shipped 'Animate from Audio' in Express. Suddenly, creating short animated clips from a text prompt or a voice recording is more accessible than ever. It's an exciting development, but anyone who has tried to build a full explainer video with these tools has already hit the wall.
You get a collection of disconnected clips. A character in scene one looks nothing like the character in scene two. The color palette shifts. The background style morphs. You're left with a visual mess that fails to tell a cohesive story. These tools generate scenes; they don't build narratives.
The professional challenge isn't just making a clip, it's producing a complete, on-brand video where every single asset feels like it belongs. This requires a workflow, not just a button. Here is the four-step, script-to-screen workflow that delivers a finished explainer video, not just a folder of random assets.
Step 1: Deconstruct your script into AI-ready scenes
Before you generate a single image, you need a blueprint. A standard video script is written for a narrator, not for a visual AI. The first step is to translate your narrative into a series of explicit visual instructions. This isn't just about pasting your script into a prompt box; it's about creating a storyboard with words.
An AI agent can accelerate this process. Feed it your full script with a directive like: 'Break this script down into 10 distinct scenes. For each scene, write a detailed visual description for an AI image generator. Describe the main character, the setting, the action, and the overall mood.'
For example, a line of script like, 'Our new software simplifies team collaboration,' becomes an AI-ready scene description:
Scene 3: A diverse team of three professionals around a modern, minimalist conference table. A central figure, a woman with glasses and a blue sweater, points to a glowing interface on a large screen showing project timelines. The mood is focused and collaborative. The style is a clean, flat 2D vector illustration.
This deconstruction process turns your script into an actionable production plan. You now have a clear shot list that defines the visual content for your entire video.
Step 2: Generate a visually consistent library of assets
This is where most AI video attempts fail. Generating your scenes one-by-one is a recipe for disaster. You'll get different lighting, clashing art styles, and characters who are strangers from one frame to the next. The solution is to generate the entire asset library in a single, style-locked batch.
The bottleneck in explainer videos has never been the animation; it's the slow, manual creation of on-brand visual assets for every single scene. A proper AI workflow solves this. In MyUP, your Brandkit acts as the visual anchor. It stores your brand's specific colors, fonts, logo, and, crucially, its defined visual style. When you run your scene descriptions through a workflow, the Brandkit ensures every single generated image adheres to the same aesthetic rules.
Your video's entire visual identity can be defined from a single stylistic foundation. Even a static design concept can set the tone for the animation. You can establish a bold, graphic look for all your video assets using a workflow built for a specific aesthetic.
Workflow code: #myup-n0bi-2wzk
Bold Editorial Grid Poster
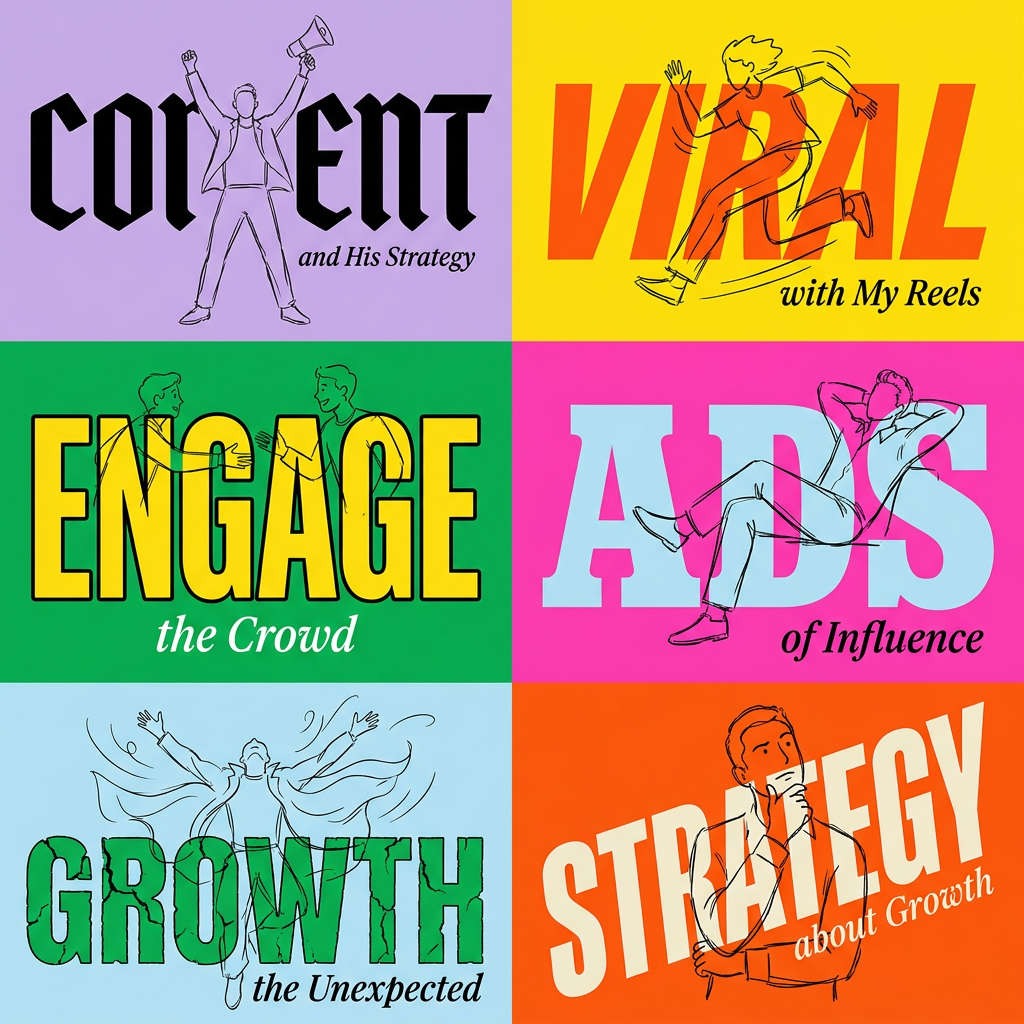
Create striking 2x3 editorial posters with six seamless, flat-color square cards in a perfect 4:5 grid. There are absolutely no gaps between the blocks, giving your content a bold, high-contrast magazine layout. It looks incredibly clean on any social feed.
Regenerate using your own assets.
Or, you could define a retro-inspired color palette and typographic style that carries through every scene.
Workflow code: #myup-xbur-hzoi
Bold Retro Yellow Event Poster
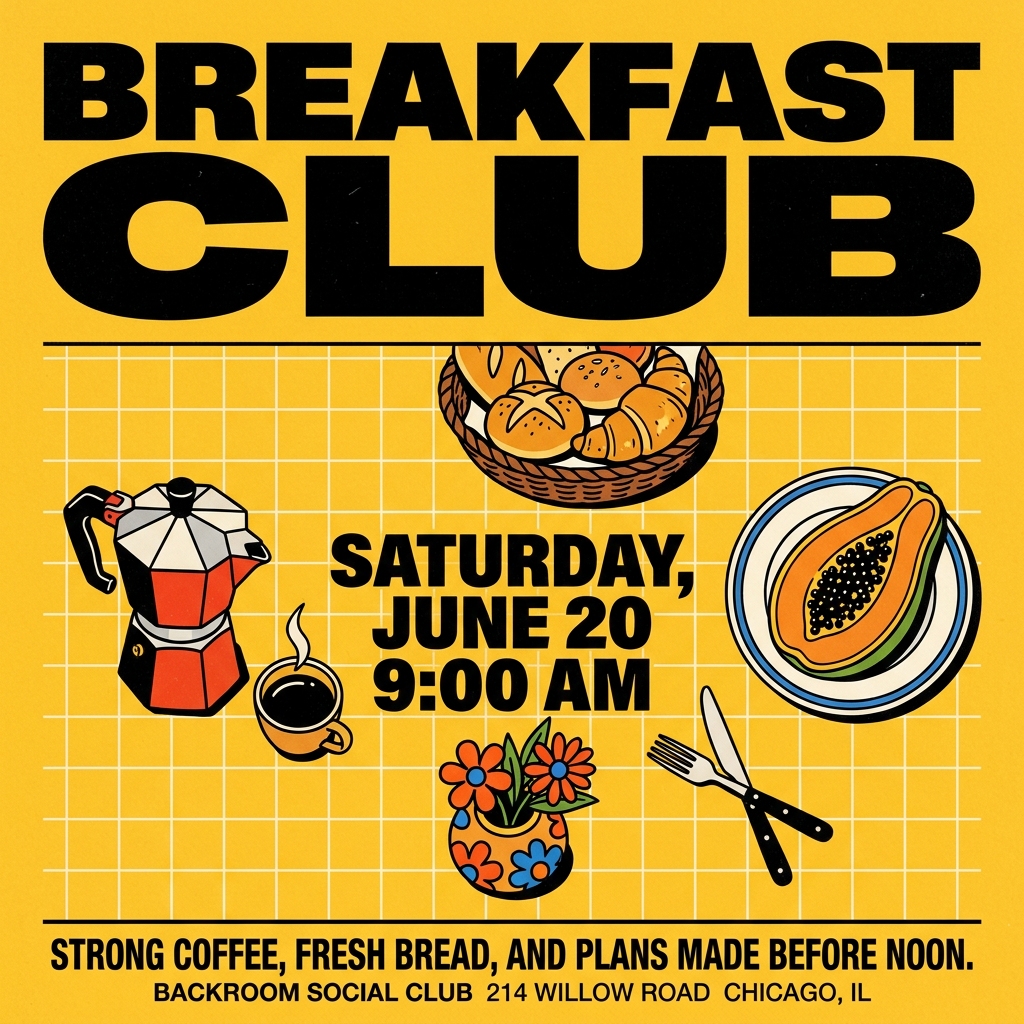
Turn your branding or event details into bold, nostalgic posters. It blends vibrant warm backdrops with a clean, retro square grid pattern to make any announcement look like a classic piece of mid-century graphic design.
Regenerate using your own assets.
The key is that the style is defined once and applied everywhere automatically. This is how you achieve professional-grade consistency without manually tweaking every image. This same principle applies to keeping your talent consistent. For a deeper dive on this, see our guide on the production workflow for consistent AI video characters.
Step 3: Animate your scenes and add a voiceover
With a complete library of visually consistent images, the animation phase becomes simple assembly. You are no longer fighting the tool; you are directing the story. Sequence your generated images according to your script's storyboard. Each image represents a keyframe or a distinct shot in your video.
You can use a video template that automates simple camera moves—pans, zooms, and clean transitions—to bring the static images to life. This approach, often used for creating animated infographics, keeps the focus on the narrative without requiring complex keyframing skills.
Simultaneously, use an AI voice generator to produce the narration from your original script. High-quality text-to-speech models can deliver a professional voiceover that you can time perfectly to your visual scenes. The result is a synchronized audio-visual narrative where the visuals and the voiceover work together to tell your story clearly and effectively.
To add another layer of on-brand detail, you can even generate a custom set of on-brand icons with AI to use as visual accents within your video scenes.
Workflow code: #myup-msop-hlxf
Retro Zine Style Event Poster
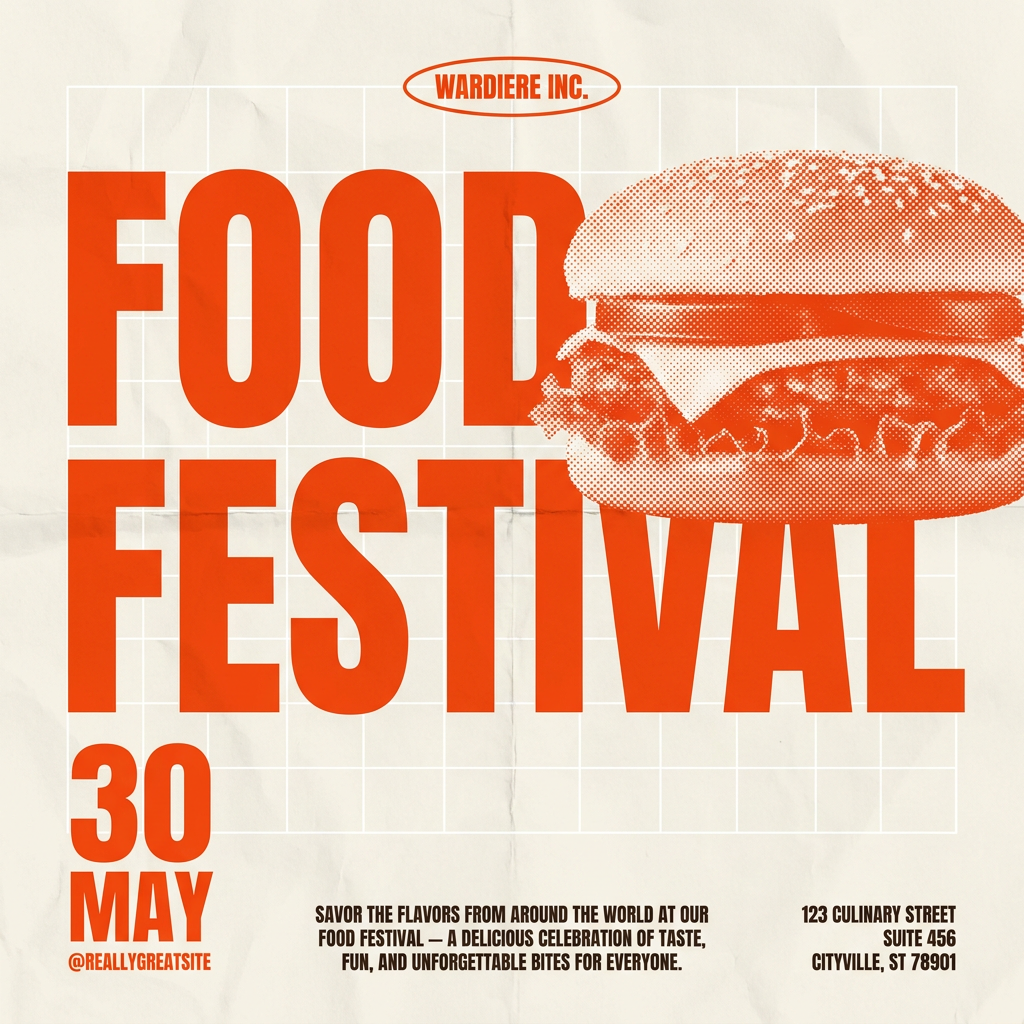
Give your social posts a gritty, analog zine aesthetic. It layers a crumpled paper texture and a subtle grid over a warm cream background to make any event graphic look like a tactile, photocopied flyer. Perfect for DIY gigs and bold promos.
Regenerate using your own assets.
Step 4: The human validation loop
An automated workflow isn't about removing creative control; it's about eliminating tedious labor. The AI handles the heavy lifting of production, but you remain the director. This final step is the validation loop, where you review the generated video and make critical adjustments.
Perhaps the AI misinterpreted the action in Scene 7, or the character's expression in Scene 4 doesn't match the tone of the narration. In a MyUP workflow, you don't have to start over. You can isolate that specific scene, adjust its text description, and regenerate just that single asset.
Because the Brandkit is always active, the newly generated image will drop back into your sequence with the exact same style, colors, and character design as the rest of the video. This is the power of a workflow: MyUP executes the production, but the user validates and refines the final output. You have the power to approve, reject, and adjust, ensuring the final video meets your creative standard.
From clips to narrative: the complete explainer video workflow
The arrival of tools like Canva's AI Video Scene Generator marks a shift in what's possible for creators. But the initial excitement quickly gives way to the practical challenge of narrative creation. A handful of disconnected clips is not a video.
A true script-to-screen solution requires a workflow that prioritizes consistency and brand integrity from the start. By deconstructing your script, generating assets against a locked-in Brandkit, assembling the scenes with AI narration, and retaining final creative approval, you move beyond simple clip generation. You're directing an automated production process that delivers a finished, professional, and on-brand explainer video in a fraction of the time it would take manually.
