On August 12, 2026, Twitch announced that streamers could opt out of having their content used for AI training. The conversation immediately shifted to how creators can use AI on their own terms. But for many, that's been a frustrating experience. You fire up an AI tool to create custom alerts, and you end up with generic-looking assets that feel disconnected from your brand.
The problem is that most 'AI' alert makers are just template libraries with a new coat of paint. You pick a pre-made animation, change the color, and join the thousands of other streamers using the exact same effect. Your stream's brand is its most valuable asset, and generic alerts actively undermine it. They tell viewers your channel is no different from the rest.
This guide presents a different approach. Instead of picking from a limited library, you'll learn a generative workflow in MyUP.ai to create infinite variations of custom, on-brand animated alerts from your own unique assets. This is how you build a professional visual identity that stands out.
Your stream alerts look like everyone else's. Here's why that's a problem.
When a new follower sees an alert pop up, it’s their first real interaction with your stream's brand. A generic, pixelated animation from a free pack sends a clear message: amateur hour. A sharp, unique animation that perfectly matches your emotes, overlays, and personality reinforces that you’re serious about your content. It builds brand equity.
The core issue with template-based alert packs, whether from Streamlabs, StreamElements, or other services, is that they offer customization, but not originality. You can pick a font and a color, but the motion, the style, the core idea—it’s shared. A truly unique brand requires assets that originate from your own visual DNA, not a public library. This is where a generative AI workflow changes the game, allowing you to produce original motion graphics at scale, all tied to your core identity.
The 4-step workflow for custom animated alerts
We'll break this down into a simple, repeatable process inside MyUP.ai. You don't need to be a motion designer or video editor. The goal is to establish a system where you can generate new, on-brand animated assets whenever you need them, from follower alerts to special event notifications.
- Define your identity with a MyUP Brandkit.
- Create your static alert graphic from a brand asset.
- Bring it to life with an AI image-to-video prompt.
- Add the finishing touches (like text and sound) in your streaming software.
Step 1: Define your identity with a MyUP Brandkit
Before you generate anything, you need to teach the AI what your brand looks like. This is the most crucial step for ensuring every alert, overlay, and graphic feels consistent. In MyUP, you do this once by setting up your Brandkit.
Simply create a new Brandkit and upload your core assets: your logo, a PNG of your mascot or main character, and any other key visuals. MyUP will automatically extract your color palette. You can also define your brand fonts. This Brandkit now acts as the single source of truth for all future creations. It's not just a folder of assets; it's an active part of the generation process, ensuring AI outputs adhere to your specific visual style. Once it's set, you never have to manually specify your brand colors or style again.
Step 2: Create your static alert graphic
Every great animation starts with a solid static image. Instead of just animating your raw logo file, you can create a more dynamic base graphic. For example, you could turn your mascot into a cool sticker or place your logo in a unique composition.
This is where MyUP workflows become powerful. Instead of starting from a blank canvas, you can use a template to quickly generate a high-quality static asset that's already on-brand. The 'Product Stickers' workflow is perfect for this. You can upload your mascot or logo, and it will generate a die-cut sticker version with a distinct white border, ready for animation.
Workflow code: #myup-swqt-4zo3
Product Stickers
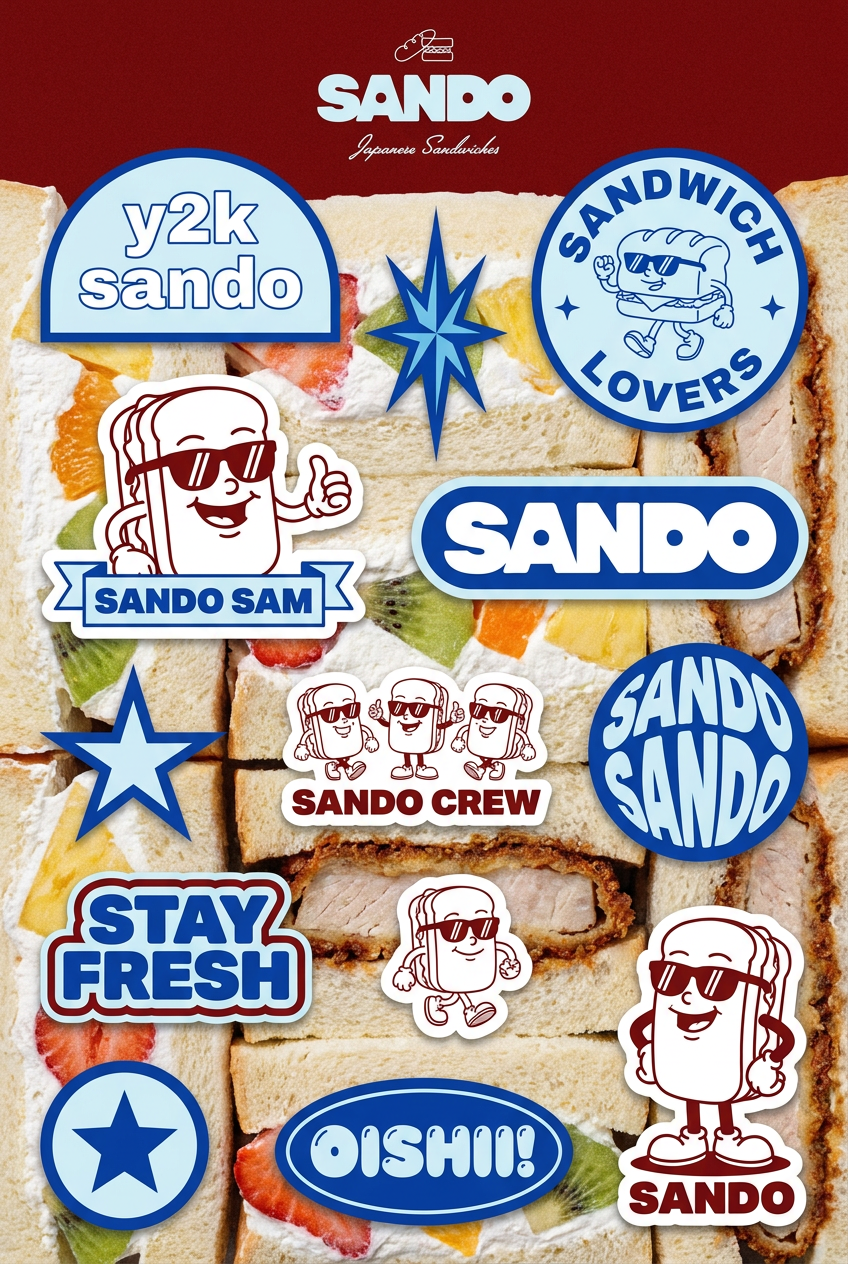
Turn your logo into a nostalgic, vibrant Y2K-style vertical ad. It automatically pulls your brand colors to create matching sweet treats like custom donuts or cupcakes in the background, giving you a super playful retro-pop aesthetic.
Regenerate using your own assets.
The user validates the output; MyUP handles the production. You can run the workflow a few times to get variations you like, and then you have the perfect base image for the next step.
Step 3: Bring it to life with an AI video prompt
With your static graphic ready, it’s time to animate it. MyUP’s image-to-video generator can take any image and apply motion based on a simple text prompt. The key is to be descriptive and action-oriented in your prompt to get the short, punchy animation an alert needs.
Upload the sticker graphic you just created and try one of these prompts:
- For a new follower: "Pop into frame with a bright sparkle and subtle bounce."
- For a new subscriber: "Gently float up, rotating slowly, with a shimmering glow."
- For a donation/bits: "Shake and glitter as gold coins fall around it."
- For a raid: "Zoom in quickly from the background with electric energy crackling around the edges."
Generate a few options. The goal is a short, looping video (2-4 seconds) with a transparent or solid-color background that you can easily key out in your streaming software. This is where you have full creative control to define the personality of your alerts through motion.
Step 4: The hybrid finish: adding text and sound
Current AI video models are not yet reliable for rendering crisp, dynamic text like a new subscriber's username. This is a perfect example of where human control comes in. The AI handles the complex visual animation, and you handle the final, dynamic elements in the tool best suited for the job: your streaming software.
Export your generated animation as a video file and import it into a tool like OBS or Streamlabs as a new media source for your alert. Here, you can layer the dynamic text fields (e.g., '{name} just subscribed!') on top of your animation. You can also add the classic sound effect that gives your alert its final punch. This hybrid workflow gives you the best of both worlds: unique, AI-generated visuals and the reliable, dynamic text and sound handling of your broadcast software.
From one alert to a complete, cohesive pack
The real power of this workflow is its repeatability. Because you started with a Brandkit, you can now rapidly create a full set of alerts that are all visually consistent. Use the same base character sticker but with different animation prompts for followers, subs, raids, and hosts. The style, colors, and character are locked in, so the entire package feels professional and cohesive.
Want a different aesthetic for your base graphics? Try the 'Y2K Scrapbook Collage Creator' to generate a more textured, retro-style asset before you animate it. The principle remains the same: your Brandkit provides the consistency, and the workflow provides the creative execution.
Workflow code: #myup-sacz-tjdn
Y2K Scrapbook Collage Creator
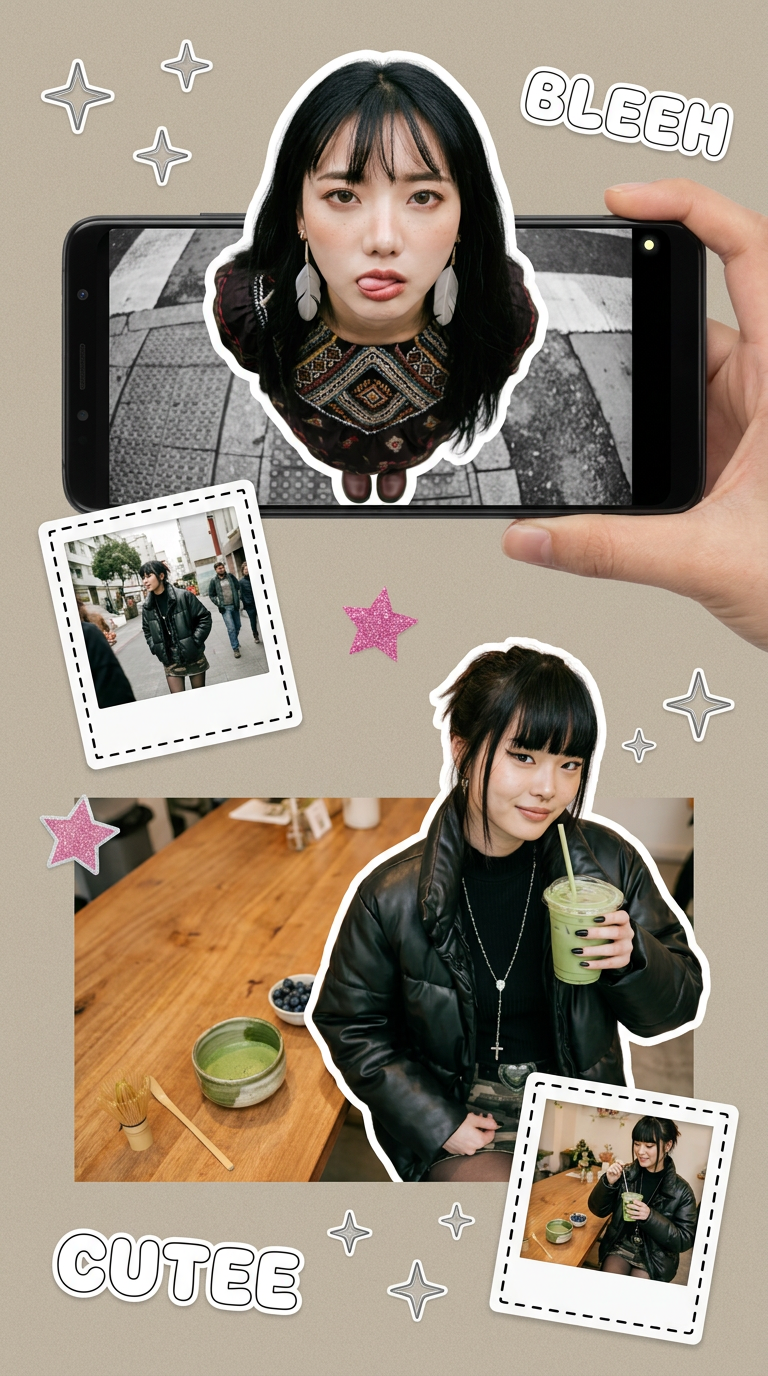
Put two different people into the same scene without losing their real-world features. Just upload two portraits and drop them together into any setting or style you need. It keeps both faces incredibly accurate.
Regenerate using your own assets.
This is how you move from one-off assets to a complete visual system. You can even follow a similar process to build out a complete, on-brand Twitch asset pack, including overlays and banners, all from the same Brandkit.
Bonus: Animate your entire stream scene
This workflow isn't just for 5-second alerts. You can apply the exact same logic to create more complex animated assets for your stream scenes. Need a new 'Starting Soon' or 'Be Right Back' screen? Start with a static background. You can use a MyUP workflow like the 'Bold Retro Yellow Event Poster' to generate a stylish, on-brand graphic for your scene.
Workflow code: #myup-xbur-hzoi
Bold Retro Yellow Event Poster
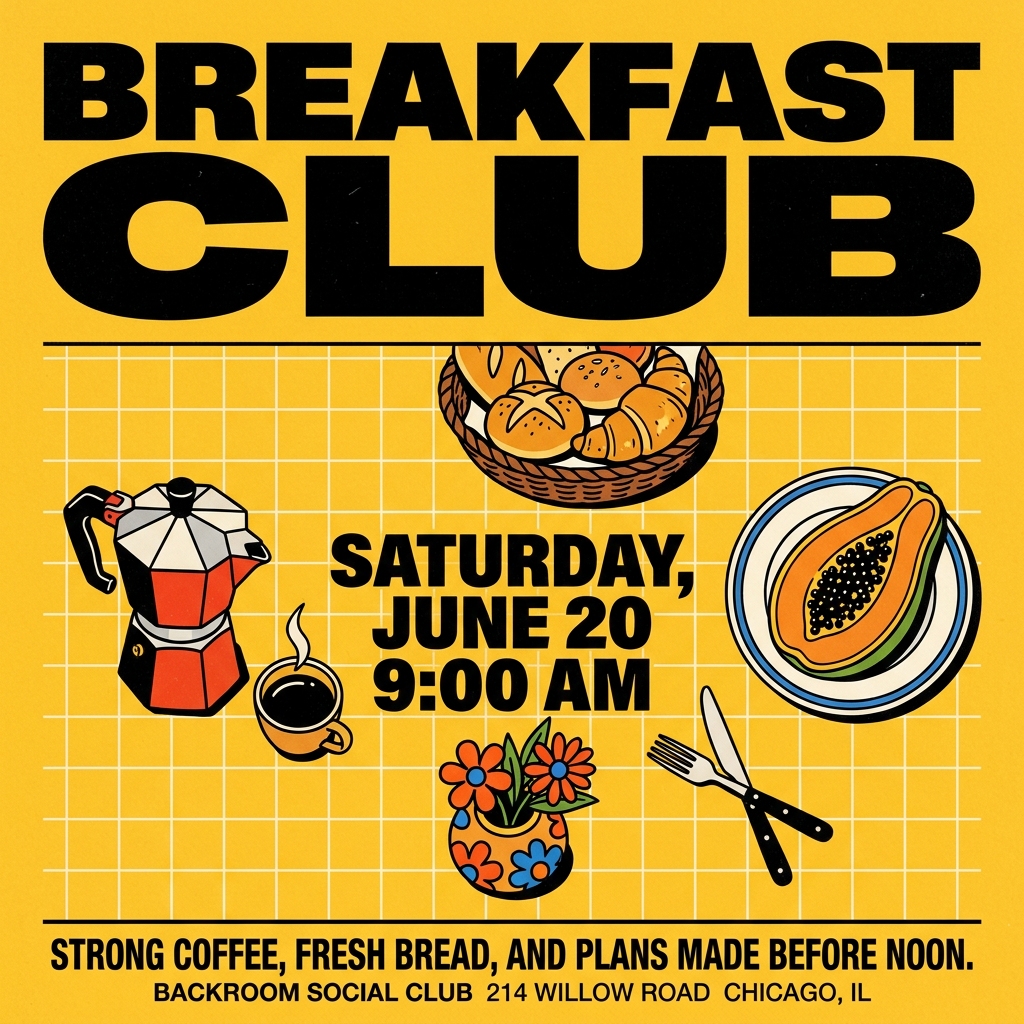
Turn your branding or event details into bold, nostalgic posters. It blends vibrant warm backdrops with a clean, retro square grid pattern to make any announcement look like a classic piece of mid-century graphic design.
Regenerate using your own assets.
Once you have the static scene background, take it into the image-to-video tool and apply a subtle motion prompt like, "gentle, slow zoom with dust motes floating in the light." This creates a dynamic, engaging scene that feels much more professional than a static JPG. It’s the same process of using your Brandkit to create consistent static assets and then layering on AI-driven motion, proving that a single workflow can be the engine for all of your stream's visual branding, much like creating branded assets for training videos or other professional content.
