You've seen the new tools. Ideogram's Character Reference just dropped. Midjourney's `--cref` is all over your feed. You've even seen dedicated tools like Panelize AI promising one-click comics. So you try it. You feed it your main character, write your prompts, and generate a three-panel strip. The result? A mess. Panel one looks great. In panel two, your hero has a different jawline. By panel three, they've spontaneously changed their hairstyle and eye color.
This is the core frustration of AI storytelling right now. The tools offer tricks, but what you need is a system. Relying on a single reference image is a lottery. True consistency—the kind that lets you build a narrative—doesn't come from a feature. It comes from a workflow.
This guide lays out that professional workflow. We'll show you how to stop gambling on consistency and start commanding it, panel by panel. The solution is to treat your character like a brand, define their entire visual world upfront, and then use automation to execute your story. Here's how it's done in MyUP.ai.
Step 1: Build your character bible in a Brandkit
The single biggest mistake creators make is starting with the prompt for panel one. The professional workflow starts before you generate a single image. You need a 'Character Bible'—a central source of truth that defines your character and their world. In MyUP, this is your Brandkit.
A single reference image isn't enough because it only captures one angle, one expression, and one lighting setup. A Brandkit is comprehensive. It stores not just a face, but an identity.
Here’s what to include in your Character Brandkit on MyUP.ai:
- The Character Reference Sheet: Generate a simple character turnaround sheet. A neutral, front-facing portrait, a side profile, and a three-quarters view. This gives the AI more data to work with than a single, stylized image. Upload these as key assets in your Brandkit.
- The Core Descriptors: Write down the non-negotiable text prompts that define your character. Think like a casting director: 'a man in his late 20s with sharp cheekbones, a tired but determined expression, messy black hair, and a small scar over his left eyebrow.' Add these descriptions to your Brandkit's text assets.
- The Art Style Definition: This is crucial. Consistency isn't just about the character; it's about the world they inhabit. Is your comic a gritty neo-noir, a vibrant Sunday funny, or a clean-line manga? Define it. For example: 'High-contrast black and white ink wash style, heavy shadows, dynamic paneling, inspired by Frank Miller's Sin City.' Lock this style into your Brandkit.
By building this 'Character Bible' first, you're not just showing the AI a picture; you're teaching it a system. Every asset you create from this point forward will automatically inherit these rules. This is how you enforce consistency before you even start writing your story.
To get a feel for defining a strong visual style, try this template. It establishes a distinct 'zine' aesthetic that can be the foundation for your comic's world.
Workflow code: #myup-msop-hlxf
Retro Zine Style Event Poster
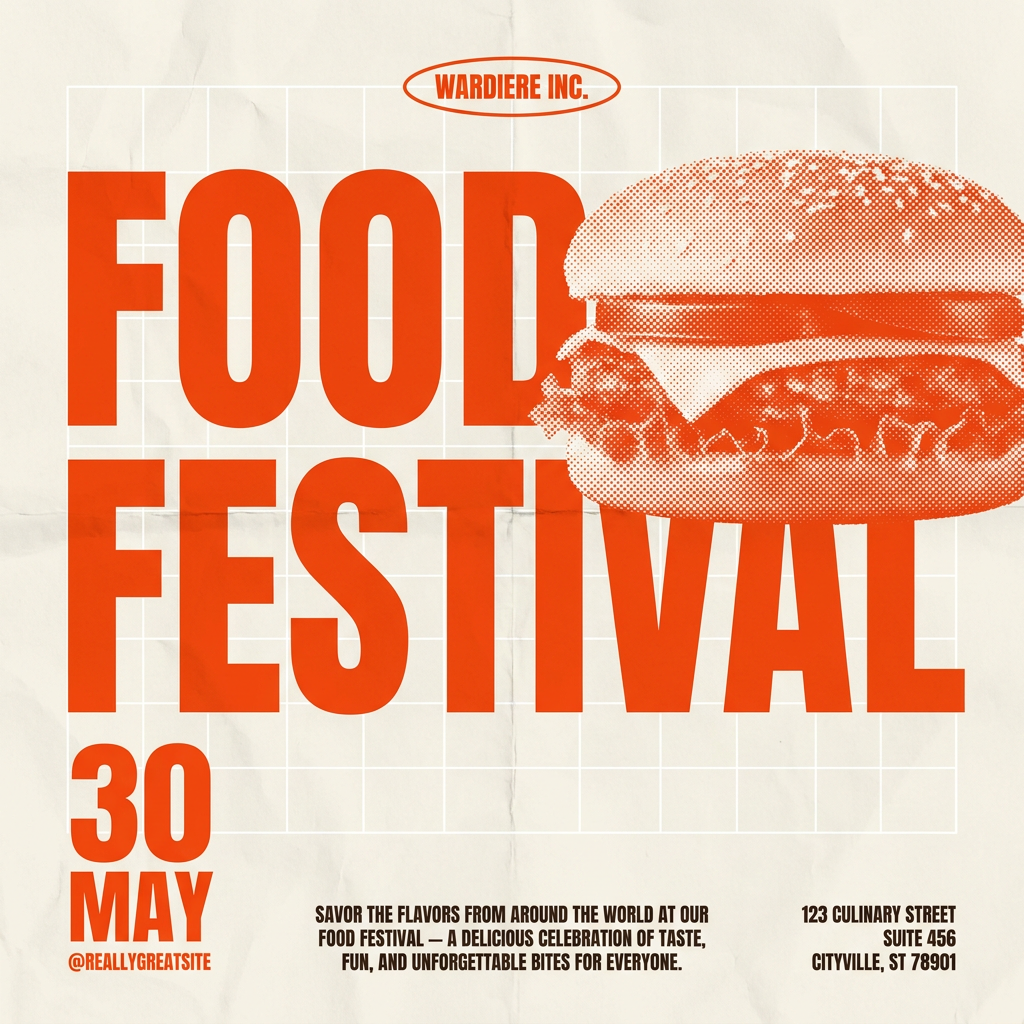
Give your social posts a gritty, analog zine aesthetic. It layers a crumpled paper texture and a subtle grid over a warm cream background to make any event graphic look like a tactile, photocopied flyer. Perfect for DIY gigs and bold promos.
Regenerate using your own assets.
Step 2: A simple prompting formula for any action or emotion
With your Character Brandkit established in MyUP, you can now write prompts for each panel with precision. The goal is to change only what's necessary—the action, the emotion, the camera angle—while keeping the core identity locked in.
Forget complex, paragraph-long prompts. Use a simple, repeatable formula that calls on your pre-defined assets. This structure gives you control and predictability.
The Formula: [Character from Brandkit] + [Action/Pose] + [Emotion] + [Scene Details] + [Style from Brandkit]
Let's break it down with a simple 3-panel story: A detective finds a clue.
- Panel 1 Prompt:[Character: Detective Miles] sitting at a cluttered desk, looking at a case file. [Emotion: Focused, slightly tired]. [Scene: Dimly lit office at night, light from a desk lamp, rain on the window]. [Style: Gritty neo-noir comic].
- Panel 2 Prompt:[Character: Detective Miles] leaning in closer to the case file, pointing at a single word. [Emotion: Surprised, eyes wide]. [Scene: Close-up shot on his face and the document]. [Style: Gritty neo-noir comic].
- Panel 3 Prompt:[Character: Detective Miles] standing up abruptly, knocking his chair over. [Emotion: Determined, a look of revelation]. [Scene: Medium shot showing the desk and the overturned chair, he is grabbing his coat]. [Style: Gritty neo-noir comic].
Notice how the character and style components, pulled directly from your MyUP Brandkit, remain constant. You are only directing the 'performance' in each panel. This systematic approach turns prompting from a guessing game into a clear set of instructions for the AI.
Step 3: Automate the strip with a repeatable workflow
Generating panels one by one is slow and introduces the risk of drift. The real power comes from automating the entire strip in a single, repeatable workflow on MyUP.ai.
Instead of running three separate generations, you can build a multi-step workflow that executes your prompts sequentially. Here’s how it works:
- Set up your Brandkit: Select the 'Character Bible' Brandkit you created in Step 1. This ensures every step in the workflow uses the same character, colors, and style definitions.
- Create a 3-Step Image Generation Workflow: Add three 'Generate Image' steps to your workflow canvas.
- Input Your Prompts: Paste the prompt for each panel into the corresponding step.
When you run this workflow, MyUP executes all three steps in order, automatically applying your Brandkit to each one. The output isn't three random images; it's a coherent narrative sequence. The user validates the output; MyUP handles the production.
This is the difference between being a creator and being an operator. You design the system once, and then you can run it with different stories, creating new comic strips in minutes, not hours. It also makes it easy to create layouts and grids for your final comic or for social media carousels.
This template for creating a bold editorial grid shows how you can think in terms of structured layouts, which is the next step after generating your panels.
Workflow code: #myup-n0bi-2wzk
Bold Editorial Grid Poster
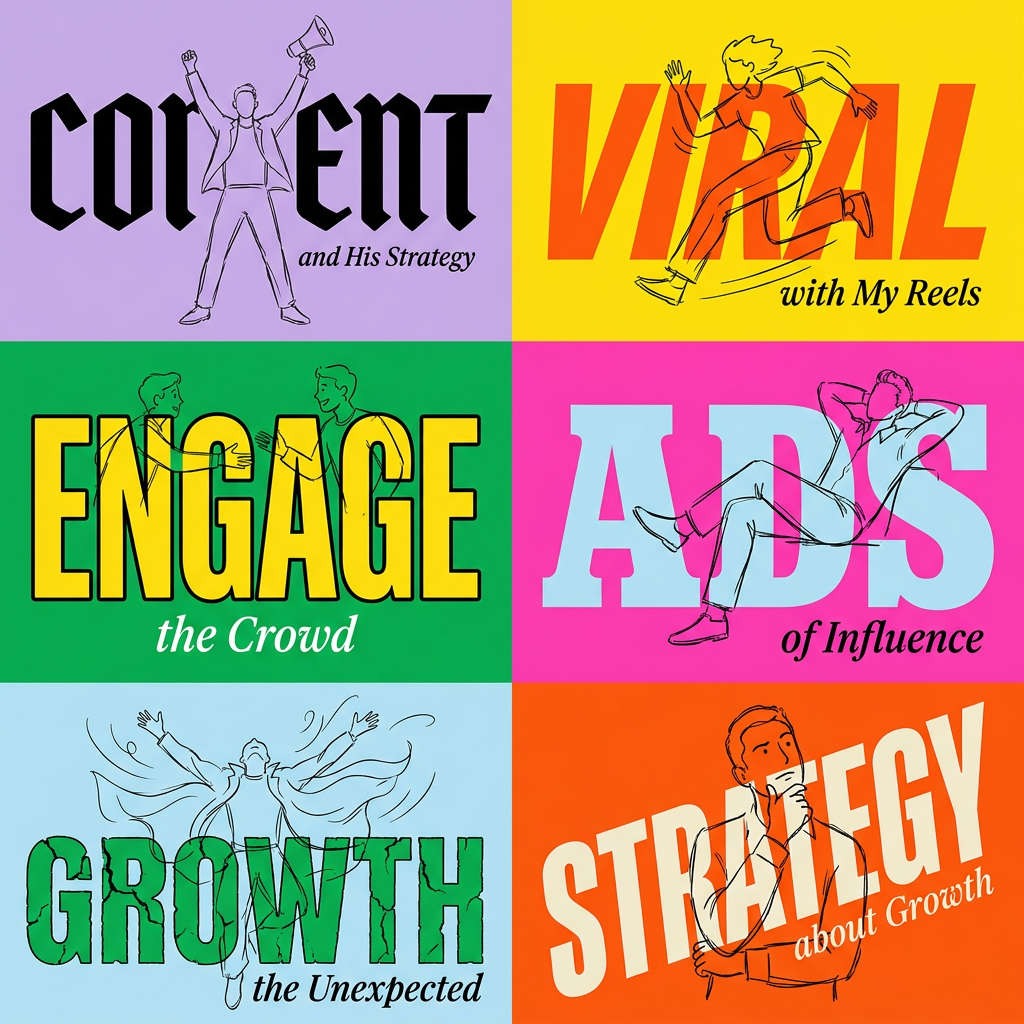
Create striking 2x3 editorial posters with six seamless, flat-color square cards in a perfect 4:5 grid. There are absolutely no gaps between the blocks, giving your content a bold, high-contrast magazine layout. It looks incredibly clean on any social feed.
Regenerate using your own assets.
Step 4: From panels to final comic
Your consistent panels are generated. The final step is assembly. Many creators get stuck here, exporting images from one tool and clumsily arranging them in another. An integrated platform like MyUP keeps the entire process in one place.
Within your MyUP workflow, you can ensure all panels are generated with a consistent aspect ratio (e.g., 4:3 for a classic comic feel or 1:1 for a social media carousel). Once generated, you can use MyUP's design tools or workflows to arrange them into a final strip.
You can add panel borders, gutters, text captions, and speech bubbles using the same Brandkit, ensuring your typography and color palette match the art style you defined in Step 1. This keeps the final product looking professional and cohesive, not like a collection of stitched-together images.
This template, which combines bold imagery with text, is a great starting point for designing your final comic strip layout.
Workflow code: #myup-xbur-hzoi
Bold Retro Yellow Event Poster
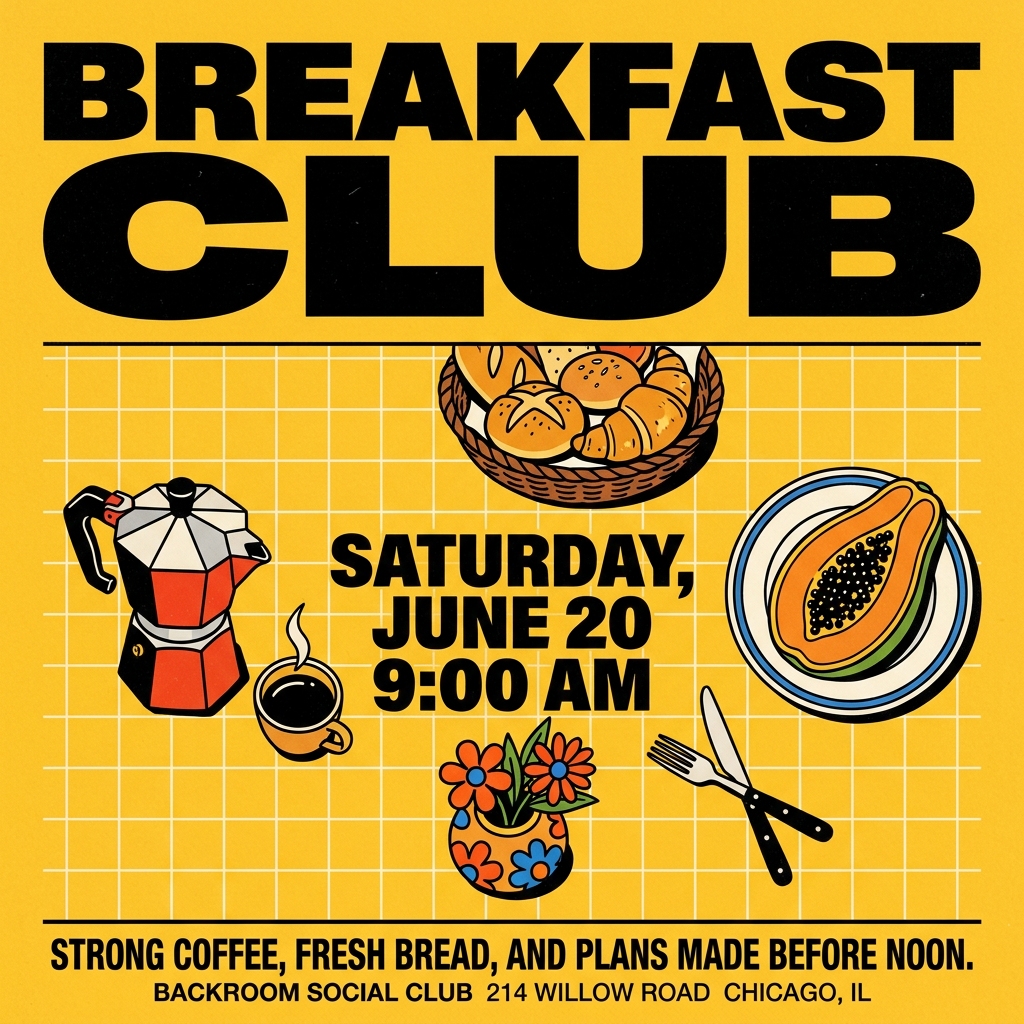
Turn your branding or event details into bold, nostalgic posters. It blends vibrant warm backdrops with a clean, retro square grid pattern to make any announcement look like a classic piece of mid-century graphic design.
Regenerate using your own assets.
Your story, your characters, your control
Character consistency isn't a feature you wait for a tool to release. It's a production system you build. By shifting from one-off prompting to a Brandkit-driven workflow, you take control of the creative process. You're no longer hoping the AI gets it right; you're instructing it on how to perform within a world you've already defined.
This systematic approach is the only way to achieve true creative control and scalability in AI storytelling. The same workflow you use for a comic strip can be adapted to create a complete AI storyboard for a video, an engaging Instagram carousel, or any other form of sequential visual narrative. Your story, your characters, and your brand—all perfectly consistent, every single time.
