You've seen the AI-generated comic strips on TikTok and X. You've tried to make one. And you've spent hours trying to get your main character to look the same in panel two as they did in panel one. It’s the most common frustration in AI visual storytelling today, and it’s the single biggest barrier between a clever idea and a finished narrative.
As of June 2026, the search for a reliable "AI storyboard generator" has hit an all-time high, but most tools deliver a series of disconnected images, not a coherent story. Characters change their face, clothing, and even ethnicity from frame to frame. The time you save on illustration is lost to endless re-rolling and prompt hacking. This isn’t a professional workflow; it’s a lottery. Here’s how to fix it.
You’ve tried making an AI storyboard. Why do the characters keep changing?
The core problem isn't the AI model; it's the lack of memory. Most image generators are designed for one-off creations. They have no context of the image that came before or the one that will come after. Each panel is a fresh start, which is why your protagonist, let's call her 'Anna,' might have blue eyes in the first frame and brown in the second.
Creators have developed complex workarounds—using the same seed number, writing incredibly long prompts with detailed character sheets, or using image-to-image workflows. These are clever hacks, but they're brittle, time-consuming, and rarely produce consistently on-brand results for professional use. A client doesn't care about your prompt-crafting heroics; they care about visual continuity. A story can't function without it.
The solution: Stop prompting harder, start building a visual memory
A storyboard isn't just a collection of images; it's a narrative. A true creative workflow uses a persistent memory to tell a visually cohesive story from the first frame to the last. On MyUP.ai, this system is composed of two parts: the Brandkit and the Workflow.
- The Brandkit is your visual memory. It's a central hub where you define your character's appearance, the project's color palette, the logo, and the overall artistic style. You build it once, and the AI references it for every single panel it creates.
- The Workflow is your automated director. It takes your script or shot list and instructs the AI to generate every panel according to the rules stored in your Brandkit.
This combination moves you from being a prompt engineer to a creative director. You provide the vision; MyUP handles the production and ensures every frame aligns with it. It’s the systematic approach needed to build AI visual stories frame by frame with reliable consistency.
Step 1: Create your character and style guide in a Brandkit
Before you generate a single panel, you need to teach the AI what your world looks like. In MyUP, you'll start by creating a Brandkit for your storyboard project. This is the single source of truth for your visuals.
- Define Your Character: Upload one or more reference images of your main character. This could be a previous AI generation you liked, a sketch, or even a photo. The key is to give the AI a clear visual anchor for their face, hair, and build.
- Set the Mood & Palette: Add your brand colors or a specific color palette that defines the mood of your story—dark and gritty, bright and optimistic, etc.
- Establish the Style: Upload style reference images. Do you want a cinematic, photorealistic look? A vintage comic book aesthetic? A flat, minimalist illustration style? Your Brandkit stores these preferences so you don't have to describe them in every single prompt.
To create a powerful key visual for your character or campaign style, you can use a targeted workflow. For instance, creating a dynamic shot for a sportswear brand storyboard can establish the character's energy and look instantly.
Workflow code: #myup-ywpr-rqz6
Professional Sportswear Ad
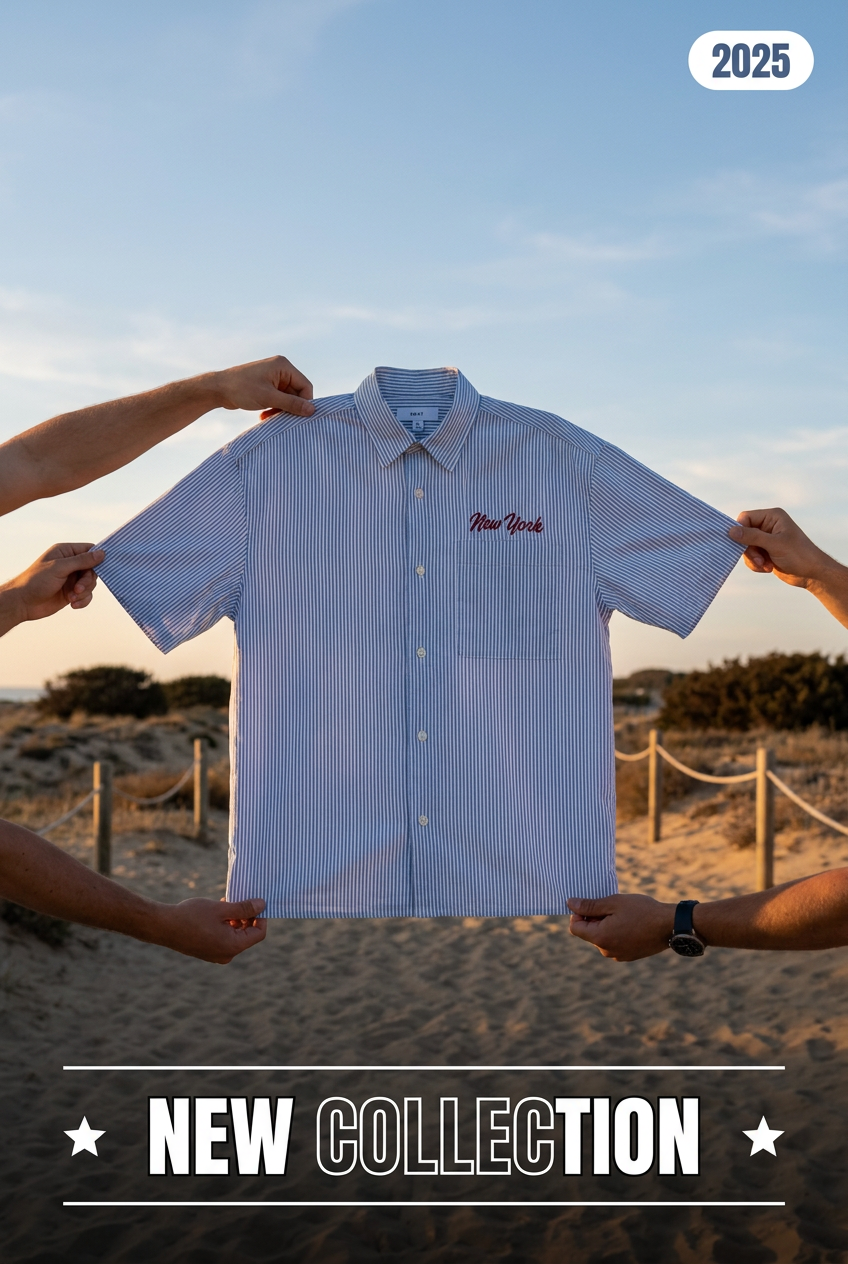
Suspends your apparel right in the center of a high-energy promo shot, held up by hands around the frame. It gives your shirts or jerseys a gritty, collaborative streetwear editorial look that feels alive and physical.
Regenerate using your own assets.
Step 2: Turn your script into a clear shot list for the AI
Your input quality determines your output quality. Instead of a vague paragraph, feed the AI a structured shot list. This is standard practice in pre-production and works perfectly for AI. Break your story down into a numbered list, with each item describing a single panel. Be specific about the camera angle, action, and setting.
For example, instead of "A woman is sad in the rain," write a shot list like this:
- 1. WIDE SHOT: A woman with short red hair and a green trench coat stands on a rain-slicked city street at night. The street is empty.
- 2. MEDIUM SHOT: The woman looks up at a flickering neon sign for the 'Blue Dahlia' cafe. Rain drips from her hair.
- 3. CLOSE-UP: On the woman's face. A single tear mixes with the rain on her cheek. Her expression is one of weary resolve.
- 4. POV SHOT: From the woman's perspective, looking at the warm, inviting light coming from the cafe door.
This structure gives the AI clear, sequential instructions for each panel, making the final output far more predictable and narratively sound.
Step 3: Generate the entire storyboard in one go
This is where the magic happens. On MyUP.ai, you select a storyboard workflow, choose the Brandkit you just created, and paste in your numbered shot list. With a single click, the system gets to work.
The workflow reads each line item from your shot list and generates a corresponding image. Crucially, for every single panel, it references your Brandkit to ensure the character's face, the color grading, and the overall style remain consistent. Within minutes, you'll have a complete grid of 4, 8, or 12+ storyboard panels that look like they belong to the same story—because they do.
This is the power of an integrated system over a generic tool. You're not just making images; you're producing a narrative asset. A great way to define the overall atmosphere is by first generating a powerful establishing shot that sets the tone for the entire sequence.
Workflow code: #myup-tbky-nciq
Food Brand Poster
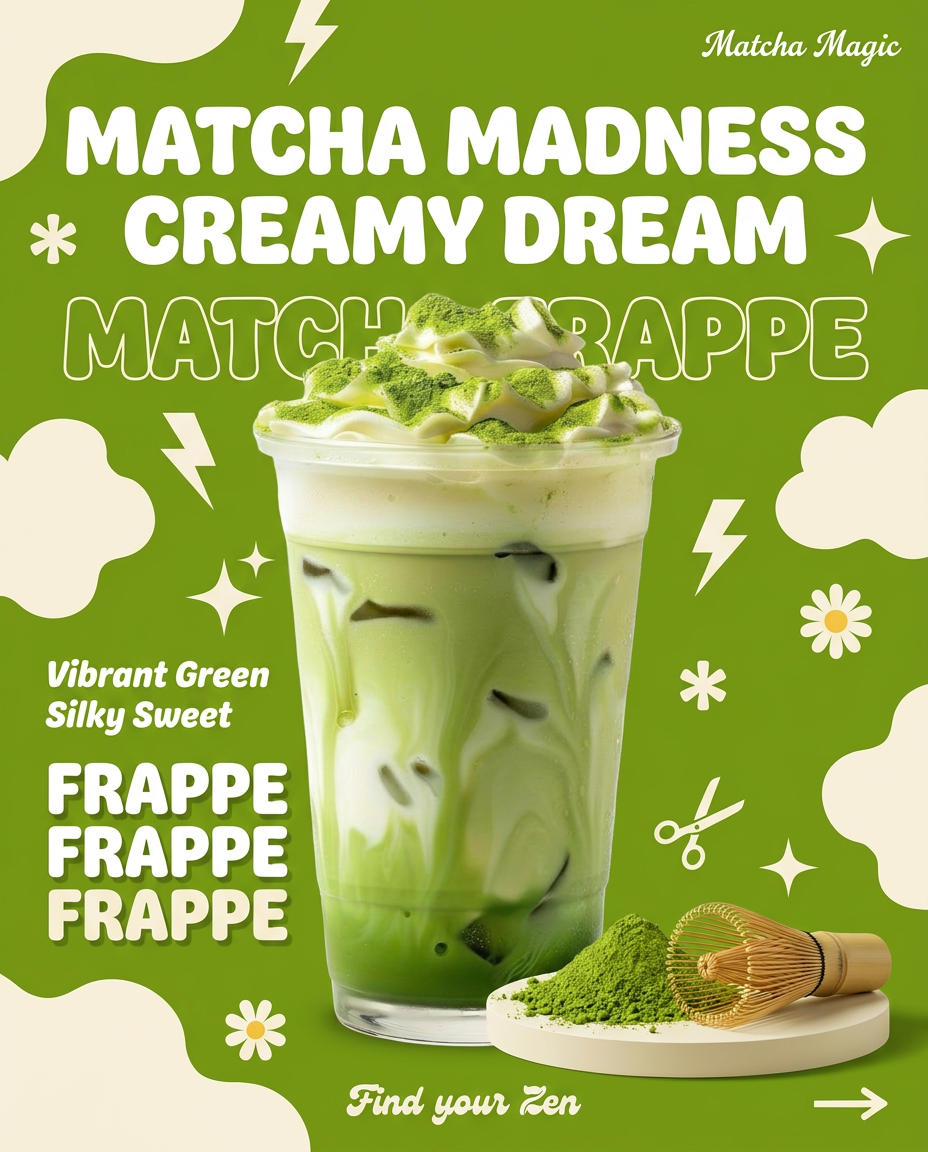
Instantly turn any food or drink product packaging into a bold, vibrant retro poster. The system automatically reads your bottle or box to grab its exact colors and ingredients, then crafts a perfectly coordinated vintage background around it.
Regenerate using your own assets.
Step 4: Review, refine, and direct your final story
MyUP handles the production, but you remain the director. Once the storyboard grid is generated, you have full creative control. Perhaps panel 3's close-up isn't emotional enough, or you want a different camera angle for the establishing shot. You don't have to start over.
Simply select the individual panel you want to change, adjust the prompt slightly, and regenerate only that frame. The workflow will still use your Brandkit, so the new version will maintain visual consistency with the rest of the sequence. This iterative process of review and refinement is fast, efficient, and puts the creative decision-making back in your hands.
You can also experiment with completely different aesthetics. What if that gritty noir story was retold with a high-fashion, editorial feel? You can apply a new style to the entire board to see a different interpretation instantly.
Workflow code: #myup-yk1h-uqy8
High-End Editorial Fashion Magazine Cover
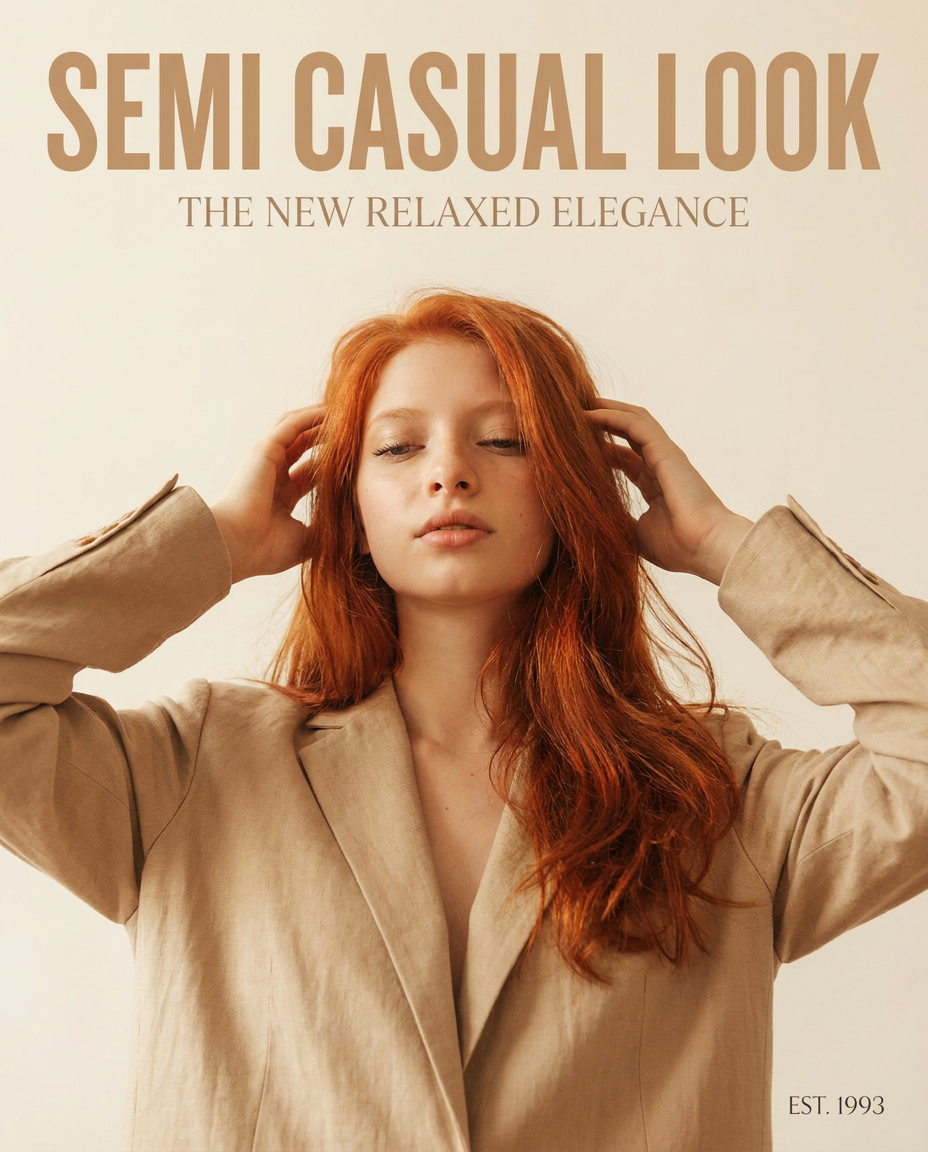
Drop in any portrait and turn it into a high-end editorial magazine cover. It frames your subject beautifully with relaxed, high-fashion posing and soft styling for a polished print aesthetic.
Regenerate using your own assets.
Your storyboard is ready. What's next?
You've gone from a script to a complete, visually consistent storyboard in minutes, not hours. The difference wasn't a more complex prompt; it was a smarter system. By separating your visual identity (the Brandkit) from your narrative instructions (the shot list), you create a scalable process for any visual story, whether it's for an ad campaign, a social media video, or pre-production for a short film. This same principle allows you to create everything from storyboards to consistently branded AI video thumbnails.
Stop fighting for consistency and start directing your story. Create your free MyUP account and build your first on-brand storyboard today.
