On July 7, 2026, Midjourney dropped its V7 alpha with a feature that creators have been waiting for: Character Turnarounds. With a single prompt, you can now generate a character from multiple angles. It’s a significant step forward and a fast way to get a basic concept down.
But for professional use — in game development, animation, or building a brand mascot — a one-shot generation is just the starting point. When you need to control each specific angle, ensure perfect consistency, add annotations, and apply your brand's typography and logo, you need more than a single prompt. You need a workflow. This guide details the professional workflow for creating a production-ready character sheet in MyUP.ai, giving you the granular control that automated features can't match.
Midjourney's new feature is here. So is the need for a real character sheet workflow.
A character turnaround generated in one go is an excellent tool for rapid ideation. It proves a concept works from multiple angles. A professional character model sheet, however, is a technical document. It requires precision. Animators and designers need clean, separate, high-resolution views: a perfect front profile, a true side profile, and a clear back view. They need to be able to adjust the lighting on one view without affecting the others, or regenerate a three-quarters view that wasn't quite right.
This is the difference between a quick-look asset and a production asset. A one-click feature is a black box; it gives you what it thinks you want. A workflow, on the other hand, puts you in control. The user validates each step, and the AI executes. MyUP is built for this. Instead of hoping for the best from one prompt, you build a repeatable process that generates each required piece of the character sheet individually, giving you total command over the final output.
The 4-step workflow for a production-ready AI character sheet
We'll move from generating a single, perfect front-facing image to creating a complete, branded character model sheet. This process isn't about finding a magic prompt; it's about building a sequence of steps in MyUP that you can save and reuse for any character you design.
Step 1: Generate and lock in your primary character view
Everything starts with one 'source of truth' image. This will be the front view of your character, and all other angles will be based on it. The key here is detail and clarity in your prompt. Don't just describe the character; describe the shot.
A strong starting prompt looks something like this:
character sheet, full body character, a friendly robot mascot with a polished chrome finish and glowing blue eyes, standing pose, facing forward, centered, plain white background, digital illustration style
Focus on a neutral pose and a clean background. This isn't a dramatic scene; it's a technical illustration. Once MyUP generates a front view you're happy with, this image becomes your anchor. You've established the core visual identity, which you'll now use as a reference for every other angle.
Step 2: Use character reference to create side, back, and 3/4 views
This is where the workflow diverges from a single-prompt approach. In MyUP, you can use your initial image as a powerful character reference for subsequent generations. This ensures that the details—the character's proportions, colors, and specific features—remain consistent. You can read more about the fundamentals of this technique in our guide to achieving consistent AI characters.
For each new angle, you'll use the original image as a reference and simply modify the prompt to change the 'camera angle'.
- For the side view: Take your original prompt and change 'facing forward' to 'profile view, facing left'.
- For the back view: Modify the prompt to 'view from behind'.
- For a 3/4 view: Use a modifier like '3/4 view' or 'three-quarter pose'.
Because you're generating each view as a separate image, you have complete control. If the side view's lighting feels off, you can regenerate it without affecting the front or back views. You approve the final result for each angle before moving on.
Step 3: Assemble your views into a professional model sheet
With your individual, high-quality character views generated, the next step is to arrange them into a clean, organized model sheet. You need a layout that presents the front, side, and back views clearly, often on a grid. This is not just about pasting images; it's about creating a professional design document.
MyUP has templates designed for exactly this kind of layout work. Instead of starting from scratch in a design tool, you can use a pre-built grid structure to drop your images into place. The Bold Editorial Grid Poster template is a perfect starting point for a clean, professional character sheet.
Workflow code: #myup-n0bi-2wzk
Bold Editorial Grid Poster
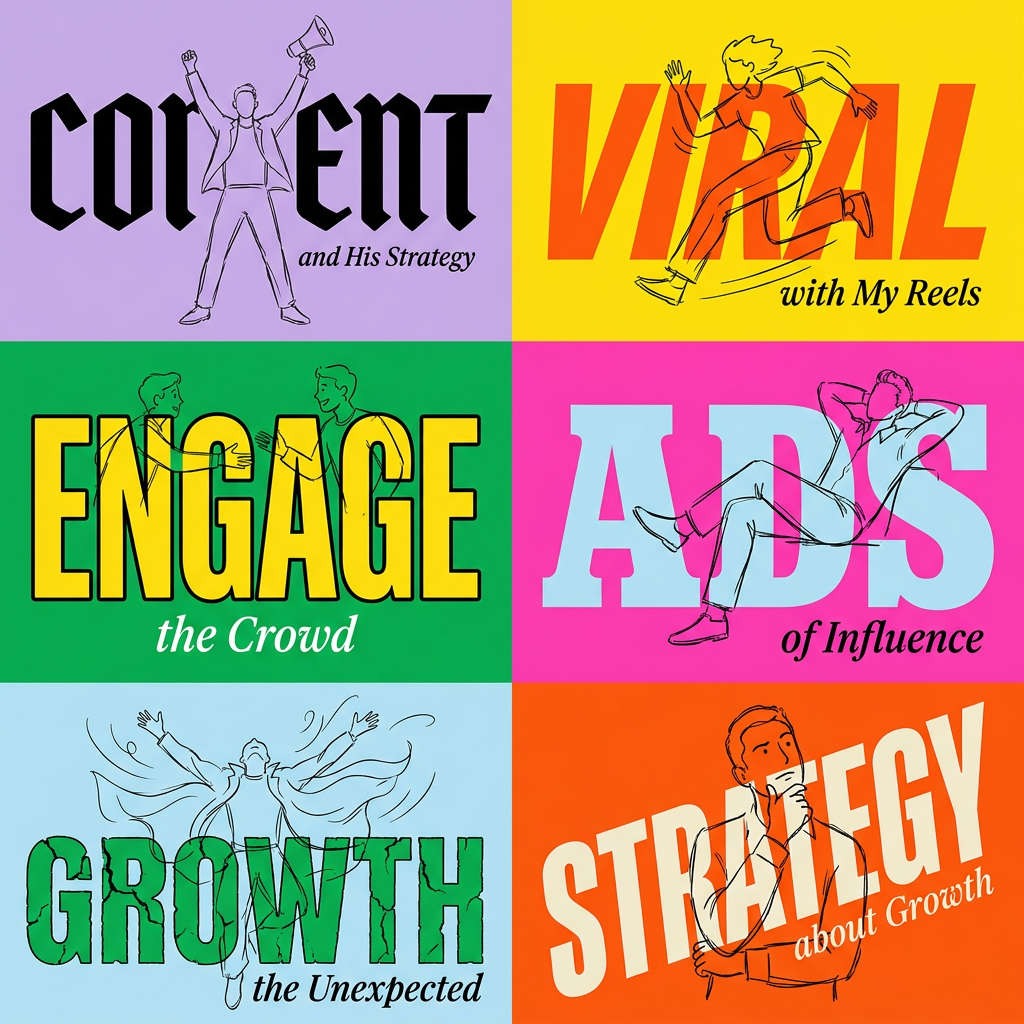
Create striking 2x3 editorial posters with six seamless, flat-color square cards in a perfect 4:5 grid. There are absolutely no gaps between the blocks, giving your content a bold, high-contrast magazine layout. It looks incredibly clean on any social feed.
Regenerate using your own assets.
This workflow gives you a canvas with placeholders, allowing you to quickly position your generated character views. MyUP handles the alignment and spacing, so you can focus on the final presentation.
Step 4: Add your branding and save the character for reuse
A character sheet for a brand or studio needs to be on-brand. This means using the correct logo, fonts for annotations (like 'Front View', 'Side View'), and brand colors. This is a step that's nearly impossible with simple image generators but is automated in MyUP with Brandkits.
Once your character views are assembled on the canvas, you can apply your saved Brandkit with a single click. MyUP will automatically add your logo in a designated corner and change all text elements to your brand's official fonts and colors. You've instantly transformed a collection of images into a branded, professional asset ready for your team or client.
Your character sheet is done. Now put it to work.
The true value of a consistent character asset is its immediate usability. Now that you have a defined, multi-angle character, you can use it across all your marketing materials without worrying about inconsistency. You can drop the character into social media posts, ads, or presentations.
For example, you can take your newly created character and feature it in a promotional poster. The Bold Retro Yellow Event Poster workflow in MyUP lets you do this in seconds. You can provide the character image and instantly generate a vibrant, on-brand poster featuring your new mascot. This is how you move from simple generation to scalable content production, similar to the process for creating a full AI lookbook or a complete storyboard.
Workflow code: #myup-xbur-hzoi
Bold Retro Yellow Event Poster
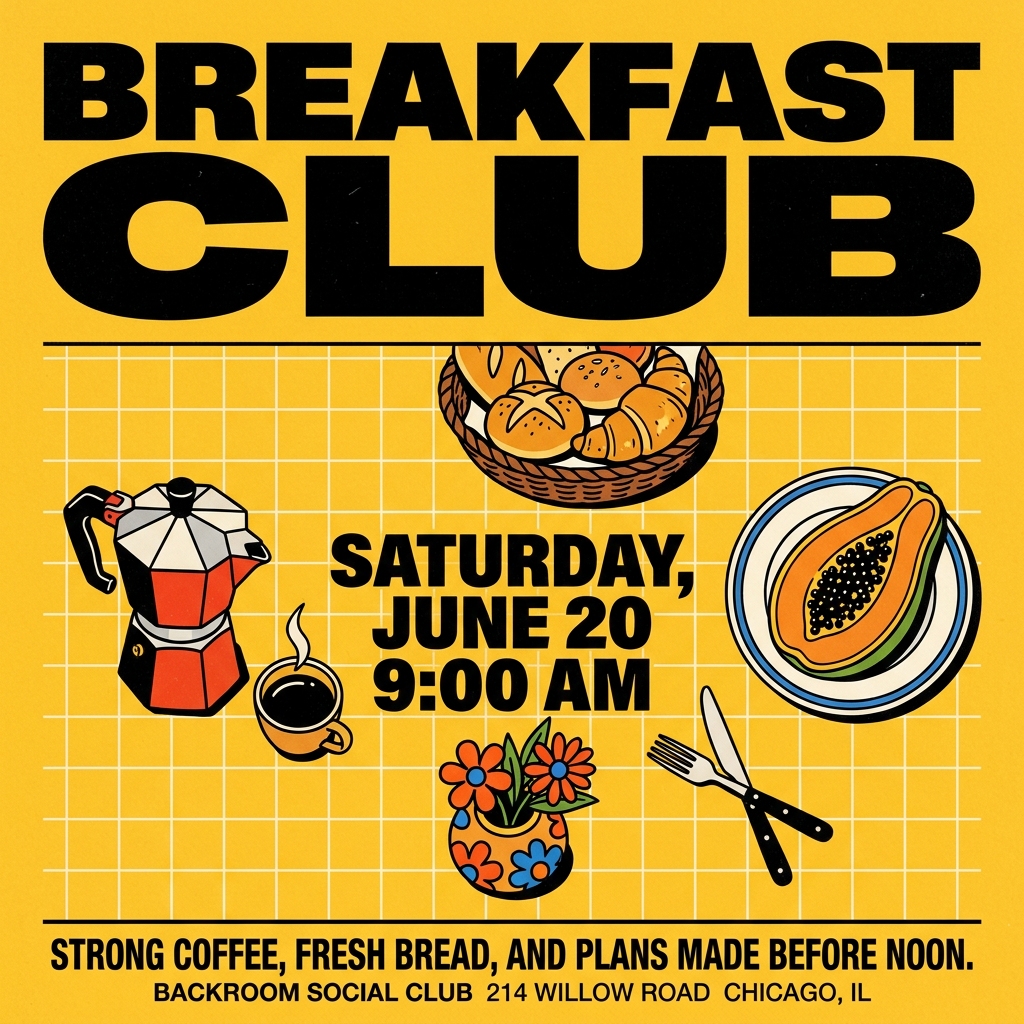
Turn your branding or event details into bold, nostalgic posters. It blends vibrant warm backdrops with a clean, retro square grid pattern to make any announcement look like a classic piece of mid-century graphic design.
Regenerate using your own assets.
The final check: When to use a workflow vs. a one-shot generator
Midjourney's new character turnaround feature is an exciting development for rapid brainstorming and concept art. It's fast, and it solves a real problem. Use it when speed is your primary goal and you need a quick visual reference.
However, when your goal is a production-ready asset that requires precision, control, and brand consistency, a workflow-based approach is essential. Choose a workflow in MyUP.ai when you need to:
- Individually generate and approve each character angle.
- Ensure perfect consistency based on a single source image.
- Assemble the views into a professional, branded model sheet.
- Save the process to create more character sheets in the future with the same structure.
A one-click feature gives you an answer. A workflow gives you control over the answer.
