You’ve spent hours crafting the perfect prompt. You finally generate a character that looks exactly right for your project. Then you move to the next shot in your sequence, and it all falls apart. The character’s face has subtly changed, their jacket is a different shade of red, and the cinematic lighting you established is gone. Your storyboard has a visual continuity problem.
This is the single biggest point of failure for creators trying to use AI for narrative pre-visualization. Most tools marketed as an 'AI storyboard generator' are just single-image generators in a grid. They have no memory, no context, and no system for maintaining consistency from one frame to the next. The problem isn't your prompt; it's that you're using a tool without a system.
A storyboard isn't a collection of random images; it's a visual script. And as AI video tools like Runway’s Multi-Motion Brush (released July 2026) turn static boards into 'living animatics,' this need for absolute consistency becomes non-negotiable. This guide lays out the professional workflow to solve it.
The fix: A Brandkit is your project's 'style bible'
To get consistent outputs, you need a consistent input. A better prompt isn't enough. You need a central system of record—a 'style bible' for your project that the AI can reference for every single frame it generates. This ensures your character, color palette, lighting, and camera style are locked in.
In MyUP.ai, this system is called a Brandkit. While typically used for brand identity, for a film or animation project, it becomes your character sheet and style guide. You define your visual world once, and then every asset you generate inherits those rules. Instead of trying to cram every detail into a long, complex prompt for each shot, you create a simple prompt that calls upon the detailed instructions already saved in your Brandkit.
This workflow separates the *style* from the *action*. The Brandkit holds the style (who the character is, what the world looks like), and your prompts describe the action (what the character is doing in each specific frame). This is how you achieve professional-grade visual continuity.
Step 1: Build your character and scene in a MyUP Brandkit
Your first step is to translate your creative vision into a machine-readable guide. In MyUP, open a new Brandkit and treat it as the pre-production hub for your project.
Instead of just uploading a logo and brand colors, you'll define the elements of your story:
- Character Definition: Upload reference images of your main character. Add text descriptions detailing their key features: 'Alex, 30s, sharp jawline, short brown hair, wears a signature worn leather jacket, determined expression.' The more specific you are, the better the AI can maintain the likeness. This process is crucial for creating any recurring figure, like a brand mascot or narrative protagonist.
- Color Palette: Define the key colors for your scene. Is it a moody sci-fi with blues and cyans, or a warm romantic comedy with golden hues and soft pastels? Upload your color hex codes to the Brandkit.
- Style Descriptors: Add keywords that define the overall aesthetic. This is where you specify lighting and mood. Examples could include: 'cinematic lighting,' 'dramatic shadows,' 'shot on 35mm film,' 'anamorphic lens flare,' 'soft focus background,' or 'high-fashion editorial photography.'
By front-loading this work, you create a powerful foundation. For a project with a high-fashion aesthetic, you could start with a template designed for that visual language and customize it with your character details.
Workflow code: #myup-yk1h-uqy8
High-End Editorial Fashion Magazine Cover
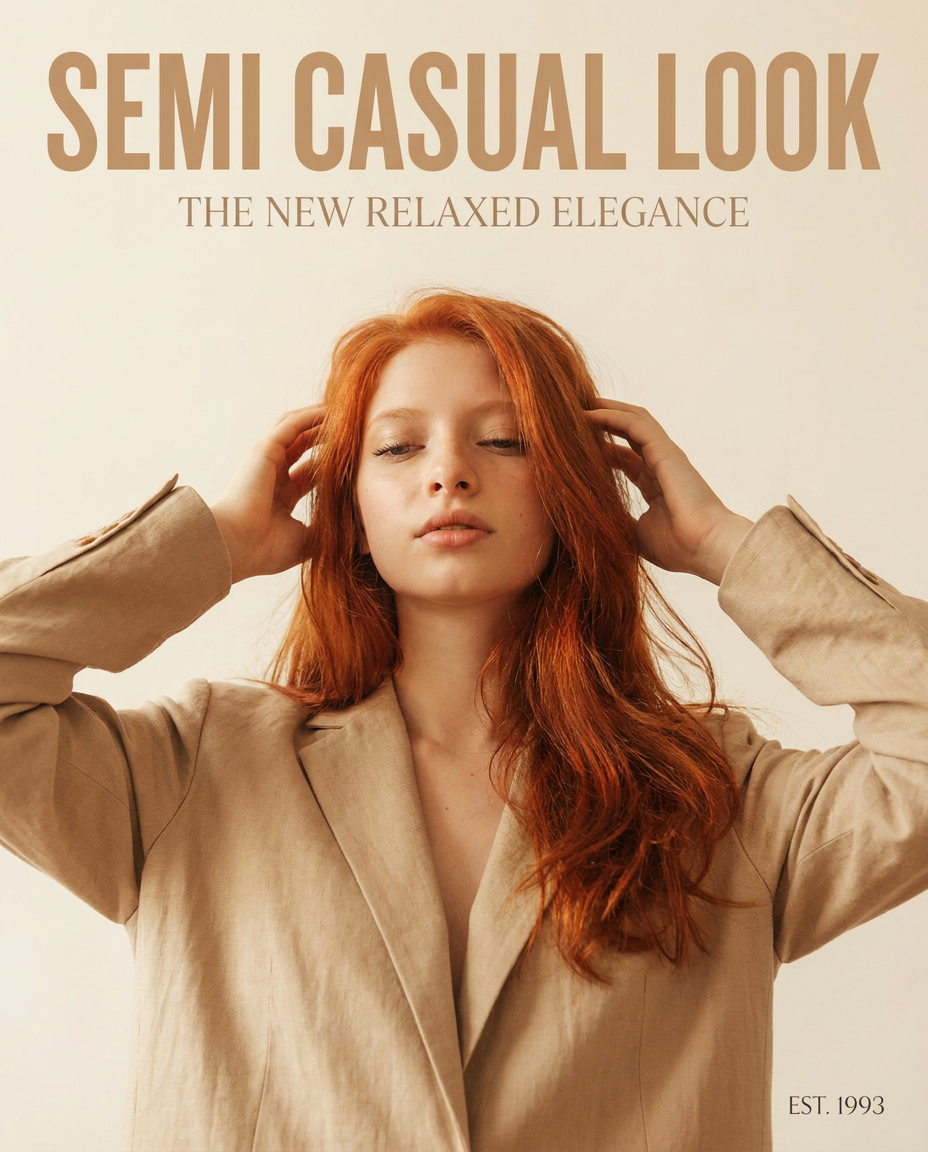
Drop in any portrait and turn it into a high-end editorial magazine cover. It frames your subject beautifully with relaxed, high-fashion posing and soft styling for a polished print aesthetic.
Regenerate using your own assets.
Step 2: Turn your script into AI-ready shot prompts
With your Brandkit established, you no longer need to write monster prompts for every shot. Your task is to translate your shot list into simple, action-oriented instructions that leverage the Brandkit.
A good prompt for this workflow has two parts: the reference to the style, and the description of the action.
Let's say your script calls for three shots for a sports commercial:
- CLOSE UP on athlete tying their shoes, intense focus.
- WIDE SHOT of athlete sprinting on a track at dawn.
- MEDIUM SHOT of athlete crossing the finish line, triumphant.
Your MyUP prompts would be simple, because the Brandkit is handling the heavy lifting of character and style:
- 'Alex the athlete tying shoes, close up, intense focus.'
- 'Alex the athlete sprinting on a track at dawn, wide shot.'
- 'Alex the athlete crossing the finish line, triumphant, medium shot.'
Notice that we don't have to describe Alex, the lighting, or the cinematic style in every prompt. The Brandkit ensures every generation uses the pre-defined 'Alex' and the 'cinematic sports' style you built. This makes the process scalable and error-proof. To get started, you can use a workflow built for this exact type of dynamic, commercial shot.
Workflow code: #myup-ywpr-rqz6
Professional Sportswear Ad
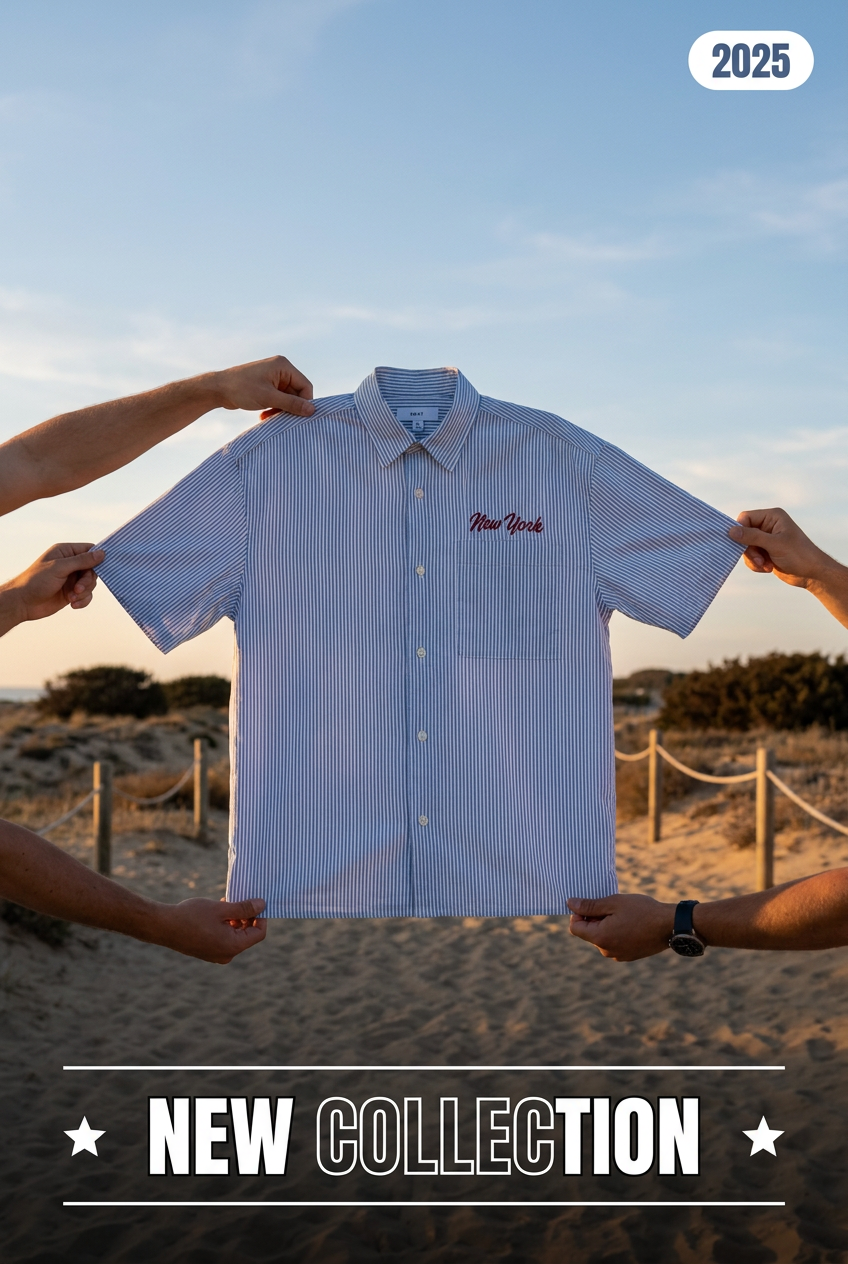
Suspends your apparel right in the center of a high-energy promo shot, held up by hands around the frame. It gives your shirts or jerseys a gritty, collaborative streetwear editorial look that feels alive and physical.
Regenerate using your own assets.
Step 3: Generate the entire storyboard with one workflow
Now you can automate the production of the entire sequence. In MyUP, you can build a simple workflow that takes your list of prompts from Step 2 and generates all the storyboard panels in a single run. You feed the workflow your shot list, and it generates each image, applying your project's Brandkit to every single one.
This is where the 'human validates, MyUP executes' principle comes into play. The AI handles the repetitive, time-consuming task of producing each panel according to your rules. Your job as the creator is to review the output. You might see a shot that isn't framed quite right or an expression that needs a slight tweak. You can then regenerate that single panel or adjust its prompt without breaking the consistency of the entire sequence.
This method saves countless hours of re-rolling and trying to match a character's appearance from one image to the next. The system enforces consistency, freeing you to focus on the storytelling. Whether it's for a client pitch or internal pre-production, you can generate a complete, coherent visual narrative in minutes.
Workflow code: #myup-xjsb-hirr
Bold Portrait Food Advertising Photo
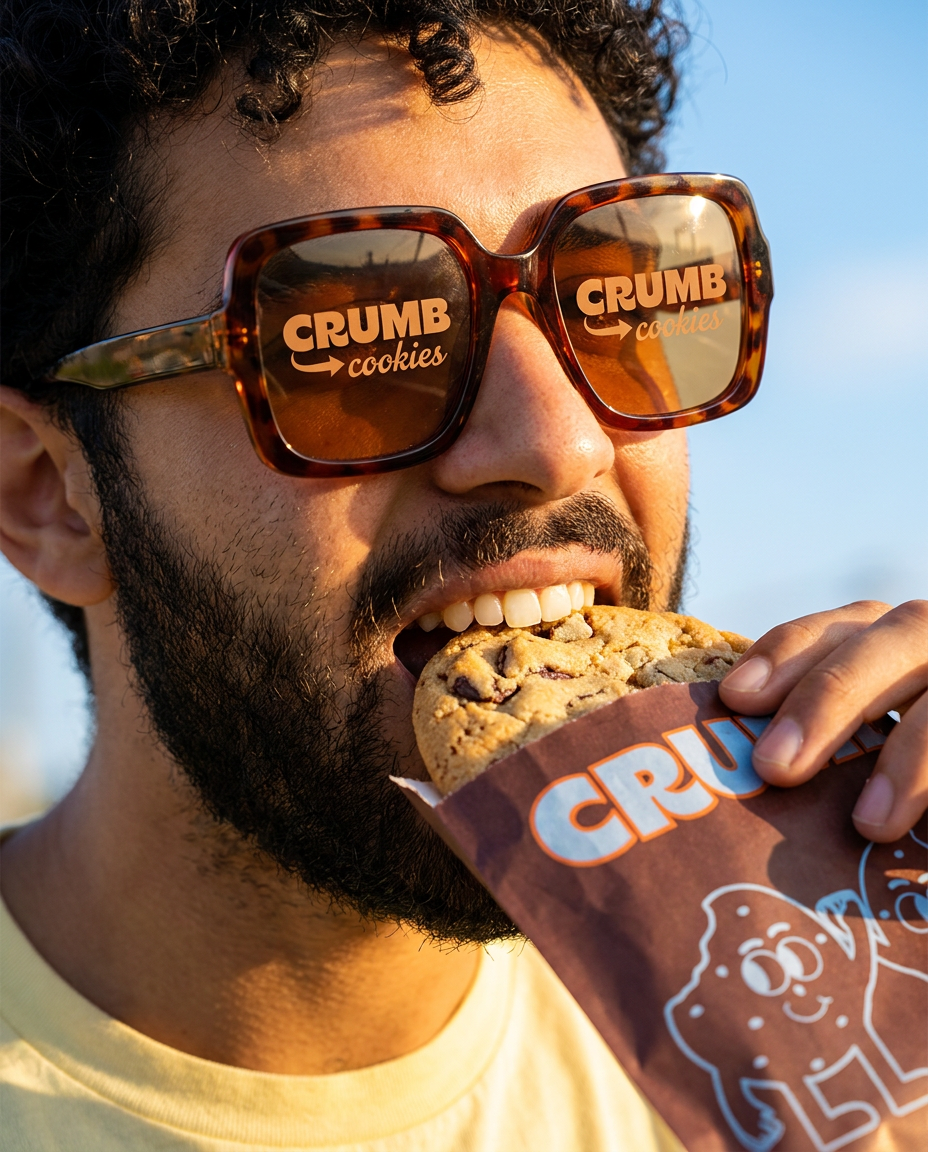
Get those high-impact, tight action shots of people actually enjoying your food brand. It drops your product right into a messy, realistic close-up bite shot that feels like a premium lifestyle campaign instead of a boring studio packshot.
Regenerate using your own assets.
Beyond static panels: Why consistency is critical for AI animatics
The need for this workflow is becoming more urgent. With new AI video features that allow creators to 'paint' motion onto specific parts of a static image, the storyboard is no longer just a plan—it's the first keyframe of an animation. If your character's face or clothing changes between two panels, any attempt to create smooth motion between them will fail, resulting in a jarring, unusable mess.
A consistent storyboard generated through a system like MyUP's Brandkit and workflow is the essential foundation for this next wave of AI-powered pre-visualization. It ensures that when you start adding motion, you're animating a coherent scene, not a collection of disconnected images.
By treating your storyboard not as a series of one-off creations but as a system of assets governed by a central style guide, you move beyond the limitations of generic AI tools. You gain the control and consistency needed for professional narrative work. For a deeper dive into this process, see our complete guide to the professional AI storyboard workflow.
