You created the perfect character. A brave, little fox with one floppy ear and a mischievous glint in his eye. You generate the first illustration, and it's magical. Then, for page two, you prompt: 'the same fox climbing a tree.' What you get back is a different fox. The ear is fixed, the glint is gone, and the fur is a shade too dark. You've just hit the single biggest wall for creators using AI for storytelling: character inconsistency.
For any narrative project, especially a children's book, consistency isn't a 'nice-to-have'; it's the foundation of visual storytelling. Readers need to recognize the hero on every page. As of mid-2026, many creators are still trying to solve this with tricks—endlessly re-rolling prompts, locking seed numbers, or creating Frankenstein prompts that are impossible to control. This isn't a professional process. It's a lottery.
True consistency comes from a workflow, not a magic prompt. This guide lays out that exact workflow. We'll show you how to build a reusable system in MyUP.ai to generate your character, perfectly on-model, in any pose, expression, or scene your story requires.
The storyteller's problem: why AI characters change from page to page
Most AI image generators like Midjourney or Stable Diffusion don't have a true 'memory' of your character. Each prompt is a new, independent request. When you ask for 'a brave little fox,' the AI generates its interpretation of that concept from its training data. Even if you add 'the same fox,' it's just another set of text instructions, not a direct reference to your previous image.
Common workarounds are unreliable for a book-length project:
- Seed Numbers: Using the same seed number can produce similar compositions, but it severely limits your creative freedom. It fights against you when you need a new pose, background, or camera angle.
- Image-to-Image Prompts: Referencing a previous illustration can help, but it often 'overfits' the new image to the old one, copying the pose or background when you need something entirely new.
- Hyper-specific Text Prompts: Describing every single detail ('a fox with a 1.5-inch scar over its left eye, three whiskers longer on the right side...') makes prompts brittle and unmanageable. It stifles creativity and still doesn't guarantee consistency.
These methods fail because they treat the character and the scene as a single, inseparable prompt. A professional workflow does the opposite: it separates the character's core identity from the style of the world and the action of the scene. This is exactly what we'll build in MyUP.
Step 1: Create your character's 'DNA' with a definitive model sheet
Before you can illustrate a story, you need to know exactly what your character looks like from all angles. In professional animation and illustration, this is called a character model sheet or a turnaround. It's the visual source of truth that all other illustrations will be based on.
Instead of one 'perfect' image, you'll use MyUP to generate a set of reference poses on a clean background. This sheet becomes the 'DNA' for your character. It should include:
- A clear, full-body front view.
- A full-body side view (profile).
- A full-body back view.
- A few key facial expressions (happy, sad, surprised).
The goal isn't to create a scene, but to define the character's design. Use a simple prompt focused on the character's key features. For example: 'Children's book character, a cute fox with a floppy right ear and a fluffy tail, character sheet, multiple poses, simple cartoon style, plain white background.'
Once you have these core views, you can combine them into a single image. This model sheet is the first asset in your repeatable workflow. To go deeper on this specific step, see our complete guide on how to create an AI character model sheet.
Step 2: Define your book's unique world with a MyUP Brandkit
Your character doesn't live in a void. The world they inhabit has its own unique visual style—is it a soft watercolor world, a vibrant cartoon landscape, or a gritty, textured environment? Trying to define this style in every single prompt is inefficient and leads to inconsistencies.
This is where MyUP's Brandkit is essential. A Brandkit allows you to define the aesthetic of your book once and apply it automatically every time. It separates the *style* of the illustration from the *subject* of the illustration.
In your MyUP Brandkit for the book, you can lock in:
- Color Palette: Define the exact warm, earthy tones or bright, primary colors of your story's world.
- Style Descriptors: Add keywords that define the look, such as 'gentle watercolor illustration,' 'flat 2D cartoon style,' 'risograph print,' or 'cozy storybook aesthetic.'
- Typography: If your book will have text on the cover or inside, you can define the exact fonts to use.
This approach is far more robust than fine-tuning a model, which can be complex and expensive. A Brandkit gives you direct, immediate control over the visual identity of your project. You can learn more about the differences in our guide on fine-tuning vs. using a Brandkit.
Step 3: Build the reusable workflow for infinite scenes
Now we combine the character's DNA (the model sheet) with the world's aesthetic (the Brandkit) into a single, powerful workflow in MyUP. This is the engine that will generate every illustration for your book.
Here’s how it works:
- Start a new project in MyUP.
- Upload your character model sheet as an image reference. This tells the AI, 'This is what the character looks like. Refer to this design.'
- Activate your book's Brandkit. This applies your pre-defined colors and illustration style to every generation.
- Write a structured prompt. Your prompt will now be simple and focused only on the action. It combines a reference to the character with a variable for the scene: [Your Character's Name], [Action or Scene Description].
For example, if your character is 'Ferdinand the Fox,' your prompt structure becomes: 'Ferdinand the Fox, climbing a tall oak tree in a sunny forest.'
Because the model sheet is providing the character's design and the Brandkit is providing the artistic style, the prompt is free to focus only on the story. You, the author, are in control. You direct the scene, and MyUP handles the consistent production.
Step 4: Illustrate your story, one perfect page at a time
With the workflow built, creating your book is now a simple, repeatable process. You just change the scene description for each page.
Let's generate a few pages for Ferdinand the Fox:
- Page 3: 'Ferdinand the Fox, drinking tea with a wise old badger inside a cozy burrow.'
- Page 8: 'Ferdinand the Fox, looking sad while sitting under a large mushroom in the rain.'
- Page 15: 'Ferdinand the Fox, happily chasing a butterfly through a field of wildflowers.'
In every image, Ferdinand will have the same floppy ear, the same fluffy tail, and the same core design from your model sheet. The world will have the consistent watercolor style and color palette from your Brandkit. The only thing that changes is the story—as it should be.
You can even use this workflow to experiment with different book styles without losing your character. Want to see how your story looks with a retro, printed feel? Simply apply a different style in your Brandkit or use a workflow designed for that aesthetic. For example, you could generate a special edition poster for your book release.
Workflow code: #myup-3xus-3l9x
Vintage Risograph Event Poster
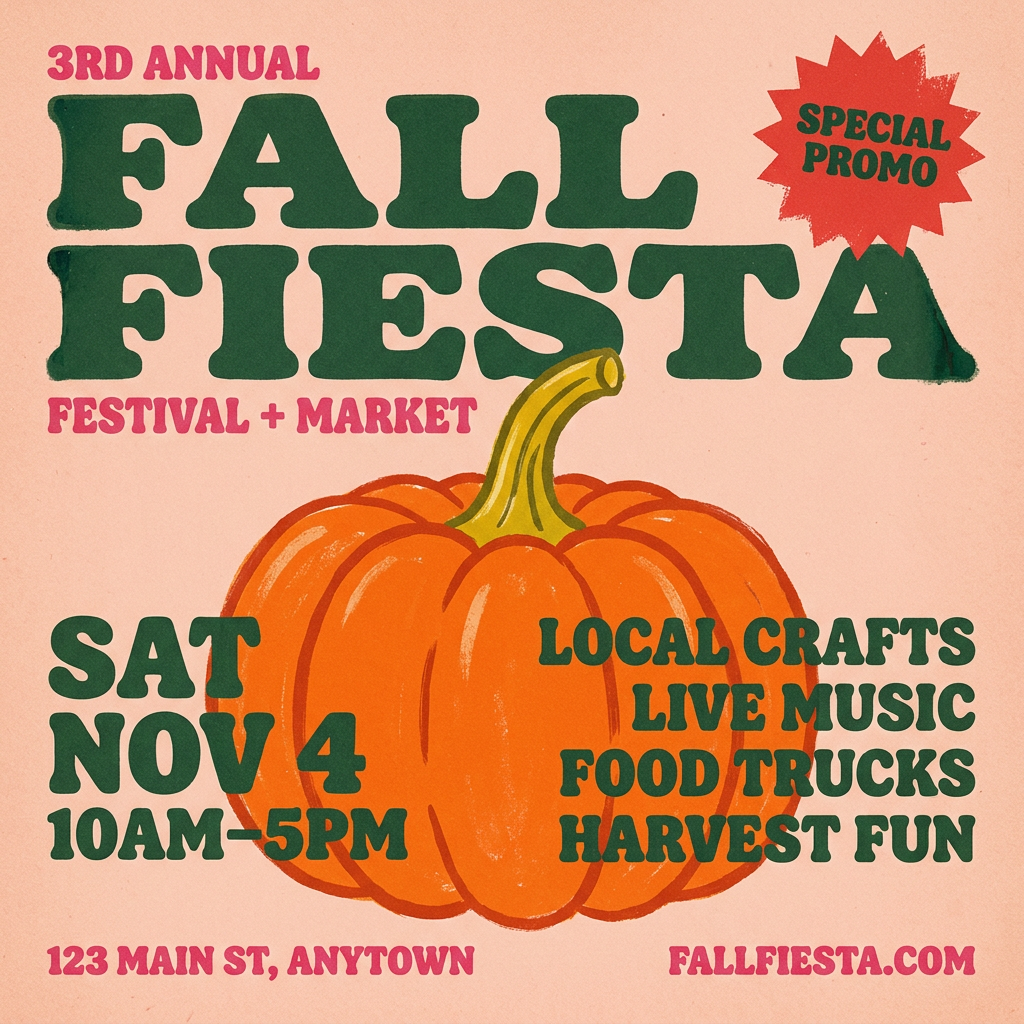
Turn any announcement into a gritty, tactile gig poster. It layers your text with an uneven letterpress ink texture over a dusty, warm pink risograph paper background. It’s perfect for giving social posts a real analog, screenprinted vibe.
Regenerate using your own assets.
Beyond the book: using your consistent character everywhere
This workflow isn't just for illustrating the book itself. You now have a reusable creative asset. The combination of your character model sheet and the MyUP workflow allows you to create an entire universe of content around your story, all perfectly on-model and on-brand.
Think about what you need to launch and promote your book:
- Social Media Posts: Generate images of your character announcing the book's release date.
- Website Assets: Create a banner for your author website featuring the main character.
- Promotional Materials: Design bookmarks, stickers, or postcards with your character in different fun poses.
Because the system is repeatable, you can create a dozen promotional images in the time it would take to get one right using the 'prompt and pray' method. You can even use workflows designed for social media to quickly create engaging content, like a scrapbook-style announcement.
Workflow code: #myup-sacz-tjdn
Y2K Scrapbook Collage Creator
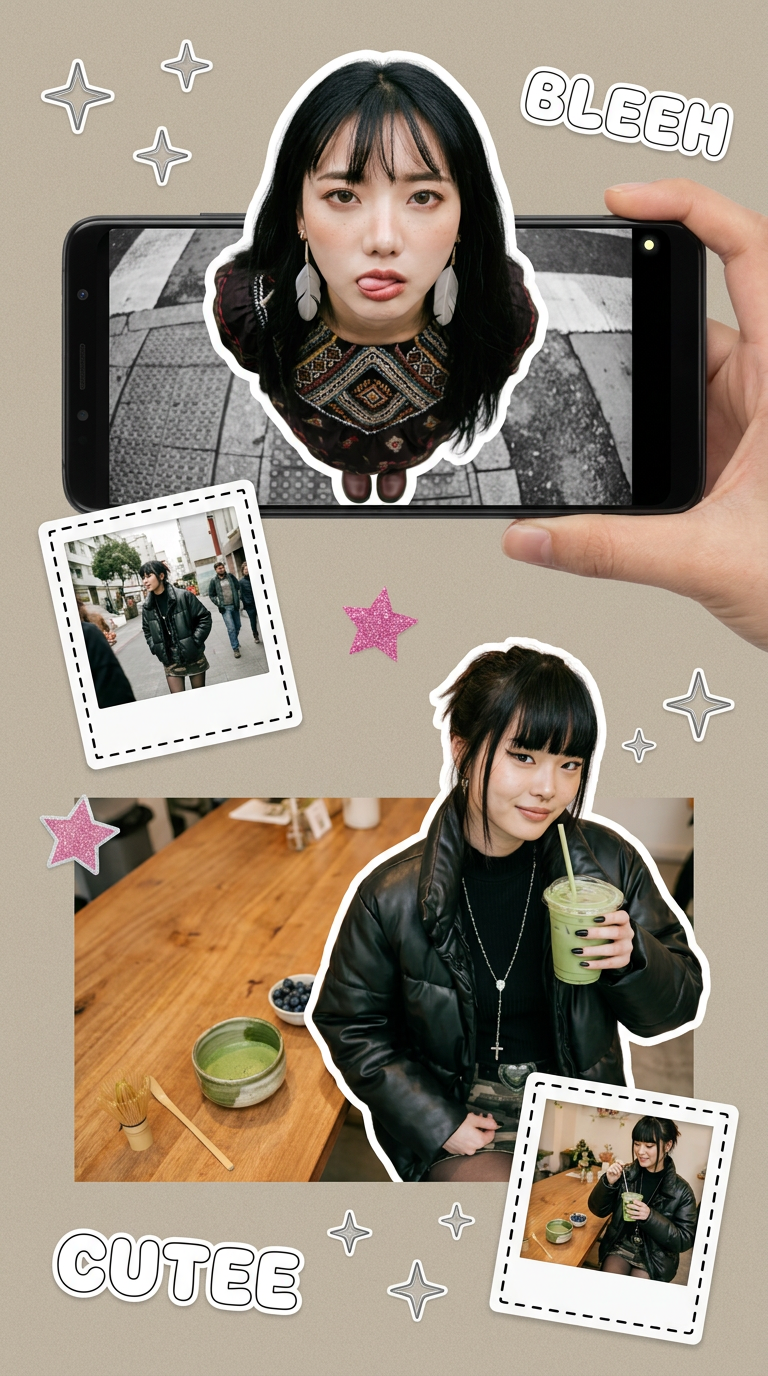
Put two different people into the same scene without losing their real-world features. Just upload two portraits and drop them together into any setting or style you need. It keeps both faces incredibly accurate.
Regenerate using your own assets.
By investing time in a proper workflow, you haven't just solved illustration for one book; you've built an engine for your character's entire brand.
Stop rolling the dice, start telling your story
Character consistency is the barrier that separates casual AI image creation from professional visual storytelling. Relying on luck, complex prompts, or brittle workarounds is a recipe for frustration and wasted time. A structured, repeatable workflow is the only way to get the control you need for a project that matters.
With MyUP, you can build that workflow. By combining a definitive character model sheet with a style-defining Brandkit, you create a system where you are the director. You focus on the story, and MyUP ensures your characters show up on-model, ready for their scene, on every single page.
