
You've sketched the perfect elevation, but turning it into a compelling, realistic render with AI feels like a lottery. You get a stunning image once, then twenty unusable variations. The materials are wrong, the lighting is generic, and worst of all, none of the images look like they belong to the same project. That's changing. As of June 2026, a new class of AI can now read your sketches, and this workflow gives you professional control over the final result.
AI can finally read your sketches. Here's what that means for architects.
For years, AI image generation for architecture has been a frustrating exercise in prompt engineering. You could describe a 'modernist house with cedar cladding and large windows,' but you couldn't dictate the exact form, perspective, or fenestration. The AI was dreaming, not drafting.
This fundamental limitation was resolved by the recent emergence of sketch-aware AI models, like the 'Arch-Line' ControlNet model that gained traction in late June 2026. These models separate structural intent from stylistic intent. You provide the structure—a clean line drawing of your design—and the AI applies the style, materials, and lighting you specify. This isn't just an incremental improvement; it's a shift from random inspiration to controllable production. It means your firm's unique design language can finally be enforced by AI, not ignored by it. While niche tools like Architron AI are appearing to address this, a truly professional process requires a system that manages not just the render, but the entire project's visual identity. That system is a MyUP workflow.
Step 1: Define your project's DNA with a MyUP Brandkit
Before you generate a single image, you must define the rules. Professional visualization isn't about finding a cool style; it's about applying a specific, predetermined one. In MyUP, this is handled by the Brandkit. For an architectural project, your Brandkit becomes the single source of truth for the project's visual DNA.
Instead of hoping the AI understands what 'warm and modern' means, you define it with precision:
- Material Palette: Specify the exact materials. Not just 'wood,' but 'Danish oak flooring, board-formed concrete walls, bronze window frames.'
- Lighting Style: Define the atmosphere. Not just 'daytime,' but 'overcast morning light from the northeast,' or 'warm, low-level interior lighting at dusk.'
- Color Scheme: Lock in the project's specific color codes for accent walls, textiles, or environmental elements.
Building this Brandkit in MyUP is the most critical step. It ensures that every render you generate—from the first exterior view to the last interior detail—is grounded in the same set of aesthetic decisions. This is how you move from generating images to directing a cohesive visualization project.
Step 2: The sketch-to-render generation loop
With your project's DNA defined in the Brandkit, you can begin the iterative generation process. This is a loop where MyUP executes and you, the designer, validate and refine.
First, prepare your source image. A clean, simple line drawing with clear perspective and defined forms works best. This can be a scanned hand sketch or a simple digital drawing. The goal is to communicate structure, not detail.
Next, upload the sketch to a MyUP workflow and write a structured prompt. This prompt doesn't need to describe the building's shape—the sketch already handles that. Instead, it should call upon your Brandkit and describe the atmosphere and context. For example:
'Photorealistic architectural render of a residential home, exterior view. Apply Project-Modern-Villa Brandkit. Atmosphere is a crisp autumn afternoon with long shadows. Surrounding landscape is sparse, with dry grasses and a few birch trees.'
MyUP will generate the first render based on your sketch and the rules in your Brandkit. From here, you review the output. Is the concrete texture right? Is the lighting hitting the elevation as intended? You can then adjust the prompt or the Brandkit and regenerate, iterating until the result perfectly matches your vision. This loop gives you the fine-tuned control that was previously impossible.
Step 3: Create a cohesive series, not just a single render
The true test of a professional AI workflow is not producing one great image, but a dozen consistent ones. This is where the Brandkit-driven approach becomes indispensable. Using the same initial sketch and the same MyUP Brandkit, you can now generate an entire series of views that are stylistically and materially identical.
Simply modify your prompt to change the camera angle or focus, while keeping the Brandkit constant:
- Exterior, Night:'...Apply Project-Modern-Villa Brandkit. Evening shot, warm light spilling from the interior windows...'
- Interior, Living Room:'...Apply Project-Modern-Villa Brandkit. Interior view looking out through the main window, soft morning light...'
- Detail, Window Frame:'...Apply Project-Modern-Villa Brandkit. Close-up detail of the bronze window frame and its connection to the concrete wall...'
The result is a set of images that feel like they were captured by the same photographer, on the same day, at the same location. The materiality of the oak floors in the interior shot will perfectly match the glimpse of flooring seen through the window in the exterior shot. This level of consistency is critical for client presentations and marketing materials, transforming a collection of images into a convincing narrative of a real space. This process is similar to how you might use an AI-generated mood board to establish a project's core aesthetic before production begins.
Step 4: Turn your renders into client-ready presentations
Once you have your cohesive set of renders, the final step is to package them professionally. A folder of loose JPGs doesn't communicate a vision. MyUP's workflows allow you to instantly turn your generated assets into polished, client-ready presentation materials.
To present multiple views and details together on a single concept board, a clean grid layout is essential. This allows clients to see how the interior and exterior spaces relate to one another and appreciate the consistent design language across the project.
Workflow code: #myup-n0bi-2wzk
Bold Editorial Grid Poster
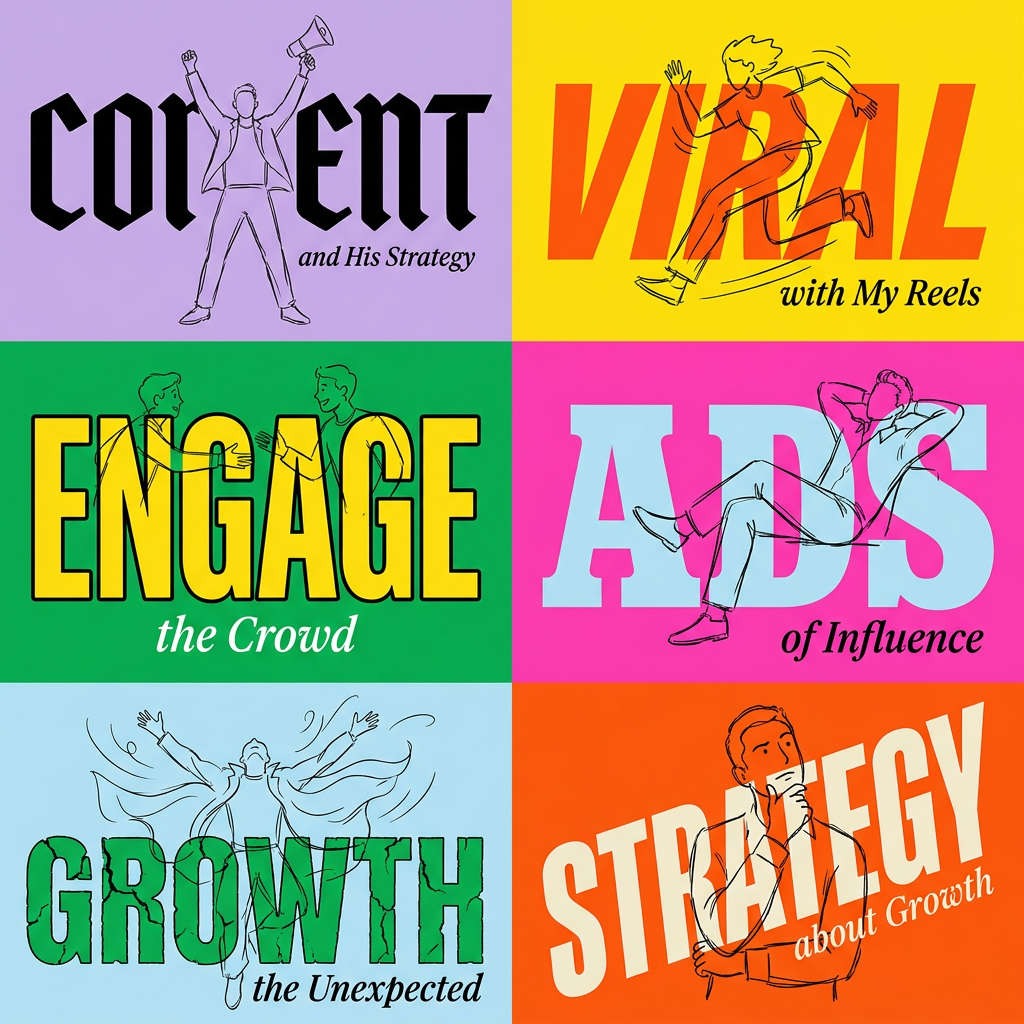
Create striking 2x3 editorial posters with six seamless, flat-color square cards in a perfect 4:5 grid. There are absolutely no gaps between the blocks, giving your content a bold, high-contrast magazine layout. It looks incredibly clean on any social feed.
Regenerate using your own assets.
For marketing on social media or in digital portfolios, you often need to highlight a single, powerful hero image. A minimalist poster format with clean typography ensures the focus remains entirely on your architectural vision. These templates let you quickly create assets for different channels, all while maintaining a professional aesthetic.
For a clean, centered presentation, use the Minimalist Elegant Product Advertising Poster. Workflow code: #myup-fy77-jljs
Minimalist Elegant Product Advertising Poster
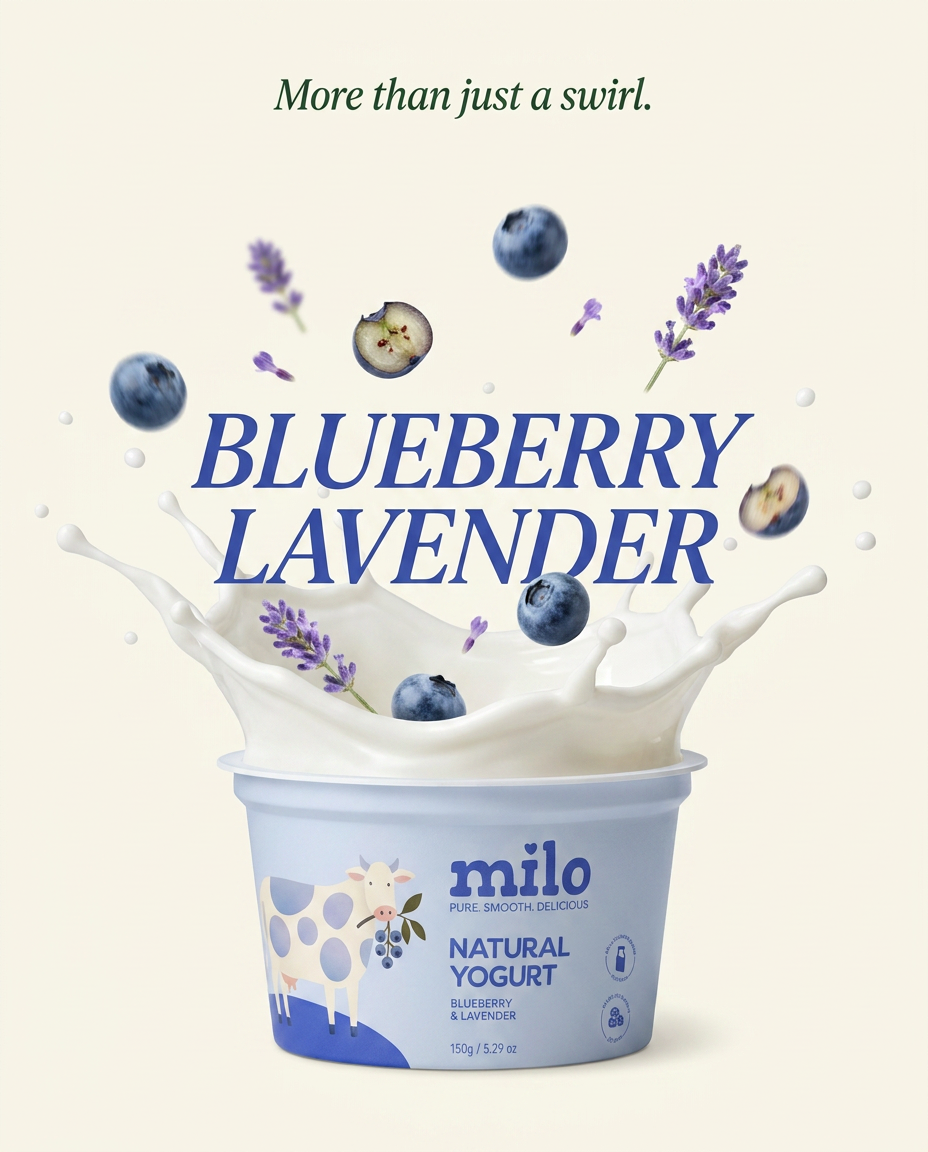
Turn any product shot into a high-end editorial ad. It places your item against a soft cream background with airy spacing and adds elegant, small serif typography at the top. Great for wellness or luxury brands wanting a calm, minimal aesthetic.
Regenerate using your own assets.
For a slightly bolder, more modern look, try the Minimalist Vertical Product Advertising Poster. Workflow code: #myup-sygb-rhnt
Minimalist Vertical Product Advertising Poster
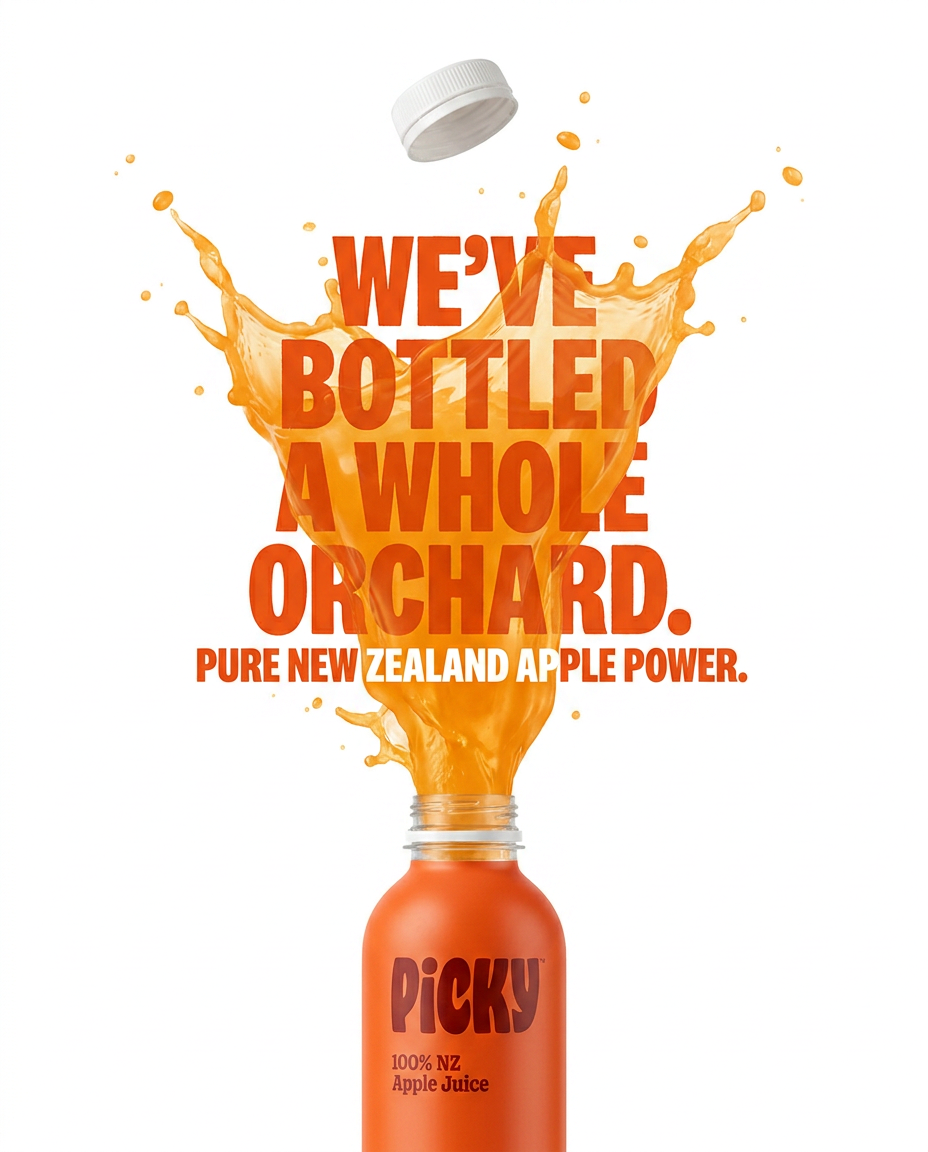
Drop the clutter and put your product in the spotlight. This setup places your item against a pure, seamless white background with a striking vertical flow that draws the eye straight up. It's perfect for creating clean, high-end studio posters.
Regenerate using your own assets.
Using these workflows, you can go from raw render to finished presentation in minutes, ensuring the quality of your final output matches the quality of your design.
Your workflow is your signature, not a random prompt
The era of using AI as a slot machine for architectural ideas is over. With a systematic sketch-to-Brandkit-to-render workflow in MyUP, you can move beyond generating 'lucky shots' and establish a reliable production process. This approach ensures consistency, upholds your firm's unique style, and gives you the creative control that professional work demands. It turns AI from an unpredictable muse into a powerful, precise tool for realizing your vision—a tool that is just as applicable to virtual staging as it is to conceptual design. Your workflow is your signature, and now you can apply it at scale.
