
You've tried it. You fed a prompt into an AI image generator—something like "modern house in the forest, photorealistic"—and got back an image that was technically impressive but emotionally empty. The lighting is flat, the materials look like plastic, and the structure has a strange, uncanny quality that would never pass a client review. It doesn't look like your design; it looks like the AI's generic idea of a house.
This is the core failure of most AI architectural rendering attempts. They treat the process like a lottery, hoping a lucky prompt will deliver a masterpiece. Professionals know that great visualization isn't about luck; it's about control.
You don't need to abandon AI and go back to spending days setting up scenes in V-Ray or Lumion. You just need a better workflow. This guide details a four-stage process used by professionals to achieve photorealistic results, moving from structural integrity to atmospheric detail, all executable within MyUP.ai.
Why most AI architectural renders fail the realism test
The 'AI look' in architecture stems from two fundamental problems: a lack of compositional control and a lack of material specificity. When you only use a text prompt, the AI is guessing at the massing, fenestration, and site plan. It averages its training data, producing designs that are plausible but generic and often structurally nonsensical.
Recent breakthroughs, inspired by techniques like ControlNet, have changed the game. Instead of the AI leading the design, these methods allow the architect to enforce the structure of their own design onto the generation process. This is the difference between asking an assistant to sketch a house for you and having them expertly render a plan you've already drawn. The creative authority remains with you; the AI handles the production.
This guide is not for creating final construction documents. It's for the critical stages of conceptual design, client presentations, and marketing, where speed and visual impact are paramount. It's about turning your 2D work into a compelling, realistic vision in minutes, not days.
Step 1: Start with structure, not a blank canvas
Photorealism begins with a believable form. The most critical step in this workflow is to abandon text-only generation and start with an image that defines the composition and structure of your building. This input acts as a powerful guide for the AI, ensuring the final render respects your design intent.
In MyUP, you don't start with a blank prompt. You start by uploading a reference image. This could be:
- A clean 2D elevation from your CAD software.
- A simple, unrendered massing model screenshot.
- A clear, well-defined architectural sketch.
By providing this structural map, you tell the AI exactly where the walls, windows, and rooflines should be. The AI's job is no longer to invent a building, but to 'dress' your building in realistic light, materials, and context. This single step eliminates 90% of the randomness and 'fake' feeling of AI-generated architecture. You are in control of the form; the AI is your rendering engine.
Step 2: Direct the light and materials like a photographer
With the structure locked in, your prompt becomes a tool for creative direction, not architectural design. You can now focus on the details that create realism. Think like a photographer styling a shoot. Your prompt should be specific, using professional terminology for materials and lighting.
Avoid generic terms like 'wood' or 'concrete'. Instead, use precise descriptions:
- Instead of 'wood siding', try: 'charred Accoya wood cladding with shou sugi ban texture' or 'vertical cedar rainscreen with clear sealant'.
- Instead of 'concrete walls', try: 'board-formed concrete with visible tie holes and slight weathering' or 'smooth-troweled white stucco finish'.
- For lighting, be an art director: 'low evening sun from the right casting long, soft shadows', 'overcast day with diffuse, even lighting', or 'golden hour light reflecting off the glass facade'.
A great architectural render is essentially high-end product photography. You are showcasing the building as a luxury object. In MyUP, you can use a workflow designed for this exact purpose to get your mindset right. Start with a template that emphasizes dramatic, professional lighting to see how it transforms your scene.
Workflow code: #myup-xjaq-qhgx
Luxury Product Photography Studio
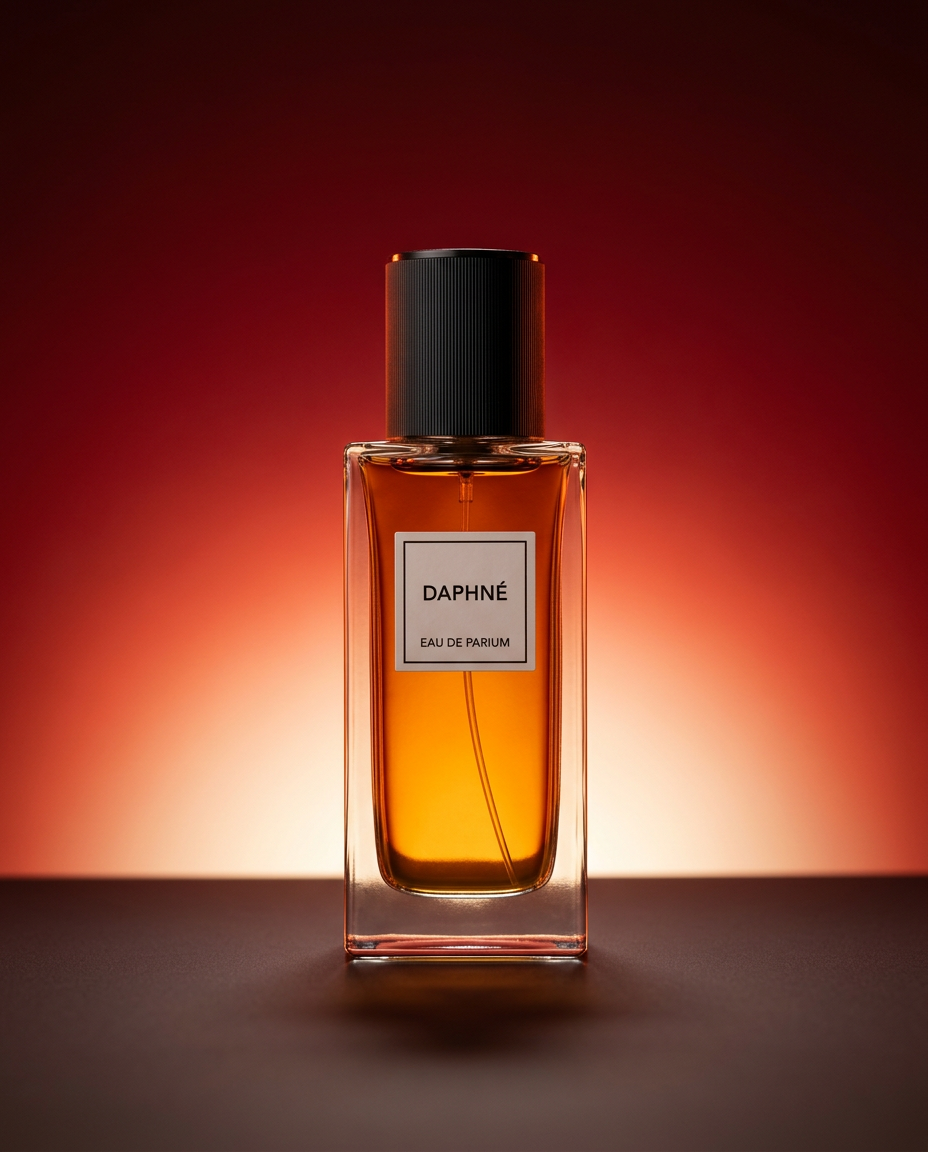
Drop your product into a dramatic, high-end studio setup. It places your item on a sleek flat surface against a rich crimson and orange cinematic gradient background. It's an easy way to get that moody, premium commercial look for any bottle, tech, or cosmetic.
Regenerate using your own assets.
Step 3: Build a believable world around your design
A building never exists in a vacuum. Realism depends on the convincing integration of your structure into its environment. The landscaping and atmospheric conditions are just as important as the cladding.
Again, specificity is key. Don't just ask for 'trees'; describe the ecosystem. Is it a 'dense Pacific Northwest forest with Douglas firs and mossy groundcover' or a 'dry, arid landscape with sagebrush and decomposed granite'? This level of detail informs the entire mood and color palette of the image, making it feel like a real place. The same principles apply to interior spaces, a process we detail in our guide to achieving realistic AI interior designs.
Prompt for atmospheric effects to add depth and emotion:
- 'A light morning mist rising from the ground.'
- 'The subtle haze of a hot summer afternoon.'
- 'Dramatic, fast-moving clouds in the sky after a storm.'
Think of this stage as creating a cinematic establishing shot for your project. A workflow built for creating a campaign mood can help you focus on building a complete, immersive world for your architecture.
Workflow code: #myup-4mva-7iki
Cinematic Space Product Campaign
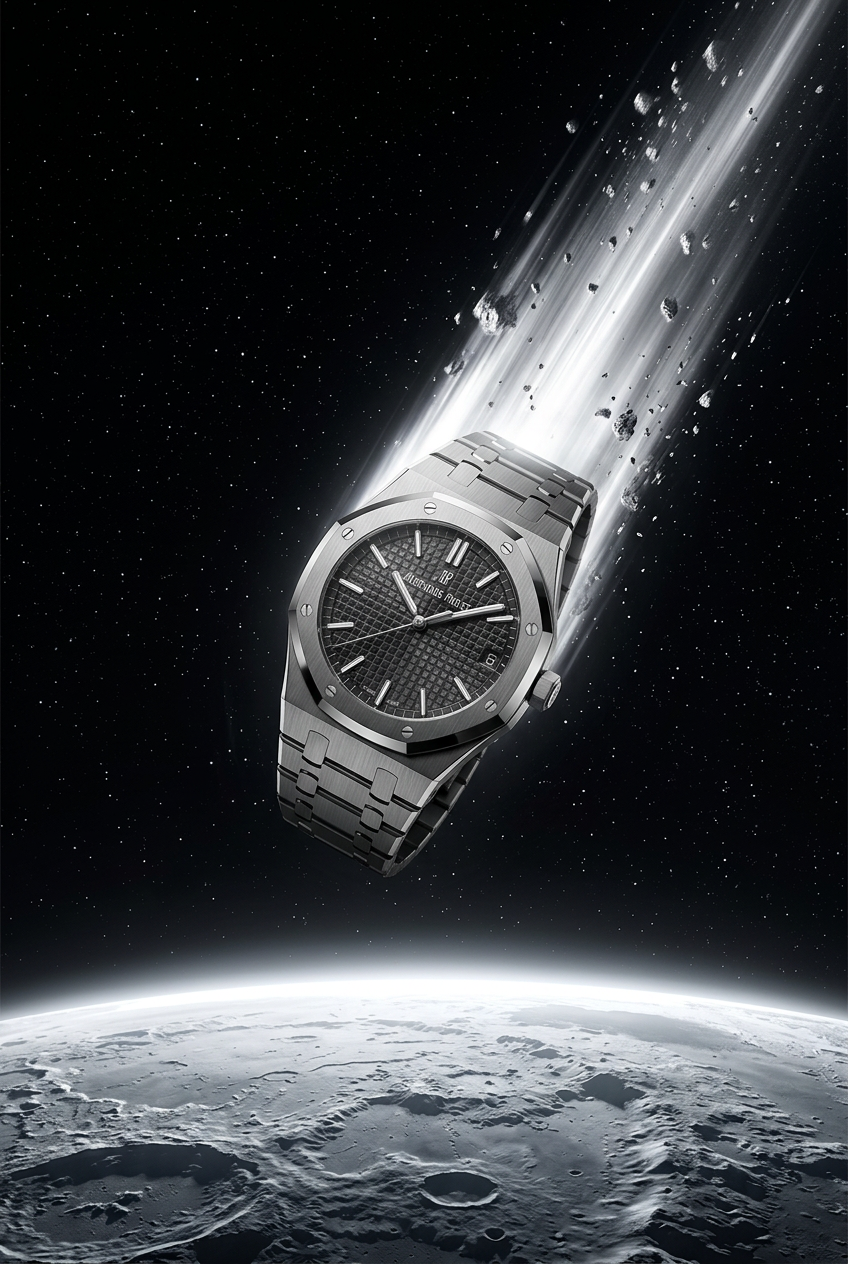
Drop your product into a dramatic, cosmic scene. It creates an epic set of images starting with a dynamic space launch framed by a blazing meteor, followed by a low-angle hero shot and an extreme macro of the surface textures catching the high-contrast light.
Regenerate using your own assets.
Step 4: The professional's final pass: iterate and refine
No rendering process, traditional or AI, is ever perfect on the first try. The final step is iteration. Generate several variations and look for the one where the light and composition work best. From there, use tools like inpainting to correct small imperfections.
Did the AI create a slightly distorted window frame or an unrealistic reflection in the glass? Don't discard the whole image. In MyUP, you can select that specific area and regenerate just that part with a refined prompt, like 'realistic window reflection showing sky and trees'. This is where human validation is crucial. MyUP executes the heavy lifting, but you provide the final directorial approval.
Once you have a final, polished render, you need to present it. A simple workflow can help you frame your image within a clean, elegant layout for a client presentation or a marketing post, adding a final layer of professionalism to your work.
Workflow code: #myup-fy77-jljs
Minimalist Elegant Product Advertising Poster
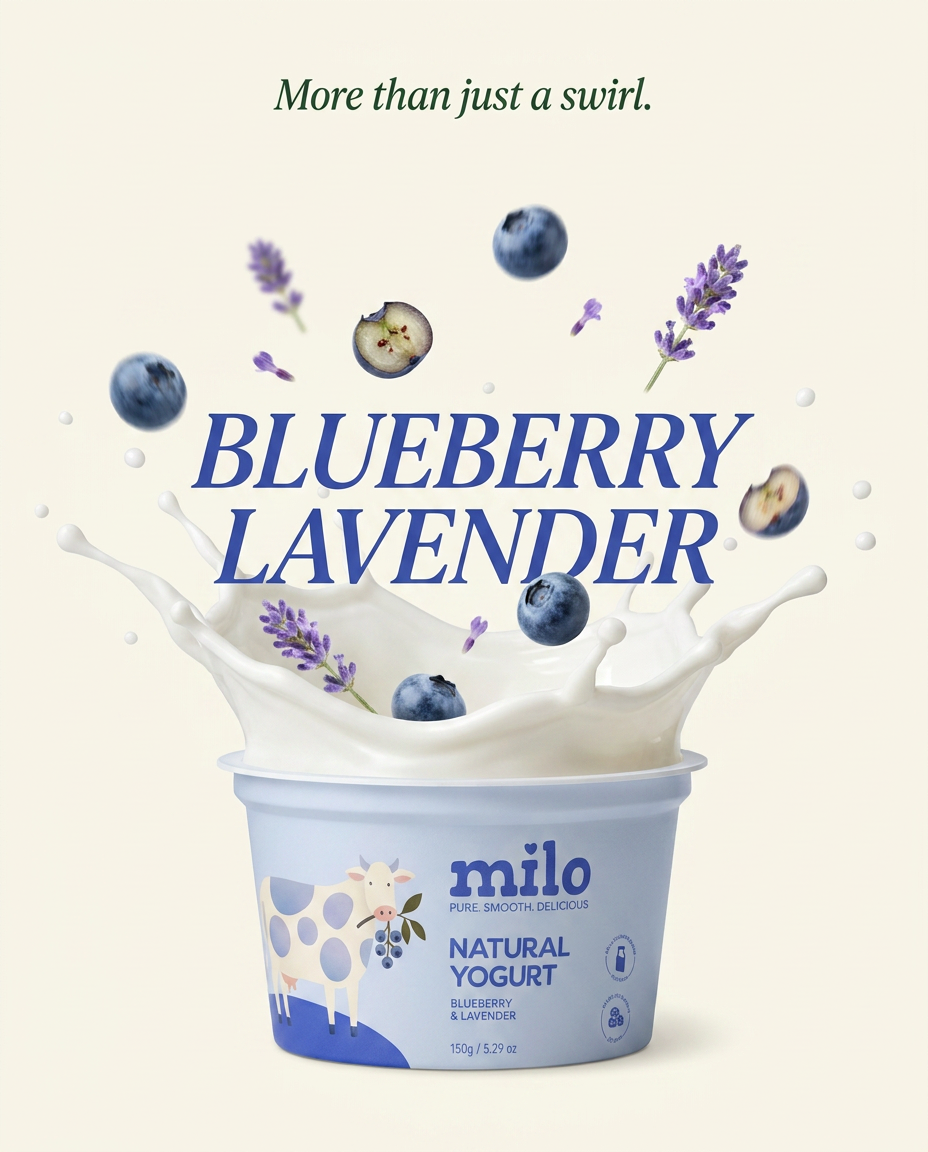
Turn any product shot into a high-end editorial ad. It places your item against a soft cream background with airy spacing and adds elegant, small serif typography at the top. Great for wellness or luxury brands wanting a calm, minimal aesthetic.
Regenerate using your own assets.
Your new rendering workflow: from hours in V-Ray to minutes in MyUP
The path to photorealistic AI architectural rendering isn't a magic prompt. It's a professional workflow that puts design control back in the hands of the architect. By following these four steps—starting with structure, directing materials and light, building a believable context, and refining the details—you can move from generating generic images to producing client-ready visualizations that reflect your unique vision.
This process transforms your role from a software operator into a creative director. You provide the core design and the aesthetic vision; MyUP provides the powerful, fast, and repeatable production engine. The result is more time spent on design and less on technical rendering, without sacrificing the quality your clients expect. This efficiency is a core part of how MyUP is designed, as you can see on our pricing page.
