Yesterday, on July 4, 2026, Adobe shipped 'Structure Reference' for Firefly, a powerful feature that lets AI copy the layout of one image onto another. It's a significant step, and it confirms what every marketer and designer already knows: getting AI to generate images with a specific, predictable composition is the biggest hurdle to using it for serious commercial work, especially for app and website mockups.
The problem is, a single feature inside a complex tool isn't a workflow. You still need to generate the perfect scene, composite your screenshot, handle perspective and lighting, add your brand's typography, and turn it into a finished ad. This tutorial walks you through that entire process inside a single platform. We'll show you how to move beyond generic templates and create an infinite supply of unique, realistic, and on-brand mockups for your digital product using MyUP.ai.
Step 1: Generate a unique, on-brand environment
Your app isn't generic, so its marketing visuals shouldn't be either. The first step is to create a unique scene that feels authentic to your audience and your brand. Forget scrolling through stock photo libraries for the perfect, overused image of a phone on a coffee shop table. Instead, you'll generate it from scratch.
In MyUP, this starts with a prompt describing the context. Be specific. Instead of 'phone on a desk', try 'A top-down view of a minimalist oak desk with a smartphone, a half-full ceramic mug of coffee, and a small succulent plant. Soft morning light from a window on the left'.
But here's the critical part for brand consistency: MyUP doesn't just take your prompt. It uses your saved Brandkit—your specific colors, fonts, and logo—to influence the aesthetic of the generated scene. It subtly shifts the color palette, the mood, and the lighting to feel like *your brand*. The result is a background that isn't just random, but is purpose-built for your visual identity. MyUP handles the AI execution; you validate the final scene that best tells your story.
To get started with a lifestyle scene immediately, use this workflow. It's pre-configured to generate a photorealistic environment ready for your product.
Workflow code: #myup-seli-mtp0
Photo Product Ad
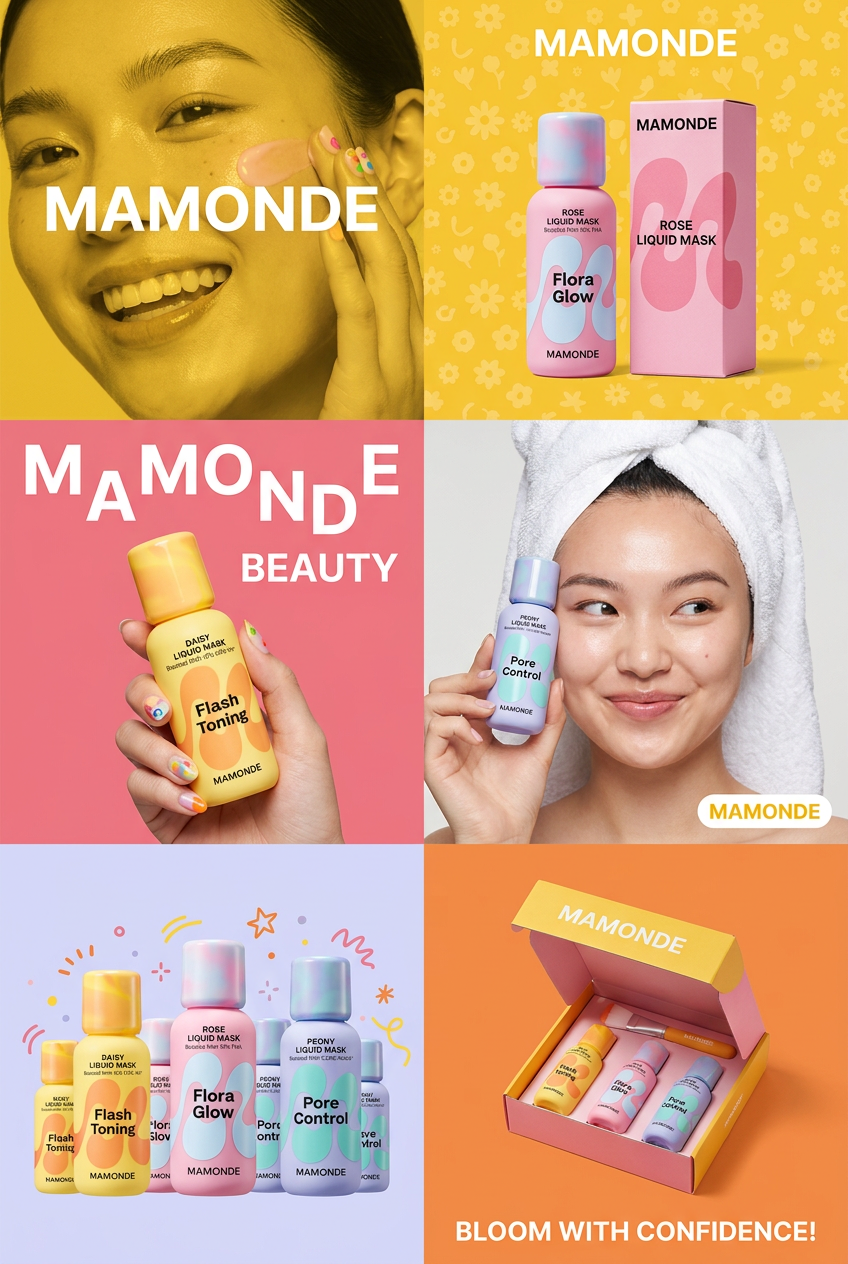
Get that high-end editorial look with a stacked, multi-panel campaign layout. It slices your brand visuals into a bold three-tier grid, pairing tight product close-ups right next to lifestyle shots for a cohesive, modern beauty poster.
Regenerate using your own assets.
Step 2: Composite your screenshot with realistic detail
Once you have the perfect background scene, the next challenge is placing your app or website screenshot onto the device. This is where most quick-and-dirty solutions fail. Simply pasting a flat image onto a phone held at an angle looks fake and immediately breaks the illusion.
A realistic composite needs to account for three things: perspective, reflections, and ambient lighting. The screen needs to be warped to match the angle of the phone. It needs to pick up subtle reflections or glare from the environment's light sources. The brightness and color temperature of your screenshot must match the lighting of the scene it's sitting in.
Doing this manually requires design software and skill. The MyUP workflow turns it into a simple step. After generating the scene, the workflow prompts you to upload your screenshot (a PNG or JPG of your app's UI). The platform then automatically handles the compositing, analyzing the device in the image and mapping your screenshot onto it with the correct perspective and lighting adjustments. You can then review the result and make minor adjustments, maintaining creative control without getting lost in technical details.
Alternative workflow: The clean studio shot
Lifestyle scenes are great for showing your product in context, but sometimes you need a clean, focused visual that puts the app front and center. This is common for feature announcements on a website, App Store assets, or minimalist social media posts. The goal here is not a cluttered real-world scene, but a professional studio product shot.
The process in MyUP is similar, but your prompt changes focus. Instead of describing a location, you describe a studio setup. For example: 'A smartphone displaying an app, standing upright against a solid-colored background. Clean, studio lighting with a soft shadow on the right. The background color should be a soft, neutral gray'.
Again, your MyUP Brandkit will ensure that if you ask for a 'brand-colored background', it uses your actual primary or secondary brand color. This creates a set of visuals that are instantly recognizable and perfectly consistent. For a direct path to this clean, minimalist style, the Studio Product Ad workflow is the ideal starting point.
Workflow code: #myup-u4lt-o0ho
Studio Product Ad
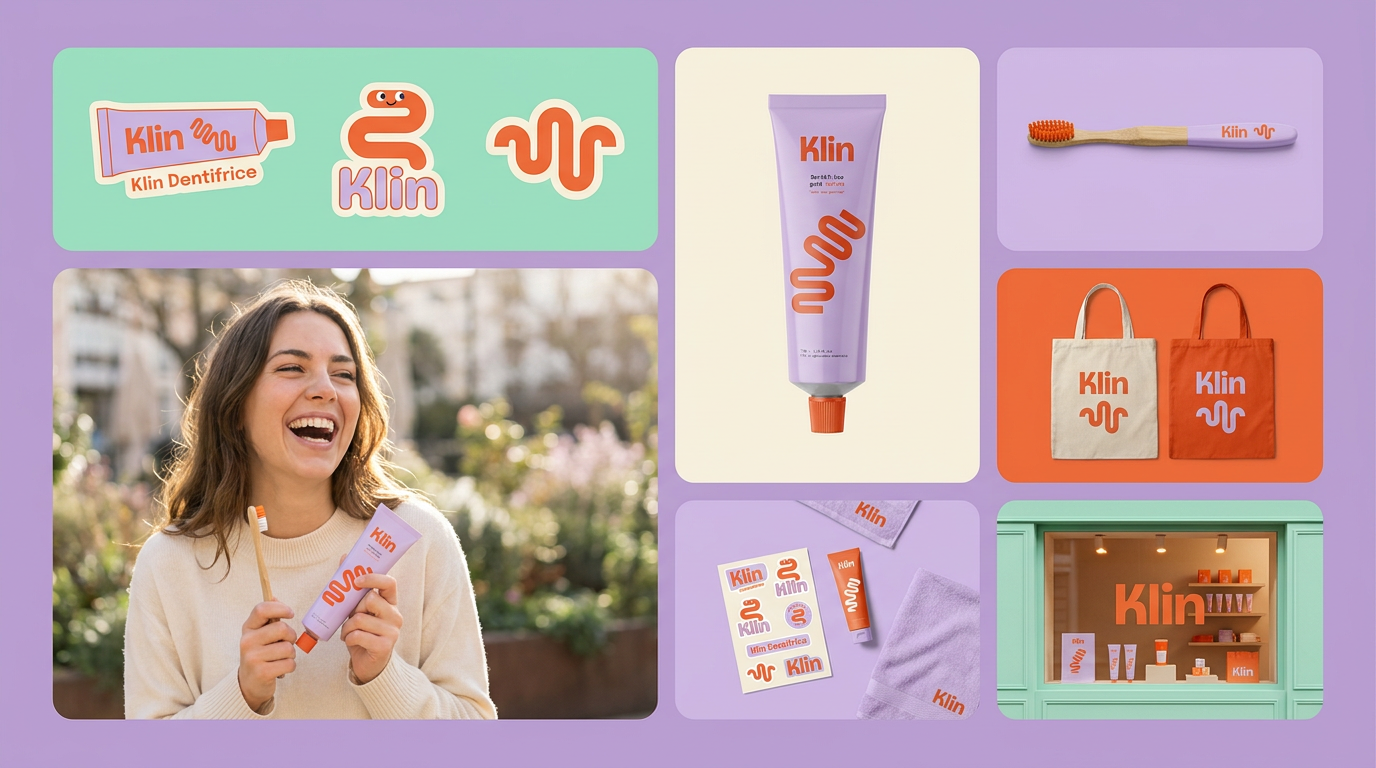
Drop in a single product photo to instantly build a cohesive visual identity. It automatically samples your item's dominant colors to generate a beautifully matched mosaic moodboard, giving your brand an instant, polished aesthetic.
Regenerate using your own assets.
Workflow code: #myup-aon6-zvop
Studio Product Ad
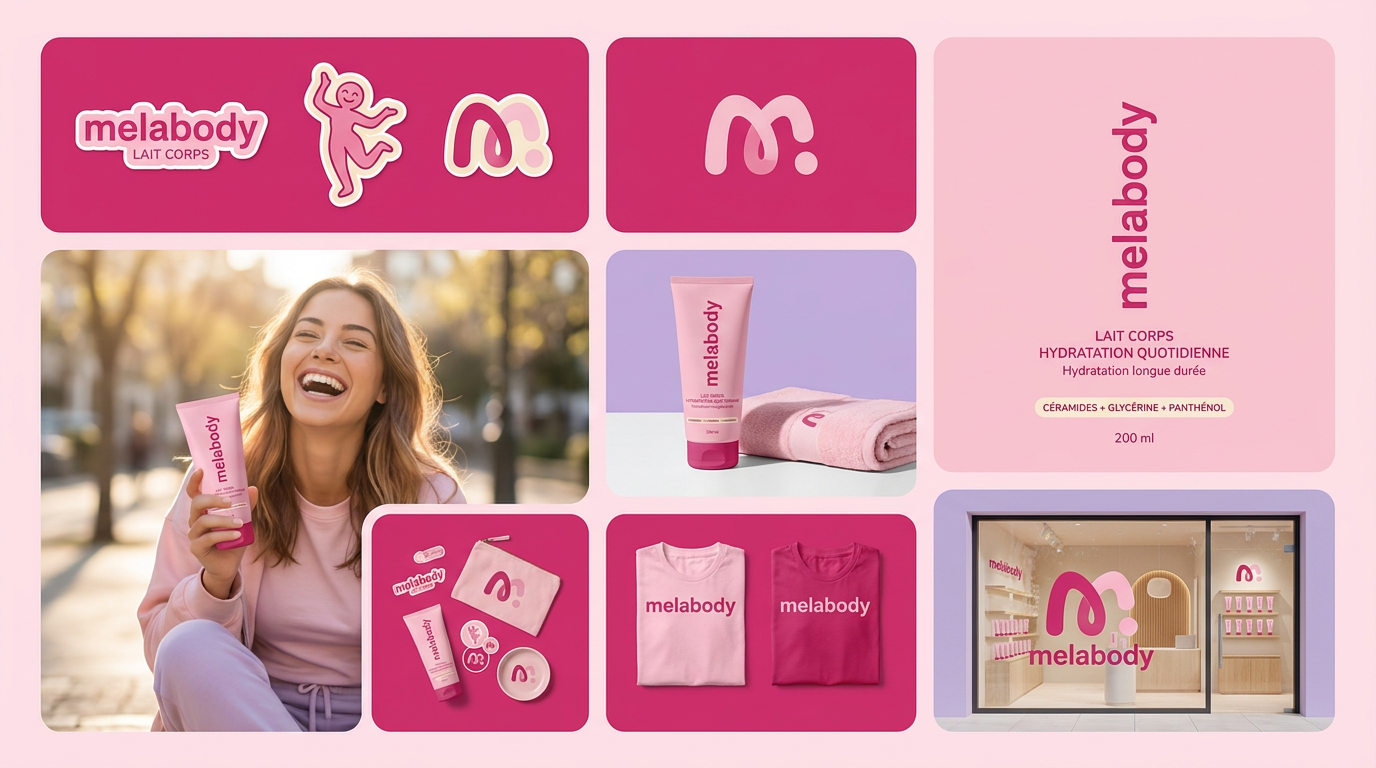
Turn any product photo into a cohesive brand moodboard. It automatically extracts the dominant color from your image to style the background, framing everything in a clean mosaic layout that perfectly matches your aesthetic.
Regenerate using your own assets.
Step 3: Turn your mockup into a finished marketing asset
A realistic mockup is a great start, but it's not a finished marketing asset. To be used in a campaign, it needs a headline, a call-to-action, and your logo. The final step is to take your newly generated mockup and place it within a larger design composition.
This is another point where using disconnected tools creates friction. You'd have to download the image from your AI generator, upload it to a design tool like Canva or Figma, and then build your ad or social post around it. In MyUP, it's the final step in the same workflow.
After you approve the composited mockup, you can continue the workflow to add text layers, your logo (pulled from your Brandkit), and other graphic elements. The workflow will even suggest layouts and use your brand fonts automatically, ensuring that the final ad for Instagram Stories, a LinkedIn post, or a web banner is fully on-brand and ready to publish in minutes, not hours.
To see how a product visual can be instantly turned into a complete poster with branding and text, try this workflow.
Workflow code: #myup-tbky-nciq
Food Brand Poster
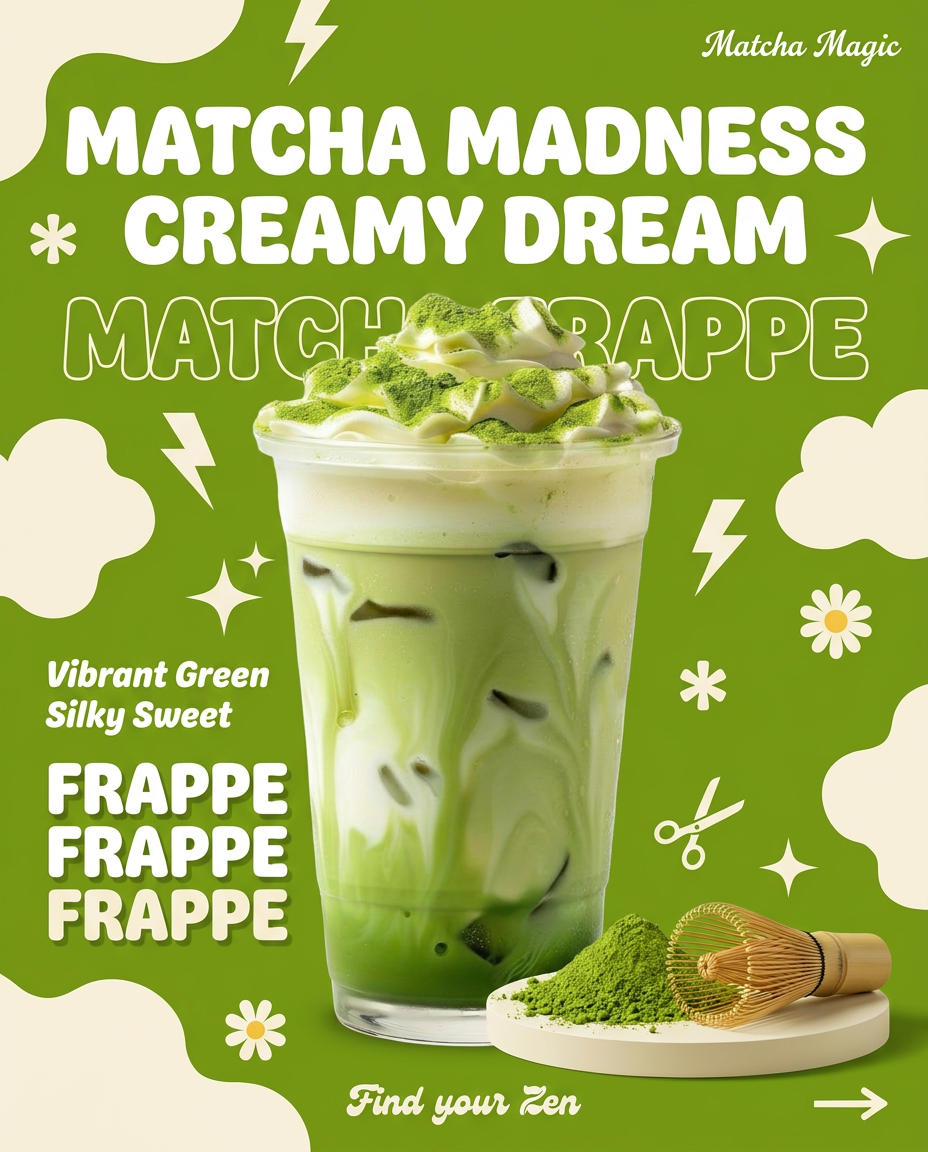
Instantly turn any food or drink product packaging into a bold, vibrant retro poster. The system automatically reads your bottle or box to grab its exact colors and ingredients, then crafts a perfectly coordinated vintage background around it.
Regenerate using your own assets.
Beyond the image: Why a workflow beats a single tool
The arrival of features like Adobe's Structure Reference is exciting because it gives creators more control. But control over a single step isn't the same as having an efficient, repeatable process. The real bottleneck for most teams isn't generating one image; it's producing a consistent volume of high-quality, on-brand marketing assets.
That's where a workflow-based platform like MyUP provides a different answer. It connects the dots from initial idea to final, campaign-ready creative. By integrating scene generation, smart compositing, and your brand's unique visual identity into a series of simple steps, you move beyond just making an image. You build a system for creating an entire category of content, ensuring every mockup you produce is unique, realistic, and unmistakably yours.
