The glossy, tactile aesthetic of 3D renders is everywhere, from slick social media icons to polished product mockups. The problem? Actually creating them requires mastering complex software like Blender or Cinema 4D—a steep learning curve and a significant time investment. AI image generators offer a compelling shortcut, allowing you to create visuals with a 3D *look* from a simple text prompt.
But this shortcut comes with a trap. You spend an hour crafting the perfect prompt, and you get one amazing clay-style character. Then you try to create a second character for the same series, and it looks like it came from a different universe. The lighting is wrong, the texture is off, and the consistency you need for a professional brand is gone. This is the core frustration for creators trying to use AI for practical work: one-off magic is easy, but repeatable production is not.
This guide breaks down the practical workflow for getting that 3D look reliably, moving beyond single prompts to build a system for generating entire sets of on-brand, 3D-style assets.
The prompt anatomy of a 3D-style image
Faking a 3D render with a 2D image generator isn't about finding a single magic word; it's about thinking like a studio photographer. You need to define the object, the material it's made of, the lighting, and the camera that's 'shooting' it. While the launch of true text-to-3D models like Meshy-3 is exciting for developers, for most brand content needs, mastering the 2D aesthetic is faster and more practical.
Your prompt should orchestrate these four key elements:
- Style & Medium: This is your starting point. Be specific. Instead of just '3D', try terms like 'isometric 3D icon', 'soft claymation character', 'plasticine model', 'diorama', or 'product render'.
- Materials & Texture: The believability of a 3D object comes from its surface. Use descriptive words that evoke touch. Think 'glossy plastic', 'matte finish', 'soft-touch silicone', 'polished chrome', 'frosted glass', or 'unfired clay'. For more advanced effects, you can even hint at properties like 'subsurface scattering' to give materials a more realistic, translucent glow.
- Lighting: This is the most critical element for creating depth and mood. Generic prompts produce flat lighting. You need to direct the light. Use terms like 'studio lighting', 'softbox lighting', 'dramatic rim lighting' (which creates a bright outline), or 'volumetric cinematic lighting'.
- Camera & Angle: How is the object being viewed? This sets the context and scale. 'Isometric view' is perfect for icons and technical illustrations. 'Orthographic projection' creates a flat, schematic look. For products, use terms like 'macro shot', 'product photography on a pedestal', or 'commercial product shot'.
Create a glossy product render for your brand
Let's apply this to a real-world task: creating a high-end shot of a cosmetic product. A generic prompt like 'skincare bottle' will give you a flat, uninspired image. Instead, let's build a prompt using the anatomy above.
A better prompt would be: 'Commercial product photography of a luxury face serum bottle. Glossy white ceramic bottle with a polished chrome dropper. Shot on a minimalist marble pedestal. Studio lighting with a soft key light from the side to create gentle highlights.'
This level of detail gives the AI specific instructions, moving it from a random guess to a directed execution. The result is an image that looks like it came from a professional photoshoot, not a generic image generator. But doing this for every single product variation is tedious and prone to error.
For a truly professional look, you need a pre-configured setup. On MyUP, you can use a workflow that has all these photographic elements—the lighting, the staging, the camera style—already built-in. You just provide the product description, and the workflow handles the rest, ensuring every shot feels like it belongs to the same campaign. The user validates the result; MyUP handles the production.
To create a premium product shot instantly, use the workflow below. It's designed for exactly this kind of high-end commercial look.
Workflow code: #myup-5q78-bln0
Luxury Floral Product Editorial
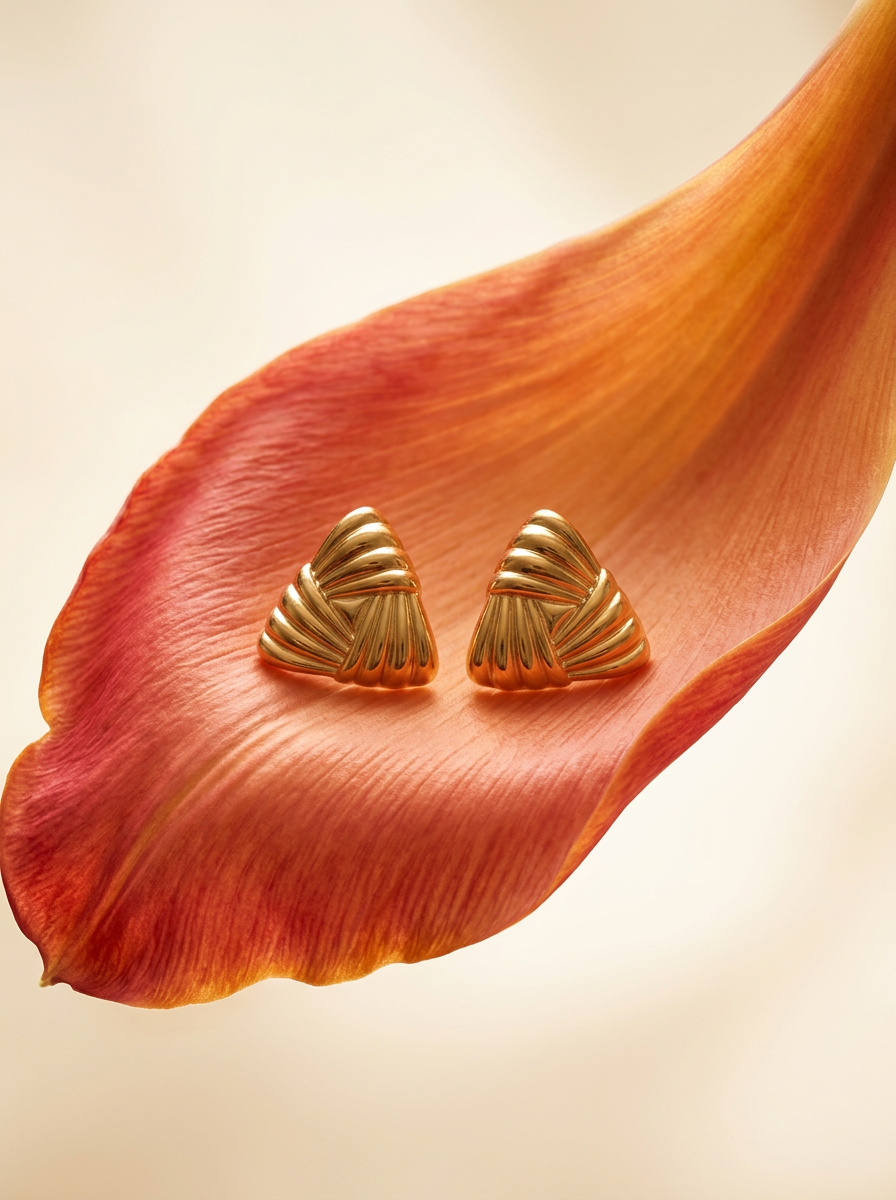
Place any product in an ultra-minimalist, warm studio space. It wraps your item in a seamless cream and beige backdrop with a super soft bokeh that melts away, making the details pop. It’s perfect for giving goods a clean, high-end look.
Regenerate using your own assets.
The problem: your next 10 icons look nothing alike
Now for the real test. You've created one perfect isometric icon for your app's homepage. It's a '3D isometric icon of a gear, soft clay material, on a plain background, studio lighting'. It looks fantastic.
Now you need five more: a chat bubble, a calendar, a user profile, a bar chart, and a wallet. You use the exact same prompt structure, swapping out 'gear' for the new subjects. The results are a mess. The chat bubble has harsh shadows, the calendar is viewed from a slightly different angle, the clay texture on the wallet looks rougher, and the bar chart's colors are muted. They don't look like a set.
This is the fundamental limit of relying on prompts alone in standard tools like Midjourney or Stable Diffusion. Each generation is a new, independent event. The AI doesn't remember the precise lighting angle or material finish it used last time. Without a system to lock in those style parameters, you're left with a collection of inconsistent one-offs that undermine your brand's visual identity.
The workflow for repeatable 3D styles
The solution isn't a better prompt; it's a better process. In MyUP, you solve this by creating a reusable workflow that hard-codes your desired 3D style.
Here’s how it works:
- Define Your Style Once: You build a workflow that contains all the stylistic DNA of your 3D assets. This includes the specific camera angle ('isometric view'), the material ('soft clay with a matte finish'), and the lighting rig ('even studio lighting with soft shadows'). This becomes your master template.
- Connect Your Brandkit: You connect your MyUP Brandkit to the workflow. MyUP automatically pulls your brand's primary and secondary colors and applies them to the generated objects. Now, your 'gear' icon and your 'wallet' icon will not only share the same 3D style but also the exact same color palette.
- Generate with a Single Variable: To create a new icon, you don't rewrite the whole prompt. You simply run the workflow and provide the one thing that changes: the subject (e.g., 'user profile icon'). The workflow handles the rest, ensuring every single output is perfectly consistent with the last.
This turns AI from a creative slot machine into a reliable production tool. You establish the visual rules once, and MyUP executes them at scale. The workflow below is a perfect starting point for creating a consistent 'studio' environment for any set of objects or products.
Workflow code: #myup-xjaq-qhgx
Luxury Product Photography Studio
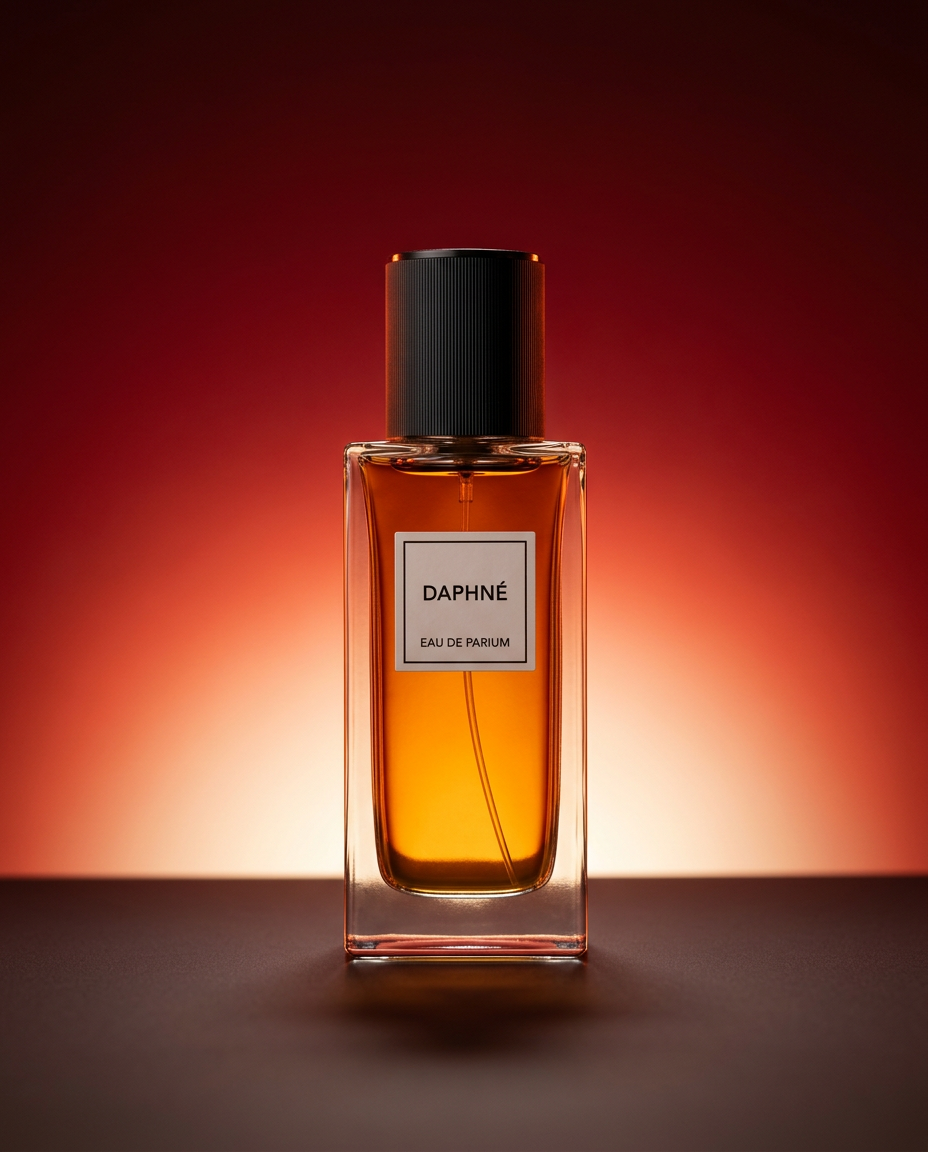
Drop your product into a dramatic, high-end studio setup. It places your item on a sleek flat surface against a rich crimson and orange cinematic gradient background. It's an easy way to get that moody, premium commercial look for any bottle, tech, or cosmetic.
Regenerate using your own assets.
From a single object to a full campaign
Once you have a workflow for a consistent 3D style, you can scale your production from a few icons to an entire marketing campaign. The same system you used for UI icons can generate:
- Social Media Visuals: Create a whole series of 3D-style posts, each featuring a different product or message but all sharing the same cohesive aesthetic.
- Website Hero Images: Generate a stunning, on-brand 3D composition for your homepage. You can learn more about creating compelling on-brand AI website visuals in our dedicated guide.
- Advertising Creatives: Quickly produce dozens of variations for A/B testing, knowing that the core visual style remains locked in and professional.
The key is to stop thinking in terms of single images and start thinking in terms of visual systems. By defining your 3D style as a reusable workflow in MyUP, you gain creative control and production speed that prompt-only approaches can't match. For example, a campaign for a new beverage could be produced entirely with a workflow designed for that specific look.
You can try this approach with the workflow below, which is pre-built to generate premium commercial photography for beverages.
Workflow code: #myup-i4ju-fq5a
Premium Beverage Commercial Photography
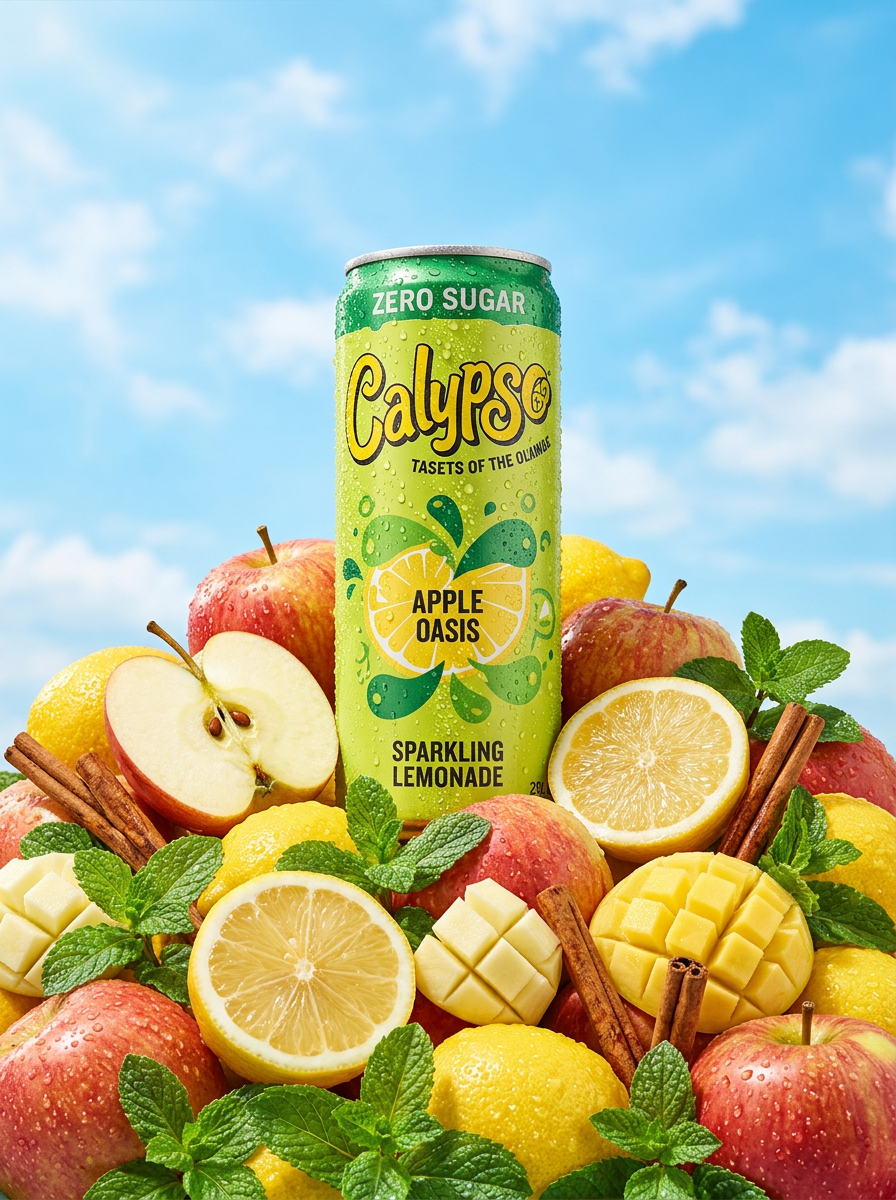
Give your packaged products an ultra-fresh summer look. It places your item in a pile of vibrant fruit, shooting from a dramatic low angle against a bright sky with hyper-realistic condensation droplets and sharp macro details.
Regenerate using your own assets.
The aesthetic is what matters, not the toolchain
You don't need to become a 3D artist to use the powerful, engaging aesthetic of 3D visuals in your brand's content. By using AI image generation with a structured workflow, you can replicate the look of a professional 3D render without the technical overhead. The most important step is moving past the hunt for a perfect one-off prompt and building a repeatable system. With a MyUP workflow and Brandkit, you define your style once and can then produce a limitless stream of consistent, on-brand assets.
