
In early July 2026, the game changed for AI virtual staging. The launch of style-aware tools like Architex AI and new structure-control features from Adobe Firefly proved what professionals already knew: generic, one-click staging is not enough. Clients demand a cohesive design vision and images that respect a property's actual architecture. But this has created a new problem: a fragmented, multi-app workflow of generating, refining, and correcting that costs time and kills consistency.
Getting professional results shouldn't require stitching together three different tools. This guide outlines a single, unified workflow inside MyUP.ai that delivers both stylistic consistency and architectural realism. We'll move beyond just filling an empty room with AI furniture and toward implementing a complete design system that scales from one photo to an entire, sellable virtual tour.
Step 1: Define your aesthetic with a Brandkit (before you generate anything)
The biggest mistake in AI virtual staging is starting with the empty room. Professionals start with the design language. Before you generate a single image, you need a system to enforce your chosen aesthetic—whether it's 'Modern Farmhouse,' 'Scandinavian Minimalist,' or 'Industrial Loft.' A text prompt alone is too variable; it will produce slightly different results every time, breaking the illusion of a cohesive property.
This is where MyUP's Brandkit becomes your single source of truth. Instead of just writing a prompt, you build your aesthetic as a reusable asset. You can define a specific color palette, upload reference images of textures and furniture styles, and write detailed style notes. This Brandkit is then applied to every generation, instructing the AI to adhere to your specific design vision.
This isn't just about brand colors; it's about creating a 'style fingerprint' for a property. By defining the aesthetic once, you ensure the living room, bedroom, and kitchen all feel like they belong in the same home. The AI executes the staging, but you validate that it adheres to the pre-approved design language. To start building your visual library for a specific aesthetic, you can use a simple workflow to generate mood boards or reference sheets.
Workflow code: #myup-fy77-jljs
Minimalist Elegant Product Advertising Poster
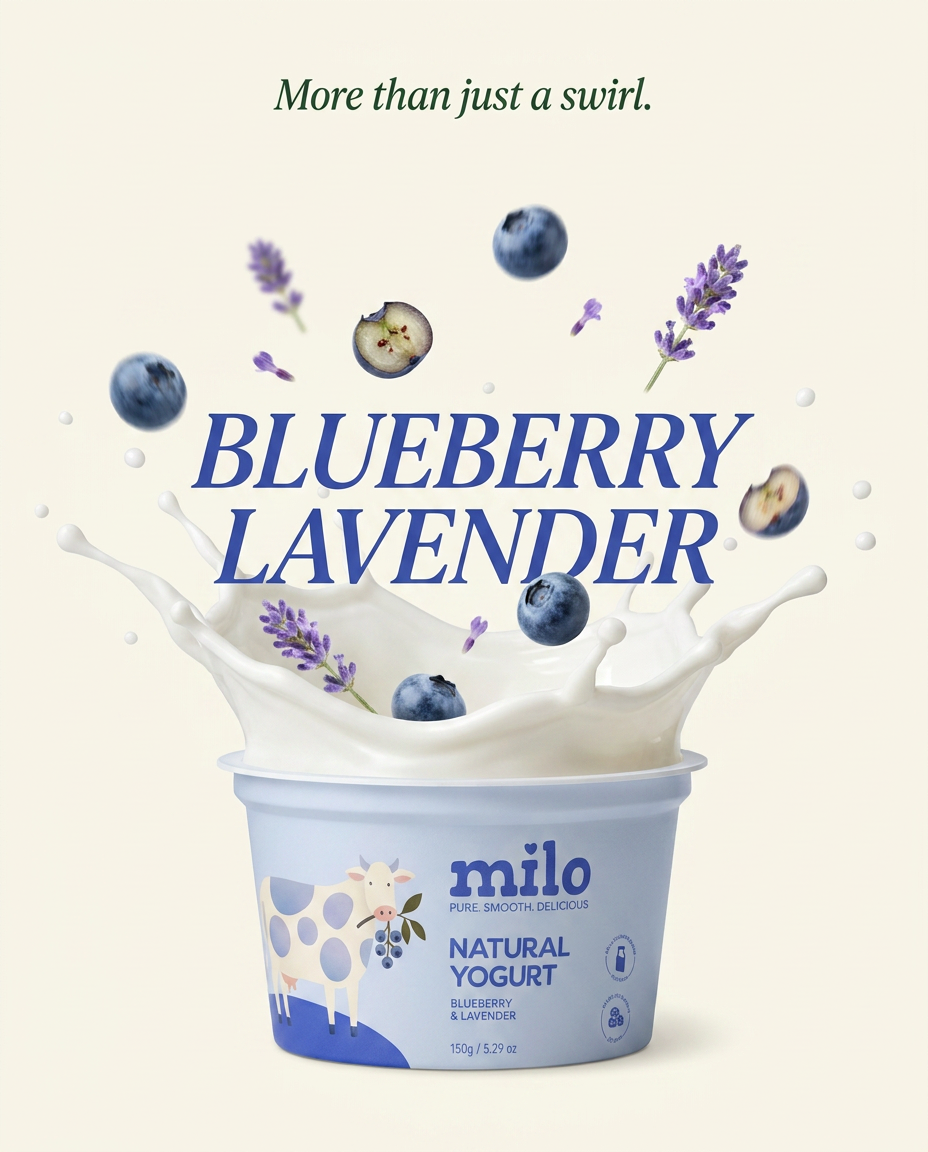
Turn any product shot into a high-end editorial ad. It places your item against a soft cream background with airy spacing and adds elegant, small serif typography at the top. Great for wellness or luxury brands wanting a calm, minimal aesthetic.
Regenerate using your own assets.
Step 2: The core workflow for staging an empty room
With your design aesthetic locked in the Brandkit, you can now address the empty room. The core of this process is image-to-image generation, which uses your photograph as a structural foundation for the new, furnished version. This is crucial for maintaining the room's original dimensions, lighting, and architectural features.
Inside MyUP, the process is straightforward:
- Upload Your Source Image: Start with a high-quality, well-lit photograph of the empty space. Clean lines and clear perspectives yield the best results.
- Apply Your Brandkit: Select the Brandkit you created in the previous step. This immediately constrains the AI's creative choices to your defined aesthetic.
- Use a Structured Prompt: Your prompt should describe the function and key elements of the room, but let the Brandkit handle the style. For example, instead of a long prompt detailing every style element, you would write something concise like: 'A bright, furnished living room with a large sofa, a coffee table, two armchairs, and a large rug on the wooden floor. Natural light from the window on the left.' The Brandkit ensures these items appear in the 'Modern Farmhouse' style you already defined.
The initial output is your first draft. MyUP handles the heavy lifting of production, but your professional eye is needed for validation. Review the image for perspective, scale, and overall composition before moving to fine-tuning.
Step 3: Refine to perfection with inpainting
AI renders often have a sterile, 'plastic' quality that gives them away. The difference between an amateur AI image and a professional visualization is in the details. This is where you take full creative control using inpainting to correct, add, or remove specific elements without regenerating the entire image.
Common refinements to 'de-plasticize' a render include:
- Correcting Objects: If a chair leg looks awkward or a table is floating, use the inpainting brush to select the area and prompt for a correction, like 'realistic shadow on the floor' or 'wooden chair leg firmly on the rug.'
- Adding Detail: Select an empty space on a shelf or table and prompt for 'a stack of art books and a small ceramic vase.' These small, lived-in details are what sell the space.
- Swapping Furniture: Don't like the couch the AI chose? Select it and prompt for 'a plush, cream-colored boucle sofa.' The rest of the image remains unchanged.
This granular control is what separates a workflow from a simple generator. For a deeper dive into maintaining realism, see our guide on realistic AI architectural renderings. The ability to precisely place objects and perfect the lighting is key. You can use a dedicated workflow to add decor and other small items with photorealistic accuracy.
Workflow code: #myup-seli-mtp0
Photo Product Ad
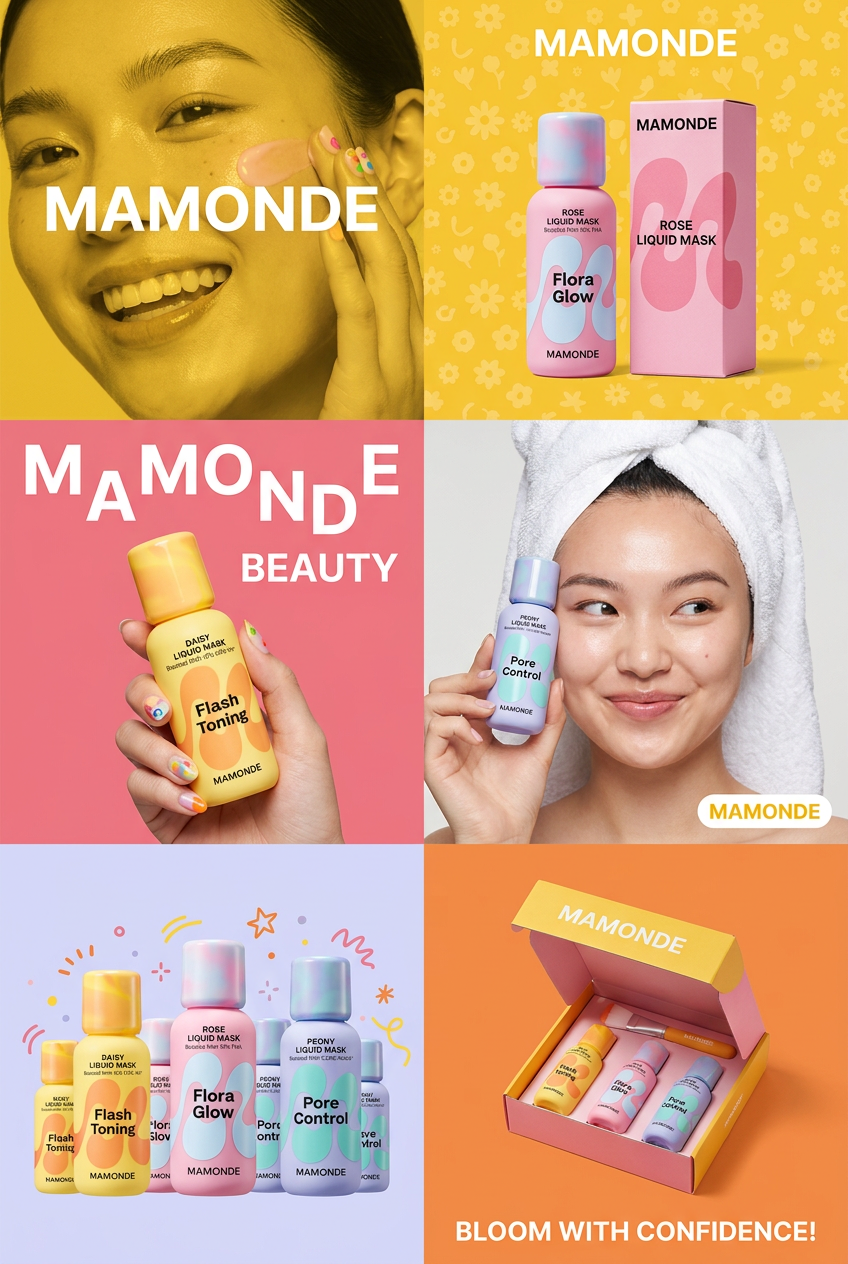
Get that high-end editorial look with a stacked, multi-panel campaign layout. It slices your brand visuals into a bold three-tier grid, pairing tight product close-ups right next to lifestyle shots for a cohesive, modern beauty poster.
Regenerate using your own assets.
Step 4: Scale your vision across the entire property
A single, beautifully staged photo is a good start. A complete set of visuals that share a consistent design language is what closes deals. The true power of this workflow is its repeatability. Using the same Brandkit and the same refinement process, you can now move through every room in the property—from the master bedroom to the kitchen to the home office.
Because the style is locked in your Brandkit, you won't get a minimalist bedroom followed by a bohemian living room. You get a cohesive virtual tour that tells a single, compelling story about the property's lifestyle. This is how you move from being an AI operator to a creative director. You've built a system, and now you're deploying it at scale.
Once you have a full set of staged images, you can instantly turn them into marketing assets for social media, property listings, or client presentations. A simple ad creation workflow can take your final image and package it for any platform.
Workflow code: #myup-u4lt-o0ho
Studio Product Ad
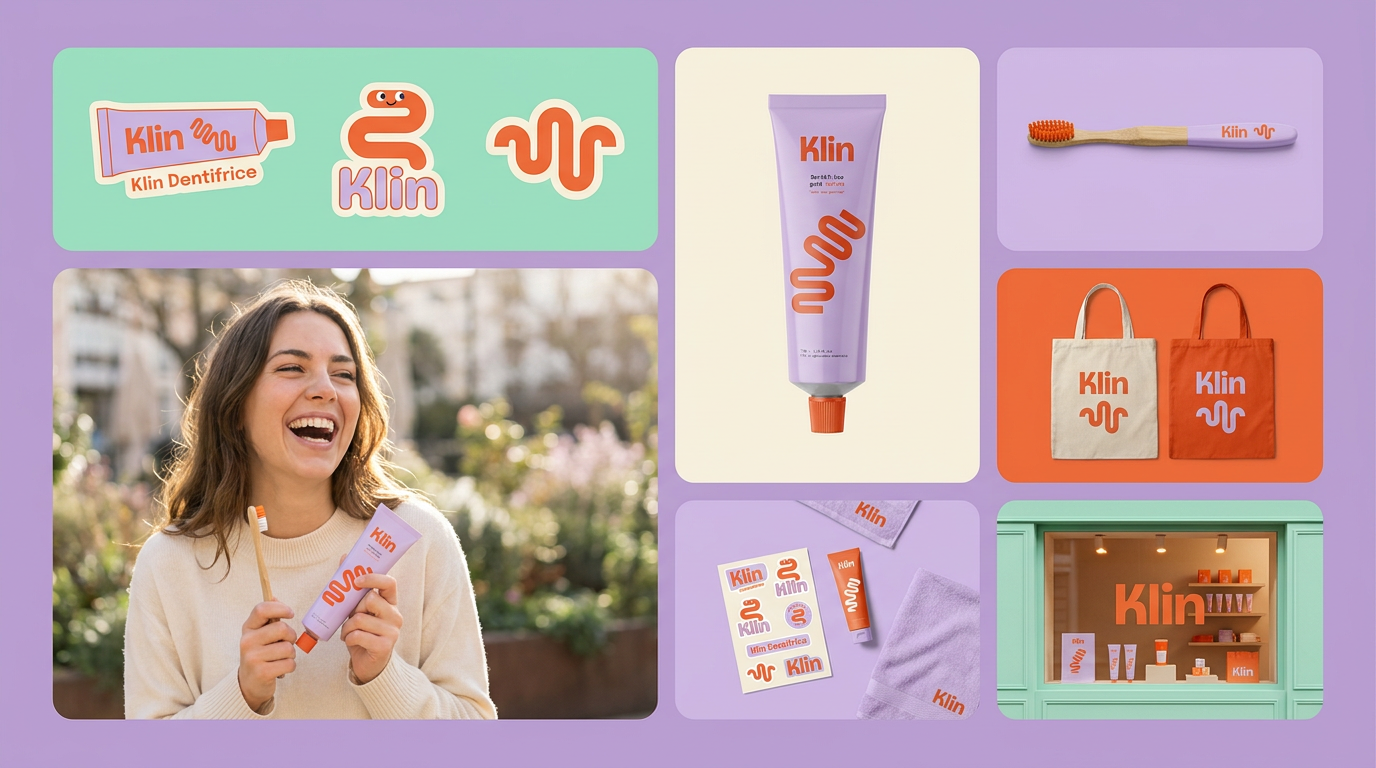
Drop in a single product photo to instantly build a cohesive visual identity. It automatically samples your item's dominant colors to generate a beautifully matched mosaic moodboard, giving your brand an instant, polished aesthetic.
Regenerate using your own assets.
Bonus: Turn your staged photos into a dynamic video tour
The latest trend in property marketing is the AI-generated video tour. Instead of costly and time-consuming video shoots, you can use your set of consistently styled images to create a dynamic walkthrough. Inside MyUP, you can feed your series of staged photos into an image-to-video workflow. The AI will create smooth camera pans, zooms, and transitions between the images, turning your static visuals into an engaging video.
Because you started with a Brandkit, you can apply the same brand elements (logos, fonts, color overlays) to the video, ensuring a completely cohesive marketing package from start to finish. This final step transforms your collection of images into a powerful, automated sales asset, all within a single platform. If you're ready to implement a system for true creative control, you can create a MyUP account and build your first design Brandkit today.
