You know the look: the vibrant, slightly off-register colors, the grainy texture, the tactile feel of a screen-printed poster. The risograph aesthetic has a unique charm that stands out from sterile digital graphics. But getting that look with AI has always been a clumsy, multi-step process. You generate a base image in Midjourney or Stable Diffusion, then spend the next hour in Photoshop manually faking color separations, adding halftone filters, and trying to get the grain just right. It's slow, inconsistent, and kills the creative flow.
That riso look is great. Getting it with AI is not.
The standard method for creating AI riso prints is a frustrating exercise in tool-hopping. You start with a prompt in one tool, then export the flat image to another program like Photoshop to painstakingly deconstruct it. You have to manually separate colors, apply textures to each layer, and then carefully misalign them to mimic the printing process. The result is often a cheap-looking filter, not an authentic effect. Worse, it's impossible to repeat. If you need a series of five social posts in the same style, you’re starting from scratch every single time, trying to remember the exact filter settings and layer opacities you used before. This isn't a creative process; it's manual production work that AI was supposed to eliminate.
Why a single prompt can’t replicate a printing press
The problem is fundamental: a risograph printer is a physical machine that applies ink one color layer at a time. The signature look—the slight misalignments, the way colors overprint, the halftone dots—is a byproduct of this mechanical process. Standard AI image generators, however, produce a single, finished, flat image. When you add 'risograph style' to your prompt, you're asking the AI to paint a picture of a riso print, not to actually replicate the process. It’s a surface-level imitation.
This is why most AI-generated 'riso' images feel off. They might have some grain, but they lack the distinct, layered color separations and the authentic registration errors that define the style. To get it right, you don't need a better prompt. You need a better process—one that mimics how a real risograph works.
The one-step workflow that mimics the entire process
Instead of faking the effect with a filter, MyUP automates the entire physical printing process within a single workflow. It’s not an imitation; it’s a simulation. From one simple prompt, MyUP executes a series of steps that mirror the real-world technique:
- Image Generation: It starts by creating the core visual based on your idea.
- Color Separation: The workflow then deconstructs the image into separate color layers, just like a printmaker would. If you have a Brandkit saved in MyUP, it can even use your specific brand colors for these layers automatically.
- Texture Application: Next, it applies authentic halftone or grain textures to each individual color layer, not just as a flat overlay on top of the final image.
- Recombination & Misalignment: Finally, it recombines the textured layers with slight, controlled misalignments, creating the characteristic off-register effect that makes risographs feel so authentic.
The entire sequence is executed from a single input. You provide the creative direction; MyUP handles the production. This ready-to-use template does exactly that.
Workflow code: #myup-3xus-3l9x
Vintage Risograph Event Poster
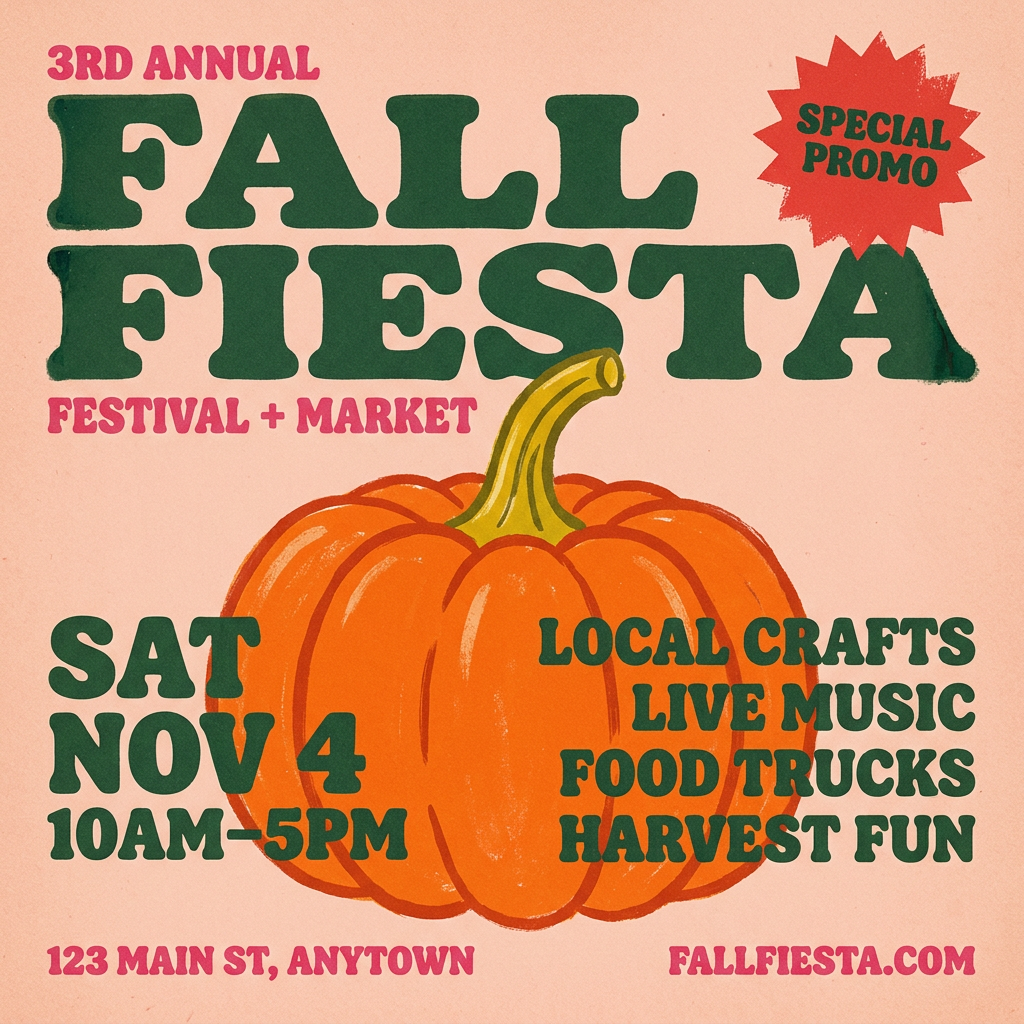
Turn any announcement into a gritty, tactile gig poster. It layers your text with an uneven letterpress ink texture over a dusty, warm pink risograph paper background. It’s perfect for giving social posts a real analog, screenprinted vibe.
Regenerate using your own assets.
How to create your first AI risograph poster
Using the process is as simple as running a single prompt. Here’s how to create a poster using the Vintage Risograph Event Poster template mentioned above.
- Launch the template in MyUP: Start a new creation and use the workflow code #myup-3xus-3l9x.
- Describe your visual: The template will ask for your core concept. Keep it simple and focused on the subject. For example: 'An astronaut DJing on a vibrant, abstract planet' or 'A close-up of a vintage motorcycle'.
- Add your text: Input the event title, date, or any other text you want on the poster. The workflow will render it with a tactile, letterpress ink texture.
- Generate and review: MyUP runs the entire multi-step process—generation, separation, texturing, and recombination—in the background. You just approve the final, layered output. There's no need to open another application.
More styles: from gritty zines to bold event flyers
The workflow approach isn't limited to one specific riso style. Because the process is modular, you can achieve a wide range of aesthetics by swapping out textures, color palettes, and alignment settings. MyUP has pre-built templates for different looks, allowing you to build a consistent but varied visual identity for your brand.
For a grittier, photocopied aesthetic perfect for DIY event flyers or a music zine, try the Retro Zine Style Event Poster. It uses a crumpled paper texture to give your graphics an analog feel.
Workflow code: #myup-msop-hlxf
Retro Zine Style Event Poster
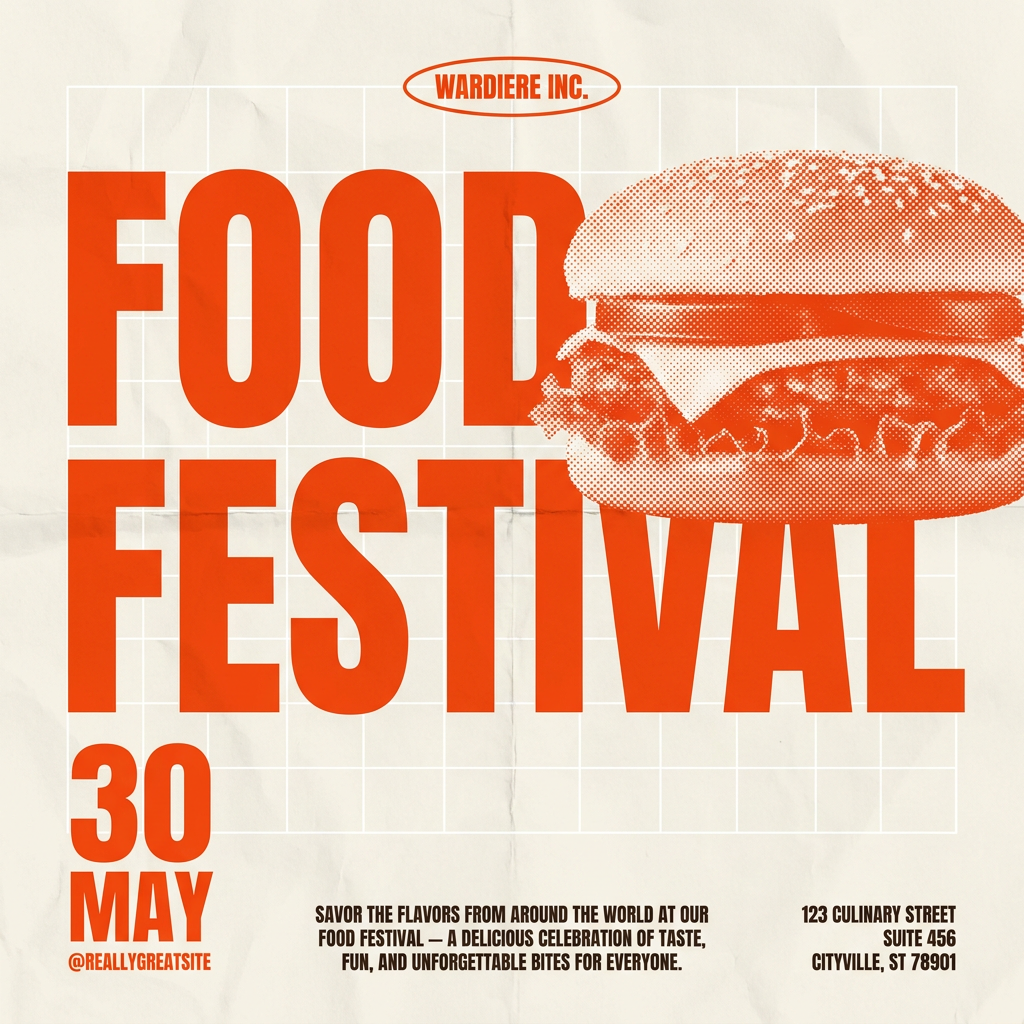
Give your social posts a gritty, analog zine aesthetic. It layers a crumpled paper texture and a subtle grid over a warm cream background to make any event graphic look like a tactile, photocopied flyer. Perfect for DIY gigs and bold promos.
Regenerate using your own assets.
If you need something cleaner and more graphic, like a vintage advertisement, the Vintage Advertising Poster uses bold cobalt blue and subtle halftone textures for a striking, high-impact look.
Workflow code: #myup-sauf-5jod
Vintage Advertising Poster
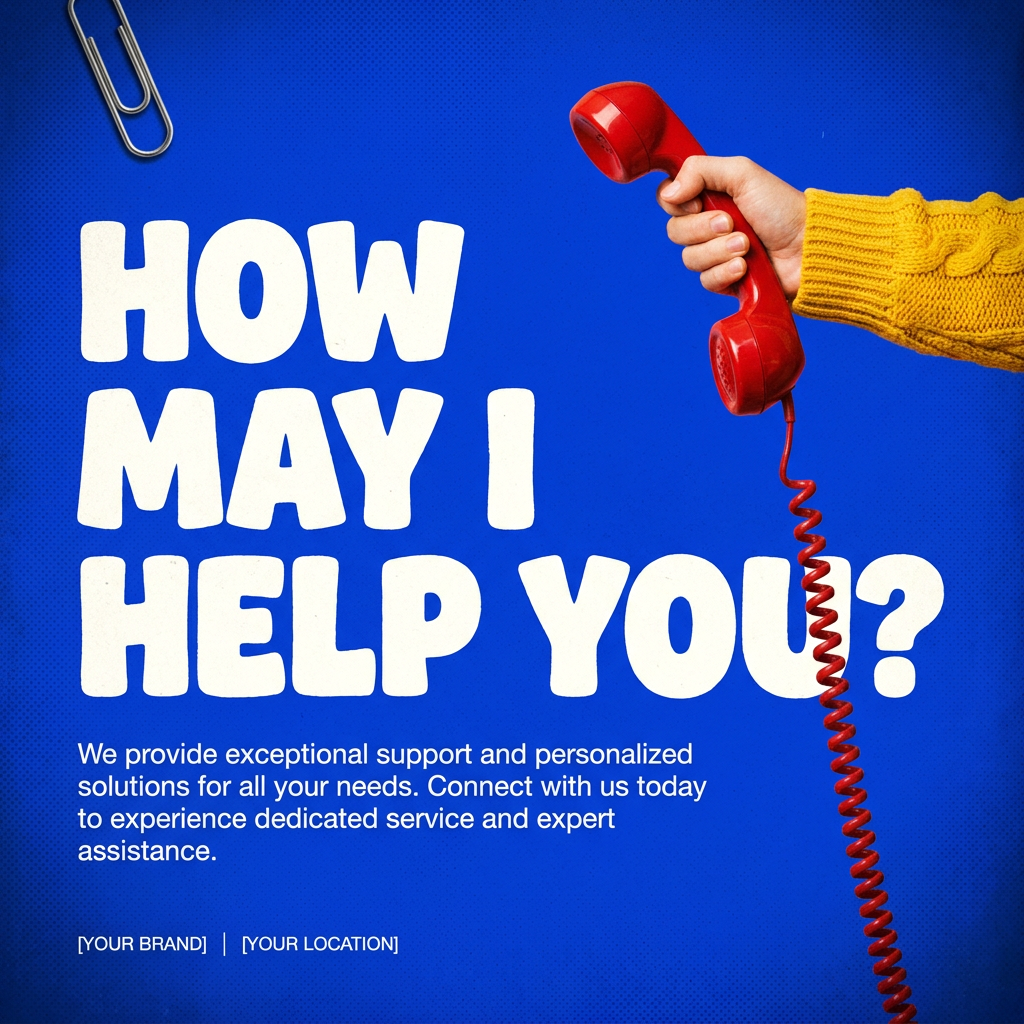
This creates high-impact graphic posters with a striking cobalt blue backdrop and subtle retro halftone textures. Just drop in your subject to get that bold, tactile look complete with realistic metallic accents and clean, modern framing.
Regenerate using your own assets.
For a vibrant, mid-century graphic design feel, the Bold Retro Yellow Event Poster blends warm backdrops with a clean, retro grid pattern.
Workflow code: #myup-xbur-hzoi
Bold Retro Yellow Event Poster
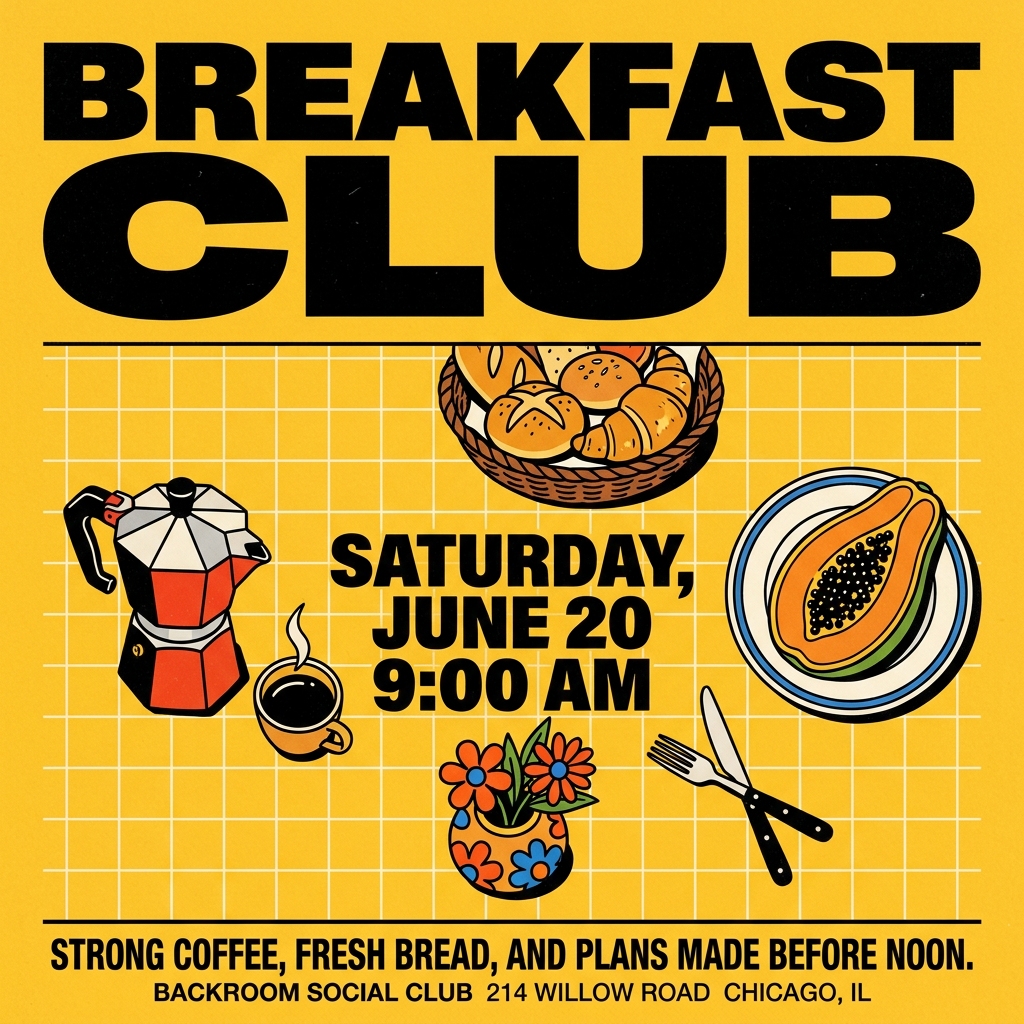
Turn your branding or event details into bold, nostalgic posters. It blends vibrant warm backdrops with a clean, retro square grid pattern to make any announcement look like a classic piece of mid-century graphic design.
Regenerate using your own assets.
When to use an AI risograph workflow (and when to stick with Photoshop)
Building a process in MyUP is the fastest way to get a high-quality risograph *aesthetic* for digital content. It’s the ideal solution for creating assets like:
- Social media posts and stories
- Website hero images and banners
- Digital event flyers and announcements
- Email newsletter graphics
The goal here is speed, consistency, and a specific visual style without the technical overhead. However, if you are a professional print designer preparing files for a physical risograph printing press, you'll still need Adobe Photoshop or Illustrator. That process requires precise spot color separations (e.g., specific Pantone or RISO ink colors) and manual file prep that is highly specific to the print shop's equipment. MyUP simulates the look for digital screens; it doesn't generate print-ready files for a physical machine. For digital-first creators, the MyUP workflow is the smarter, faster choice.
