That product photoshoot isn't going to book itself. You need to find a photographer, rent a studio, hire a stylist, source props, and then wait weeks for the edited files—all for a handful of hero shots. For e-commerce brands needing a constant stream of fresh visuals for ads, social media, and email, this cycle is a major bottleneck of time and money. There is now a better way.
You can create an entire campaign of high-quality, on-brand product photos right now, without a physical photoshoot. The key isn't a single magic prompt, but a repeatable, structured workflow. This guide will walk you through that exact process step-by-step.
Why this is a real strategy, not just a gimmick
For years, AI-generated images were a novelty, plagued by strange artifacts and an unmistakable 'AI look'. That has changed. Recent breakthroughs in photorealism and, crucially, object consistency have made AI a viable tool for commercial product photography. It's now possible to take a photo of your specific product and place it into countless photorealistic scenes while preserving its exact shape, color, and branding.
This isn't about replacing every single photo you take. It's about augmenting your content strategy. It allows you to create an endless supply of lifestyle shots, ad creative variations, and editorial-style images that would be prohibitively expensive to produce traditionally. For savvy e-commerce brands, this has moved from a curious experiment to a core content production strategy.
The 4-step workflow for creating an entire product campaign
Great results come from a great process. Instead of guessing with complex text prompts, this workflow uses your actual product as a foundation and structures the creative process with templates. This ensures your final images are not only beautiful but also consistent and on-brand. Let's build a campaign from scratch.
Step 1: Start with a clean shot of your actual product
Your starting point should be a simple, clear photograph of your product. This is non-negotiable for achieving authentic results. The AI needs a clean reference to understand the object's form, texture, and details.
Best practices for your source image:
- Simple Background: A white or neutral gray background is ideal. This makes it easy for the AI to isolate the product.
- Good Lighting: Use bright, even lighting that shows the product's true colors and details without harsh shadows or reflections.
- High Resolution: The better the quality of your input image, the better the quality of the final generation. A sharp, clear photo from a modern smartphone is often sufficient.
This image acts as your digital asset, the 'model' that will be placed into every scene you generate. Getting this right is the foundation for everything that follows.
Step 2: Define your scene with a structured template
This is where you move from a simple product shot to a compelling lifestyle image. Instead of trying to describe a complex scene from scratch, a workflow template provides the creative guardrails. It breaks down the scene into core components like environment, lighting, and mood, giving you control without overwhelming you with technical settings.
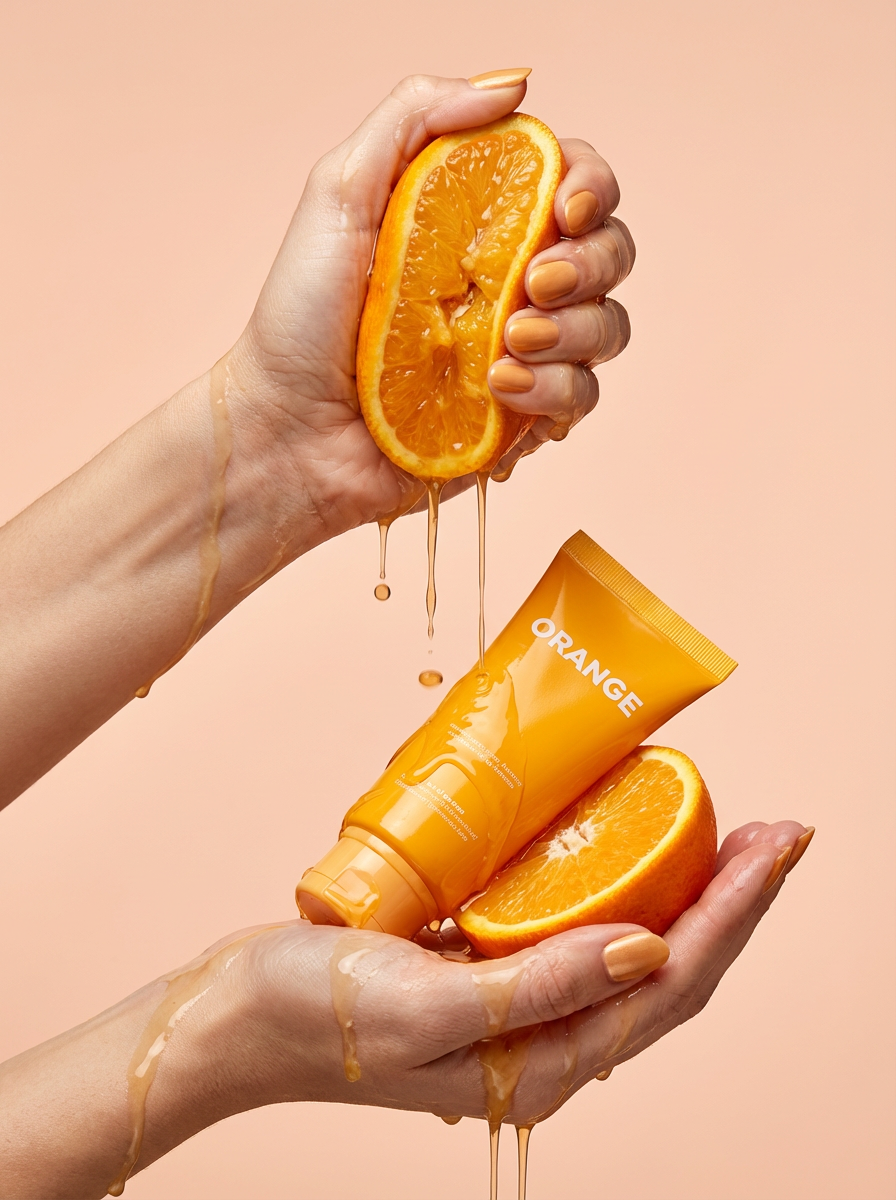
For example, let's create a series of shots for a high-end cosmetic item. We can use MyUP's 'Luxury Beauty Product' template to instantly establish an elegant, premium aesthetic. This template is designed to generate scenes with elements like marble surfaces, soft lighting, and natural props. Workflow code: #myup-mgqi-hmi6. The template asks for your product image and a few keywords for the environment, translating your simple inputs into a sophisticated visual style.
Regenerate using your own assets.
Workflow code: #myup-u5mu-9aek
Regenerate using your own assets.
Step 3: Generate and refine a set of cohesive variations
With your product uploaded and your template selected, you can now generate a whole suite of images. The power of a workflow is that each image will share the same core DNA—the lighting style, the color palette, the overall mood—while being unique. This is how you build a cohesive campaign, not just a single image.
You can generate variations for different channels:
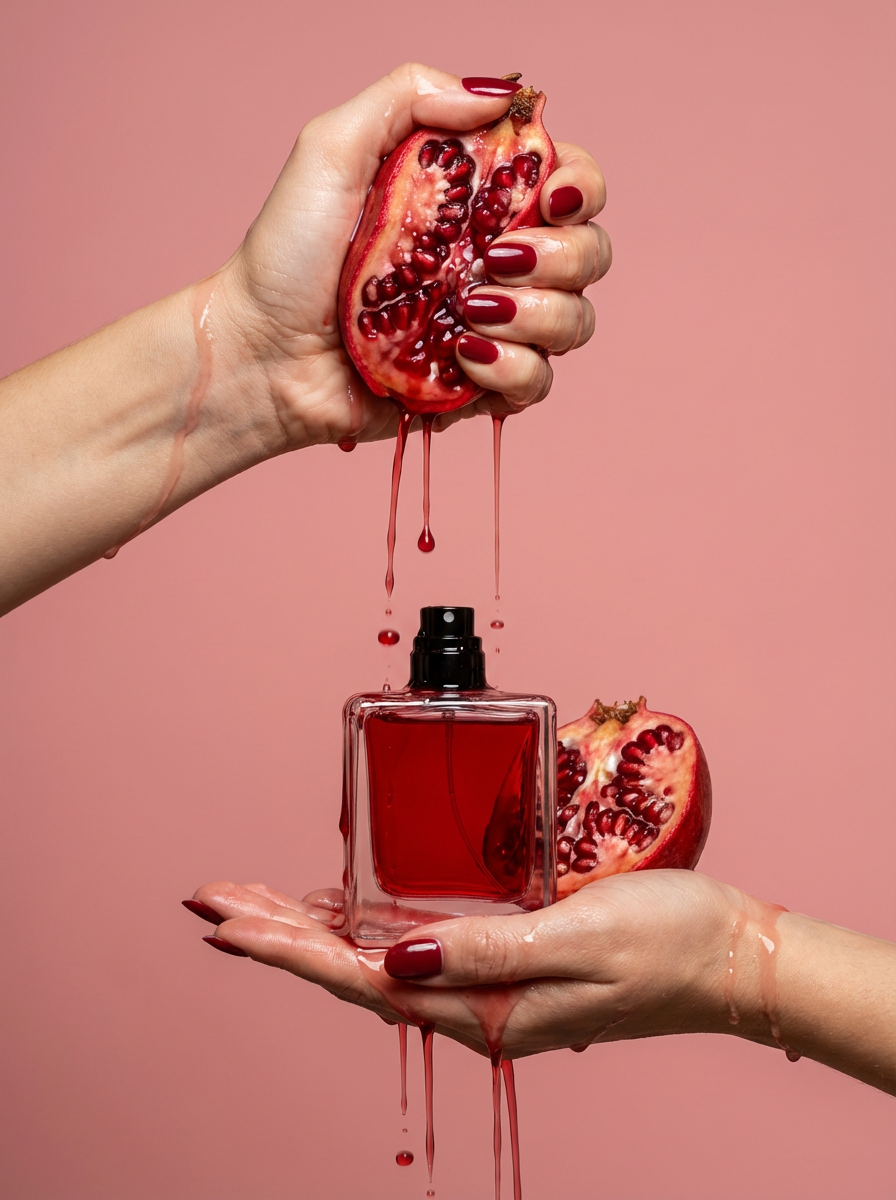
- A hero shot with the product on a pristine marble slab for your website banner.
- A shot with subtle water splashes and botanicals for an email campaign about natural ingredients.
- A close-up detail shot with dramatic side lighting for an Instagram post.
Each image feels like it was part of the same professional photoshoot because it was born from the same structured workflow. This level of consistency is nearly impossible to achieve with random prompting.
Step 4: Expand your campaign with a complementary style
A great campaign often has multiple visual styles that work together. Once you have your core lifestyle shots, you can use a different template to create a complementary set of images. For instance, after creating the clean, bright shots for our beauty product, we might want to create a more editorial, moody look for a lookbook or a special feature.
Using the 'Luxury Jewelry Editorial Generator' template, we could place the same product into a darker, more dramatic scene with cinematic lighting and abstract props. Workflow code: #myup-uivg-p8mw. This gives your campaign depth and allows you to tell a richer brand story across different platforms, all while using the same initial product photo.
Common pitfalls and how to keep your images on-brand
While powerful, AI image generation requires a thoughtful approach to avoid common mistakes. The biggest risk is creating generic visuals that don't align with your brand's specific identity. The key is to treat the AI as a tool to execute your vision, not as a replacement for it.
To avoid the generic 'AI look', always start with a strong brand mood board. Understand your brand's lighting style (e.g., bright and airy vs. dark and moody), your color palette, and the types of props and textures that fit your world. Using a structured workflow in MyUP helps enforce these rules, as the template itself has a built-in point of view. This prevents the AI from drifting into visual territory that doesn't match your brand.
Is AI photography right for your brand?
This workflow is a game-changer for creating marketing and campaign assets. It's best for e-commerce brands in categories like beauty, jewelry, accessories, beverages, and home goods that need a high volume of lifestyle, editorial, and ad-ready images quickly.
However, it's important to know its current limitations. For primary 'packshots' on a product detail page where every technical detail, label, and port must be 100% physically accurate, traditional photography is often still the best choice. Think of AI as your infinite marketing photoshoot, perfect for social media, ads, lookbooks, and bringing your product to life in context. For the technical documentation, stick with the clean, simple studio shot.
Your new photoshoot is a workflow, not a location
The future of product content creation isn't about finding bigger studios or more expensive cameras. It's about building smarter, faster, and more scalable systems. By treating AI product photography as a repeatable workflow, you unlock the ability to generate a near-infinite supply of on-brand creative assets, helping you test more, post more, and ultimately sell more.
Ready to skip your next studio booking? Create a free account and try one of the workflows to see how quickly you can build your next campaign.
