
On July 12, 2026, Stability AI released Stable Diffusion 3.5, and the main headline was a big one: it finally fixes AI's 'hand problem'. For anyone who has tried to create professional, human-centric content, this is welcome news. The six-fingered nightmares and anatomical impossibilities have been one of the biggest blockers to using AI-generated images in ads, social media campaigns, and product shots.
But as any production artist knows, a new model is an ingredient, not the whole recipe. The excitement is justified, but the secret to consistently usable, professional-grade images isn't finding one magic prompt—it's having a repeatable workflow. This guide details that exact workflow, showing you how to combine the power of new models with targeted refinement to get perfect hands, every single time, all within MyUP.ai.
Why AI has struggled to get hands right
Before diving into the solution, it’s worth understanding why this has been such a persistent problem. Unlike faces, which have a relatively fixed structure, hands are incredibly complex. They have 27 bones and a huge range of motion, meaning they can appear in countless configurations. This complexity is compounded by a few key issues in how AI models learn:
- High degrees of freedom: The sheer number of ways fingers can bend, twist, and interact makes hands a massive statistical challenge for an AI to learn correctly.
- Occlusion in training data: In most photos, hands are partially obscured. They're holding objects, tucked into pockets, or clasped together. The AI rarely sees a perfect, clear, five-fingered hand to learn from.
- Lack of anatomical understanding: AI models don't understand bones or joints; they learn by recognizing patterns. Without clear, consistent patterns, they often 'guess' by adding or subtracting fingers to match a blurry reference.
This is why simply hoping a new model will solve the problem 100% of the time is a strategy for failure. You need a process that guides the AI and gives you control over the final details.
The 3-step workflow for consistently perfect hands
Great AI results don't come from a single magic prompt; they come from a smart, repeatable workflow. At MyUP, we've baked this principle into the platform. For fixing hands, the process isn't about endless re-rolls. It's a structured, three-step system that combines initial generation with targeted refinement and brand alignment.
Step 1: The initial prompt — getting 90% there
Your first generation aims to create a strong base image where the overall composition, subject, and lighting are correct, even if the hands aren't perfect yet. With models like Stable Diffusion 3.5 available in MyUP, you have a much higher chance of getting this right from the start.
Here are some prompting techniques that work:
- Be specific about the action: Instead of 'person holding a phone', try 'a woman's hand with manicured nails firmly gripping the sides of a smartphone'. Specificity reduces ambiguity for the AI.
- Describe the hand's position: Use phrases like 'hand resting flat on a wooden table', 'open palm facing upward', or 'fingers delicately touching a flower petal'.
- Use a strong negative prompt: This is non-negotiable. A good negative prompt acts as a guardrail, telling the AI what to avoid. Start with a baseline like this and add to it as needed: 'deformed, disfigured, mutated hands, malformed fingers, extra fingers, fewer fingers, six fingers, blurry hands, bad anatomy, ugly'.
The goal of this step is to produce an image that is almost perfect. You're not looking for the final asset yet; you're creating the ideal canvas for the final touch-up.
Step 2: Inpainting — the essential final fix
This is where you take control. If your initial generation produces a hand with a slight flaw—a weirdly bent finger or a blurry texture—you don't need to discard the entire image. Inside MyUP.ai, you use the integrated inpainting tool to fix just the problematic area.
The process is simple:
- Select the 'Inpaint' or 'Edit' tool on your generated image.
- Use the brush to draw a mask over the flawed hand. You don't need to be perfectly precise, just cover the area you want to regenerate.
- Write a new, highly-focused prompt specifically for the masked area. For example: 'A photorealistic, well-lit human hand with five fingers'.
MyUP then regenerates only the masked portion of the image, using your new instructions while preserving the rest of the composition perfectly. This is the core of the MyUP philosophy: the AI handles the heavy lifting of production, while you, the user, validate and direct the final, crucial details. This is how you get from a 'good enough' AI image to a 'professionally usable' brand asset, similar to the refinement process required for generating realistic AI headshots.
Step 3: Brand consistency — locking in the style
Fixing a hand is a technical win, but it’s only valuable if the final image fits your brand. This final step is often overlooked but is critical for professional content. While you're inpainting the details, MyUP's Brandkit is working in the background.
Your Brandkit, which you build once from your website URL, stores your brand's specific colors, fonts, logo, and overall visual style. It ensures that any image you generate or refine—including the inpainted sections—maintains consistent lighting, color grading, and mood. This prevents the 'Frankenstein' effect where a corrected section looks out of place, ensuring the final image is a seamless, on-brand asset ready for your campaign.
In practice: Fixing hands for a high-fashion campaign
Imagine you're producing a cover shot for a luxury fashion magazine. The model's pose is perfect, the lighting is flawless, but her hand resting on her lap has a slight anatomical oddity. In a professional context, this image is unusable. You don't scrap the shot and lose the perfect take.
Instead, you start with a workflow designed for this exact purpose. You load the template, generate your base image, and then apply the inpainting step to correct the hand. The Brandkit ensures the corrected skin tone and lighting match the rest of the high-end photographic style. The result is a perfect cover, achieved in minutes.
You can start this entire process right now on MyUP.
Workflow code: #myup-yk1h-uqy8
High-End Editorial Fashion Magazine Cover
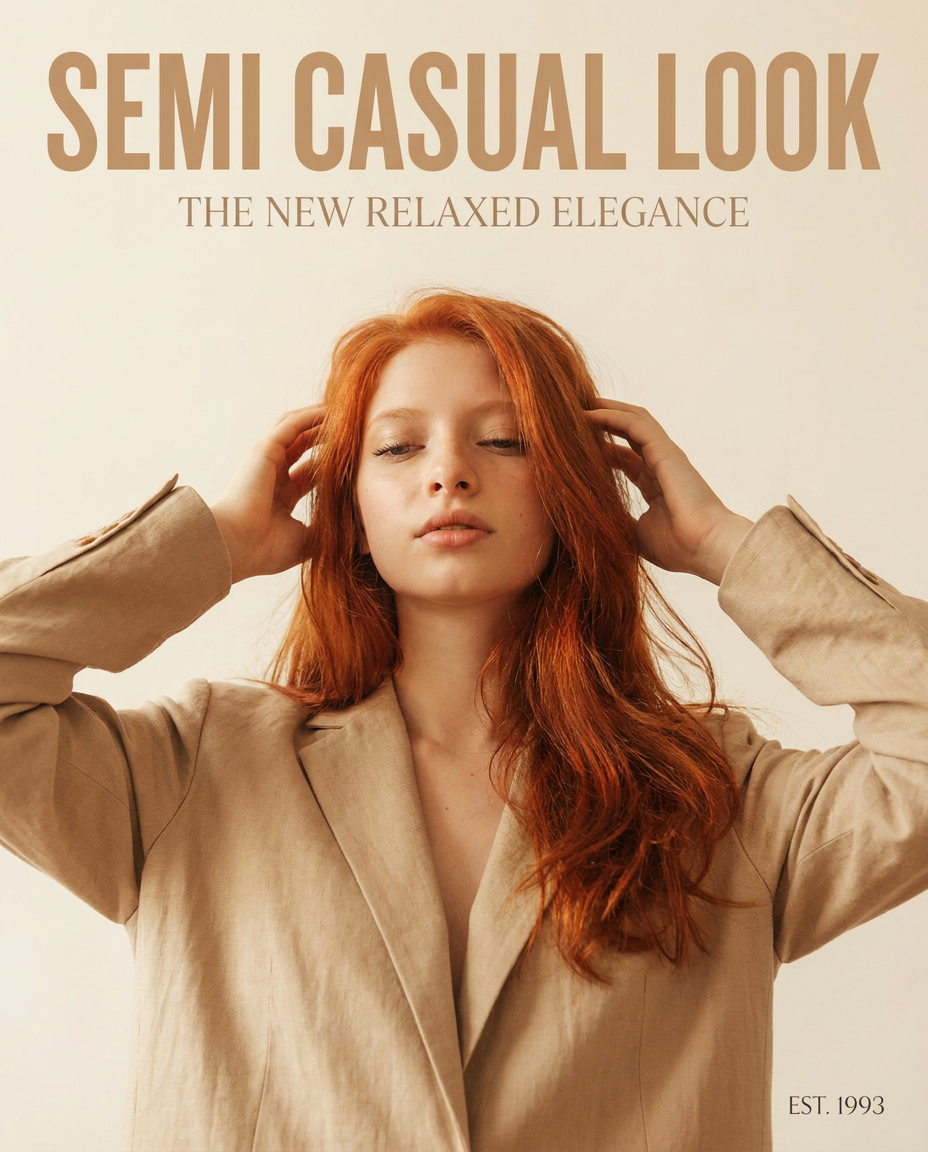
Drop in any portrait and turn it into a high-end editorial magazine cover. It frames your subject beautifully with relaxed, high-fashion posing and soft styling for a polished print aesthetic.
Regenerate using your own assets.
In practice: Creating a dynamic sportswear ad
Now consider a harder challenge: a dynamic ad for a sportswear brand. You need an image of an athlete mid-motion, gripping a basketball, sweat beading on their skin. Hands in motion and interacting with objects are where AI models struggle most. Getting this right with a single prompt is a matter of luck, not skill.
Using the workflow approach, you can generate a powerful shot focusing on the athlete's expression and the dynamic pose. If the grip on the ball isn't quite right, you simply mask the hand and ball and inpaint with a prompt like, 'a strong, athletic hand gripping a basketball, knuckles visible'. This level of control is what separates amateur results from professional advertising creative.
Get started with a workflow built for dynamic, professional product ads.
Workflow code: #myup-ywpr-rqz6
Professional Sportswear Ad
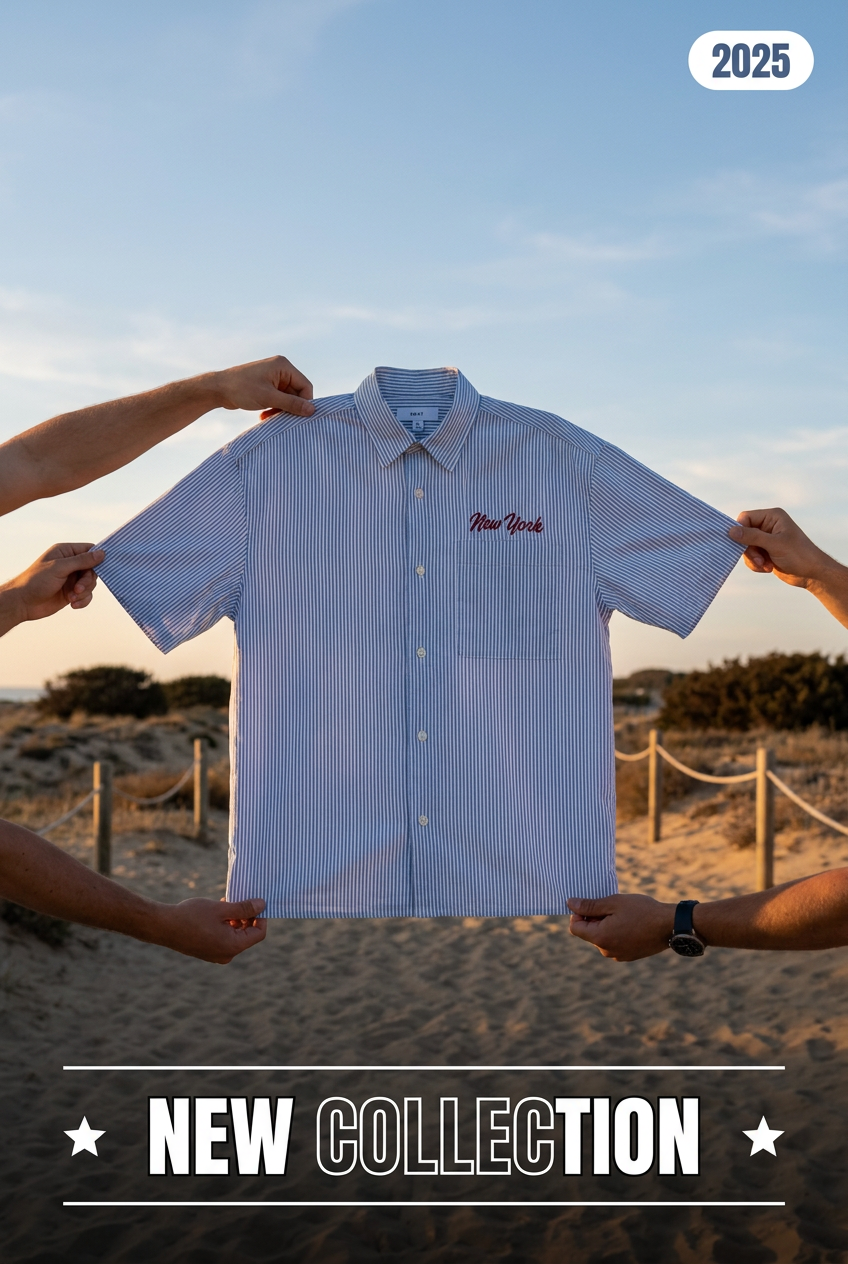
Suspends your apparel right in the center of a high-energy promo shot, held up by hands around the frame. It gives your shirts or jerseys a gritty, collaborative streetwear editorial look that feels alive and physical.
Regenerate using your own assets.
The takeaway: Stop prompt-hacking, start building workflows
The release of Stable Diffusion 3.5 is a significant step forward for all AI image creators. It makes getting realistic hands easier than ever before. But the real shift for brands and professionals isn't just about better models; it's about moving from one-off prompt hacking to building reliable production systems.
Chasing the perfect prompt is a frustrating, time-consuming game of chance. Adopting a structured workflow—generate, refine with inpainting, and align with a Brandkit—is a strategy. It puts you in control of the final output and guarantees that the assets you create are not just technically correct, but also strategically valuable to your brand. MyUP is the platform built for exactly that system.
Ready to create your own on-brand visuals? Start with this simple workflow for social media.
Workflow code: #myup-3sro-edbt
Brand Clothes Post

Turn any outfit photo into a high-end fashion promo poster. It centers your subject in a full-body shot against a dark, dramatic studio backdrop, perfectly cropped for social feeds. It gives your apparel a moody, editorial look instantly.
Regenerate using your own assets.
