You’ve been there. You spend an hour crafting the perfect prompt for a marketing image. The composition is right, the outfit is on-brand, but the person staring back has the glossy, lifeless skin of a mannequin. Or worse, they have a sixth finger hiding behind their back. It's the uncanny valley, and it's the single biggest barrier between a decent AI image and a professional one that builds trust.
Adding 'photorealistic' or 'hyperrealistic' isn't the fix. The models are already trying to do that. The problem is that they lack the specific context of a real photoshoot. To get realistic AI people, you have to stop prompting and start directing a virtual photoshoot. This guide will show you how.
Think like a photographer, not a prompter
The default AI aesthetic is generic because our prompts are too vague. 'A photo of a woman' gives the model infinite possibilities, so it averages them out into something smooth and bland. A professional photographer doesn't just 'take a photo'; they make a series of deliberate choices about their gear, the light, and the subject's details. Photorealism isn't a single magic word; it's the result of describing these choices in your prompt.
This is the mental model: Your prompt is your camera bag and your lighting kit. By specifying these elements, you give the AI concrete instructions that steer it away from the default plastic look and toward believable reality. On MyUP.ai, you can build these detailed instructions into a reusable workflow, turning your virtual photoshoot into an automated content studio.
Step 1: Choose your camera and lens
The fastest way to improve realism is to tell the AI what camera to use. Different lenses create vastly different looks. A wide-angle phone camera distorts features, while a telephoto portrait lens compresses them beautifully. Specifying a lens and its settings is a powerful signal for quality.
Instead of this:
'photo of a man smiling'
Try this:
'Headshot of a smiling man, captured with a Canon EOS R5 and an 85mm f/1.8 prime lens, shallow depth of field, soft bokeh background.'
Why does this work? You're not just asking for a photo; you're describing the exact professional setup that creates high-end portraits. This immediately tells the model to render a sharper subject, a naturally blurred background (bokeh), and the specific focal compression of a real portrait lens. It’s a small change that eliminates the amateur 'shot on a cheap phone' feel.
Step 2: Master the light
Light is everything in photography. It creates mood, depth, and texture. AI models often default to flat, even, uninteresting light because it's the 'safest' option. To create drama and realism, you must direct the light source.
Here are some key lighting terms to add to your prompts:
- Soft window light: For natural, flattering indoor portraits.
- Golden hour: For warm, magical outdoor shots just after sunrise or before sunset.
- Direct sunlight with harsh shadows: For high-contrast, dramatic fashion or street-style looks.
- Dramatic side lighting (Rembrandt lighting): Creates depth and sculpts facial features.
- Studio lighting, three-point setup: The classic professional setup with a key light, fill light, and backlight.
For commercial work, controlling light is non-negotiable. A sportswear ad, for example, needs dynamic, high-energy lighting to make the product and the athlete look powerful. Manually prompting this for every ad is tedious. A better way is to use a workflow that has these professional lighting parameters built-in. This MyUP workflow for a sportswear ad bakes in the dramatic lighting needed for a high-impact commercial shot, giving you consistent results every time.
Workflow code: #myup-ywpr-rqz6
Professional Sportswear Ad
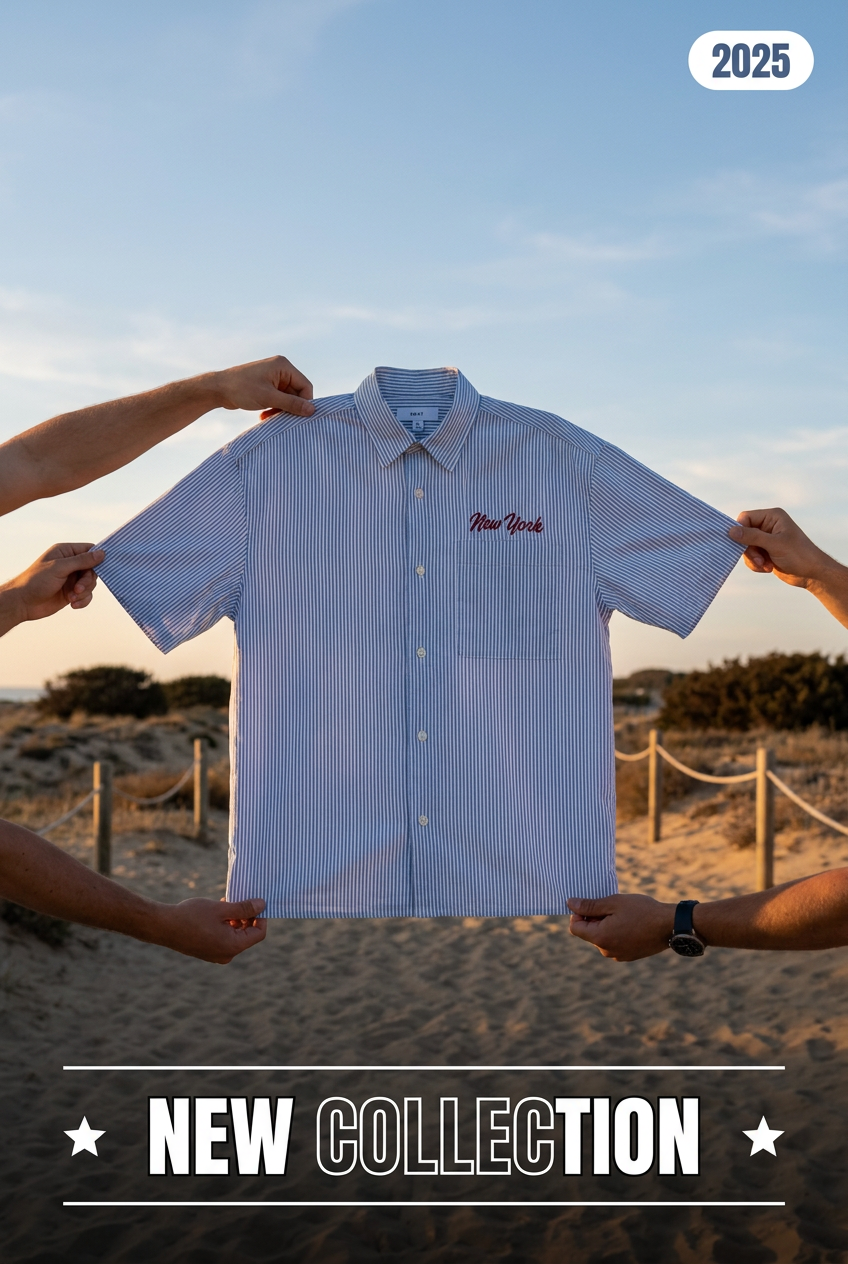
Suspends your apparel right in the center of a high-energy promo shot, held up by hands around the frame. It gives your shirts or jerseys a gritty, collaborative streetwear editorial look that feels alive and physical.
Regenerate using your own assets.
Step 3: Add human texture and detail
The final layer of realism comes from the micro-details that AI models tend to smooth away. Perfect skin, hair, and eyes look fake. Reality is imperfect. You need to explicitly ask for these imperfections.
Add these phrases to your prompts to fight the plastic look:
- For skin: 'detailed skin texture, visible pores, subtle imperfections, freckles'
- For hair: 'individual hair strands visible, flyaway hairs, realistic hair texture'
- For eyes: 'detailed iris, catchlight in the eyes'
- For clothing: 'realistic fabric texture, denim weave, subtle creases and wrinkles'
These details are what sell the illusion. For something like a high-fashion magazine cover, this level of detail is critical. Combining all these texture prompts manually for every shot is slow and prone to error. In MyUP, you can use a workflow that bundles these details together, ensuring every portrait has that essential layer of human texture.
Workflow code: #myup-yk1h-uqy8
High-End Editorial Fashion Magazine Cover
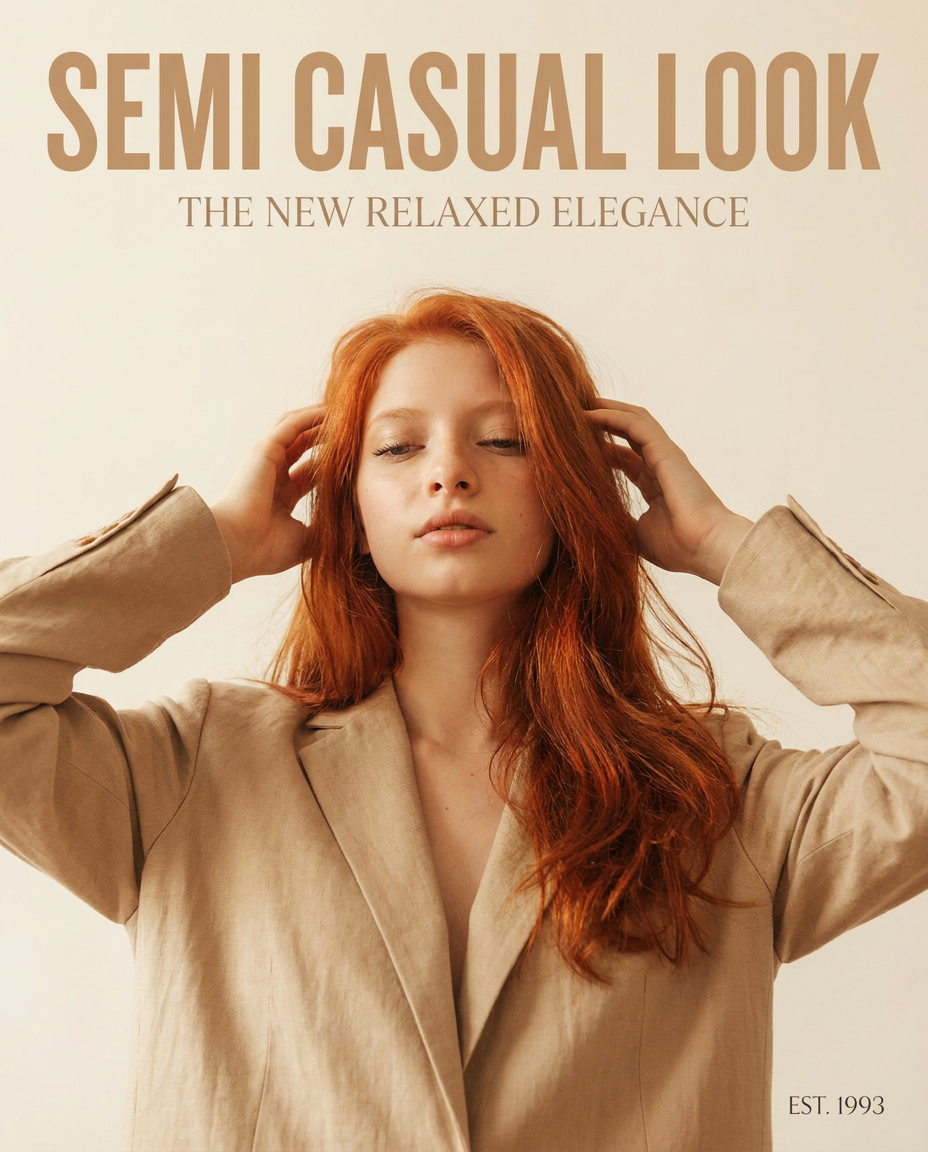
Drop in any portrait and turn it into a high-end editorial magazine cover. It frames your subject beautifully with relaxed, high-fashion posing and soft styling for a polished print aesthetic.
Regenerate using your own assets.
This same principle of texture applies even when a person is just one element of the scene. For example, in a food advertisement, the realism of the person holding the product is just as important as the texture of the food itself. A workflow like the one below ensures both the human element and the product are rendered with believable detail.
Workflow code: #myup-xjsb-hirr
Bold Portrait Food Advertising Photo
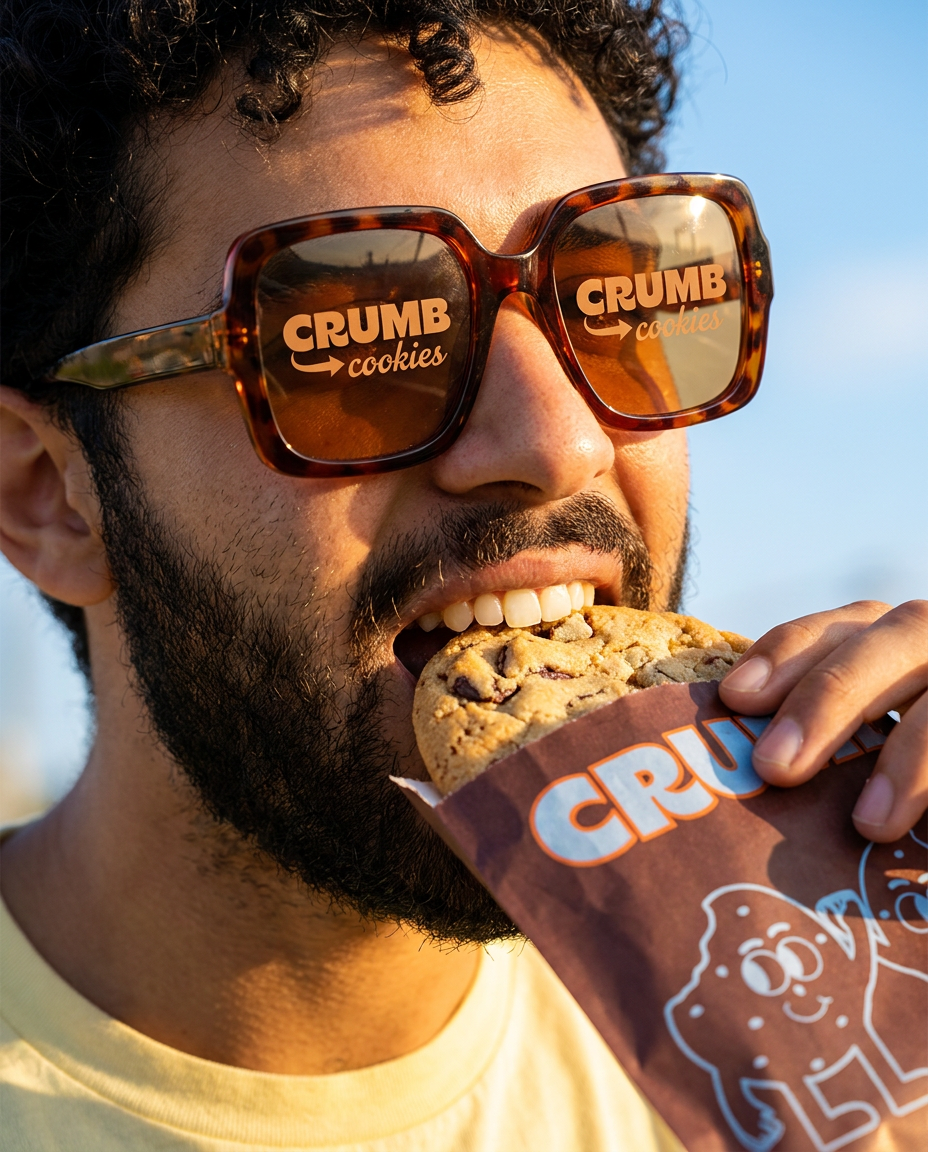
Get those high-impact, tight action shots of people actually enjoying your food brand. It drops your product right into a messy, realistic close-up bite shot that feels like a premium lifestyle campaign instead of a boring studio packshot.
Regenerate using your own assets.
Workflow code: #myup-wo7y-ebmc
Food Ad
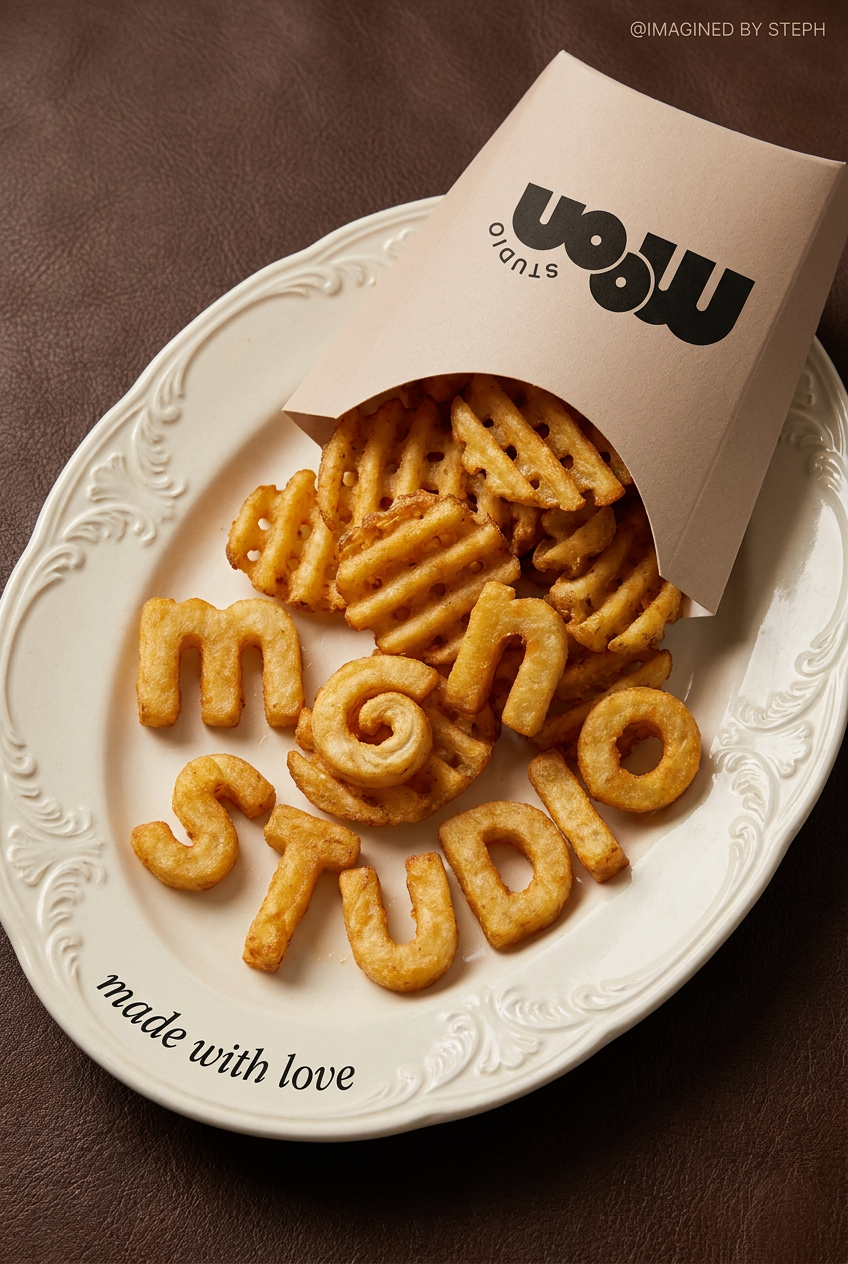
Transform simple food items into high-fashion editorial campaigns. This style uses a dynamic diagonal layout and a slightly tilted overhead angle to give your products incredible depth and texture, making them look like luxury design pieces.
Regenerate using your own assets.
The final boss: A reliable fix for AI hands
The problem of malformed AI hands became a viral topic again in late June 2026, and for good reason—it's one of the most persistent flaws in image generation. While new models like Flux 1.1 are making significant strides, the most reliable solution is still a combination of smart prompting and human control.
The strategy is twofold: be specific in your positive prompt and prescriptive in your negative prompt.
1. Positive Prompting for Hands:
Instead of leaving it to chance, suggest a natural pose. Examples:
- 'hands resting gently on a table'
- 'woman with hands loosely clasped'
- 'naturally posed hands, graceful finger position'
2. Negative Prompting for Hands:
This is where you give the AI explicit guardrails. Use a negative prompt (often preceded by `--no` or similar syntax) to forbid common errors:
'--no malformed hands, extra fingers, fused fingers, mutated hands, six fingers, extra limbs'
By combining a specific pose with a strong negative prompt, you dramatically increase the success rate. You are the creative director, validating the output and making adjustments; MyUP is the production engine that executes your vision.
Your repeatable workflow for photorealism
Now, let's put it all together. A master prompt for a truly photorealistic person combines all three layers: camera, light, and texture.
'Commercial lifestyle photo of a woman laughing, captured with a Sony A7III and a 50mm f/1.4 lens, golden hour backlighting, detailed skin texture with visible pores, stray hairs catching the light, realistic denim fabric texture on her jacket --no malformed hands, extra limbs'
This is a powerful, precise instruction. But typing it out and tweaking it for every single image your brand needs is not a scalable workflow. This is where MyUP transforms the process. You can take this entire multi-part prompt structure and save it as a reusable workflow. Connect it to your Brandkit, and you can generate dozens of on-brand, consistently realistic people for any campaign with a single click. You do the creative direction once; MyUP handles the production forever.
