
If you've been on YouTube or Reddit in the last 48 hours, you've seen it. The search for 'MrBeast thumbnail AI' exploded around June 24, 2026, with creators everywhere trying to replicate the high-energy, high-click-through-rate style that defines the platform's biggest channels. The typical advice involves a frustrating, multi-tool shuffle: generate a character in Midjourney, hope the expression is right, pull it into Photoshop to remove the background, manually add text, and then try to color grade it for that signature pop. The result? A time-consuming process that produces wildy inconsistent results. One thumbnail looks great, the next is a mess.
The problem isn't the goal; it's the method. Chasing a style with one-off prompts is a recipe for brand inconsistency. The professional approach is to build a system—an AI workflow that codifies the style's core principles and lets you apply them to any new video in seconds. This guide breaks down that exact system.
Why 'MrBeast style' isn't a prompt, it's a formula
Before you can automate a style, you have to deconstruct it. The 'MrBeast style' isn't just one thing; it's a visual formula designed for maximum impact and readability on any screen. The key ingredients are:
- An Exaggerated Focal Point: Usually a person with a highly expressive, almost caricatured emotion (shock, excitement, disbelief). This is the emotional hook.
- High-Contrast, Saturated Color Grading: Bright, vibrant colors that pop off the screen. The backgrounds are often slightly desaturated or blurred to push the main subject forward.
- Bold, Legible Text: Large, clean, sans-serif fonts with heavy outlines or drop shadows to ensure the text is readable at a glance, even on a mobile device. The text communicates the video's core premise instantly.
The issue with generic AI tools is that they can't handle this as a single, coherent instruction. Prompting Midjourney for 'MrBeast style' might get you the bright colors, but the character will be different every time. It has no concept of your channel's specific fonts, and it certainly can't guarantee a consistent text layout. You're left stitching pieces together, which kills speed and consistency.
A 3-step workflow for thumbnails that perform
Instead of a single prompt, we'll use a multi-step workflow. This approach separates the core components—character, style, and text—into distinct stages that an AI can execute reliably. The user (you) validates the output at each key stage, while MyUP handles the repetitive production work. Here’s how it works.
Step 1: Generate your character's 'thumbnail face'
The foundation of the thumbnail is the human element. You need a character with a specific, high-energy expression that tells a story. Instead of a generic prompt, focus on generating just the character first. You need a clean, high-impact portrait that can serve as a reusable asset.
Prompt for the emotion, not the entire scene. For example: 'Close-up photo of a young man with a ridiculously shocked and excited expression, mouth wide open, looking directly at the camera, studio lighting.' This gives you a strong focal point to build on. You can start with a workflow designed to create high-impact portraits and adapt it.
Workflow code: #myup-xjsb-hirr
Bold Portrait Food Advertising Photo
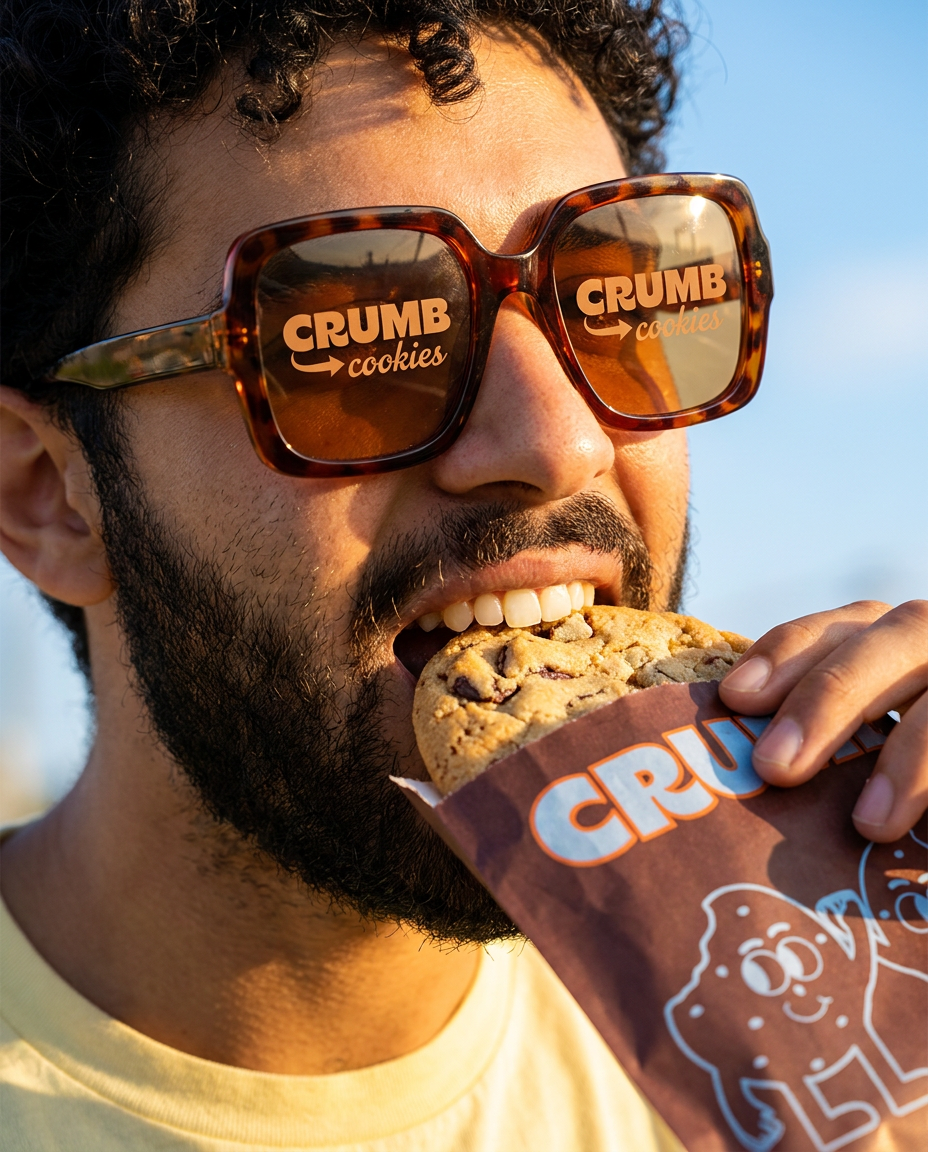
Get those high-impact, tight action shots of people actually enjoying your food brand. It drops your product right into a messy, realistic close-up bite shot that feels like a premium lifestyle campaign instead of a boring studio packshot.
Regenerate using your own assets.
Step 2: Lock in the style with your Brandkit
This is where a system beats a one-off prompt. Once you have your character, the distinctive color grading needs to be applied consistently every single time. In MyUP, you do this with a Brandkit. By setting up your channel's core colors (bright blues, yellows, magentas) and defining a visual style (e.g., 'high saturation, sharp focus, vibrant'), you create a rule that the AI follows for every generation. When the workflow runs, it automatically applies this color treatment to your character and background elements. You're not trying to describe the color palette in a prompt; you're enforcing it as a brand rule. This step alone solves 90% of the inconsistency problem.
Step 3: Add bold, on-brand text that gets clicked
The final piece is text that is not just present, but designed for performance. A successful thumbnail uses text as a core design element with a clear visual hierarchy. Your Brandkit stores your channel's fonts (like a specific bold sans-serif), and the workflow defines how to apply it. For example, a workflow step can specify: 'Overlay the title [Video Title] using the primary brand font, size 120pt, white fill, with a 5px black outline and a subtle drop shadow.' This ensures every thumbnail has perfectly legible, consistently styled text without you ever opening a design tool. To learn more about getting this right, check out our guide to making AI YouTube thumbnails with legible, on-brand text.
The complete composition—character, color grade, and text—comes together in a final, repeatable step. This workflow for an athletic ad shows how a character and bold, on-brand text can be combined into a finished, high-impact visual.
Workflow code: #myup-ywpr-rqz6
Professional Sportswear Ad
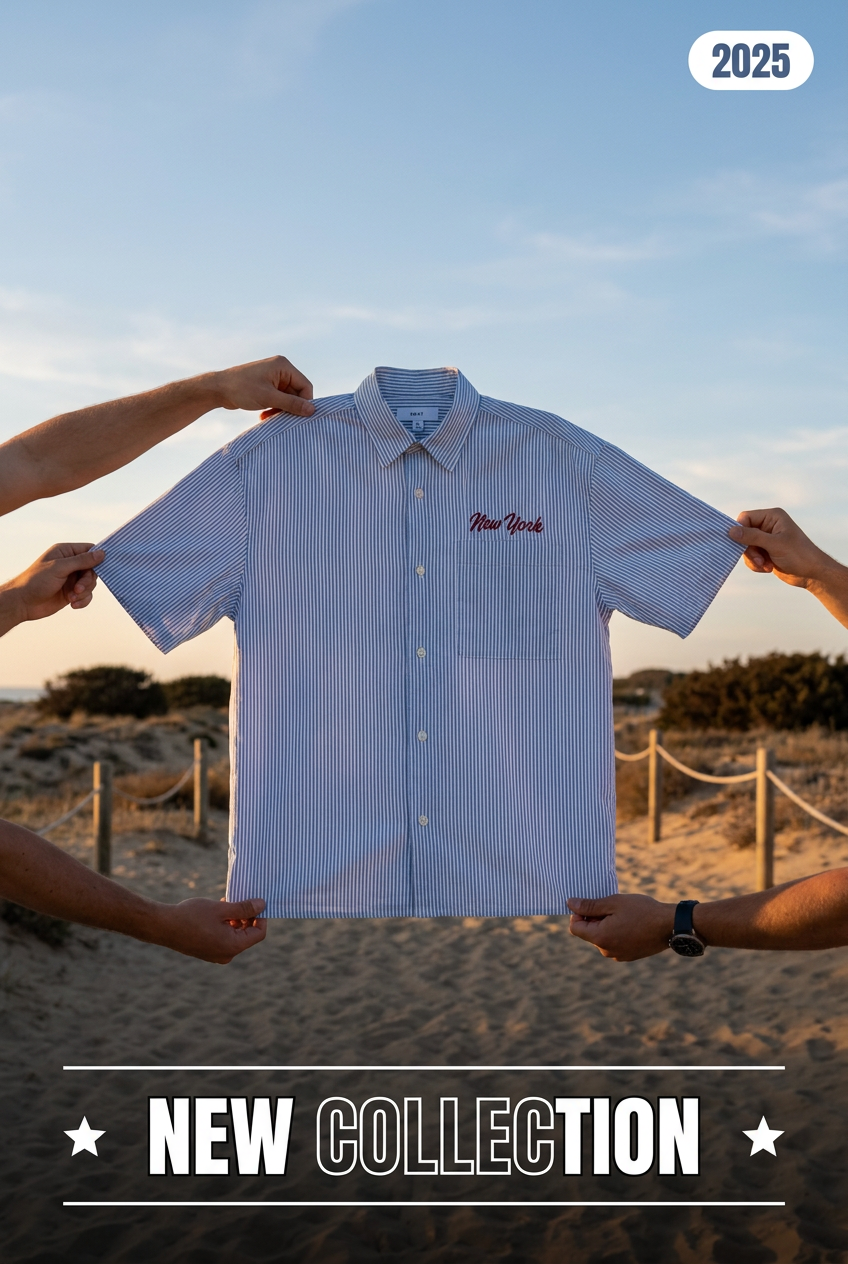
Suspends your apparel right in the center of a high-energy promo shot, held up by hands around the frame. It gives your shirts or jerseys a gritty, collaborative streetwear editorial look that feels alive and physical.
Regenerate using your own assets.
From one thumbnail to a production line
The real power of this approach emerges with your next video. You don't start from scratch. You run the same saved workflow. You can swap out the character's expression, change the background element, and update the text, but the core visual system—the color grading, the font style, the layout rules—remains locked in. Your channel develops a powerful, consistent visual identity that viewers recognize instantly.
This means you can adapt the style to any video topic while maintaining your brand. Whether it's a food challenge or a product review, the underlying system ensures it looks and feels like your channel. This workflow for a food product ad, for example, could be adapted with the same Brandkit to fit the MrBeast-style formula.
Workflow code: #myup-w0vh-abft
Food Product Ad
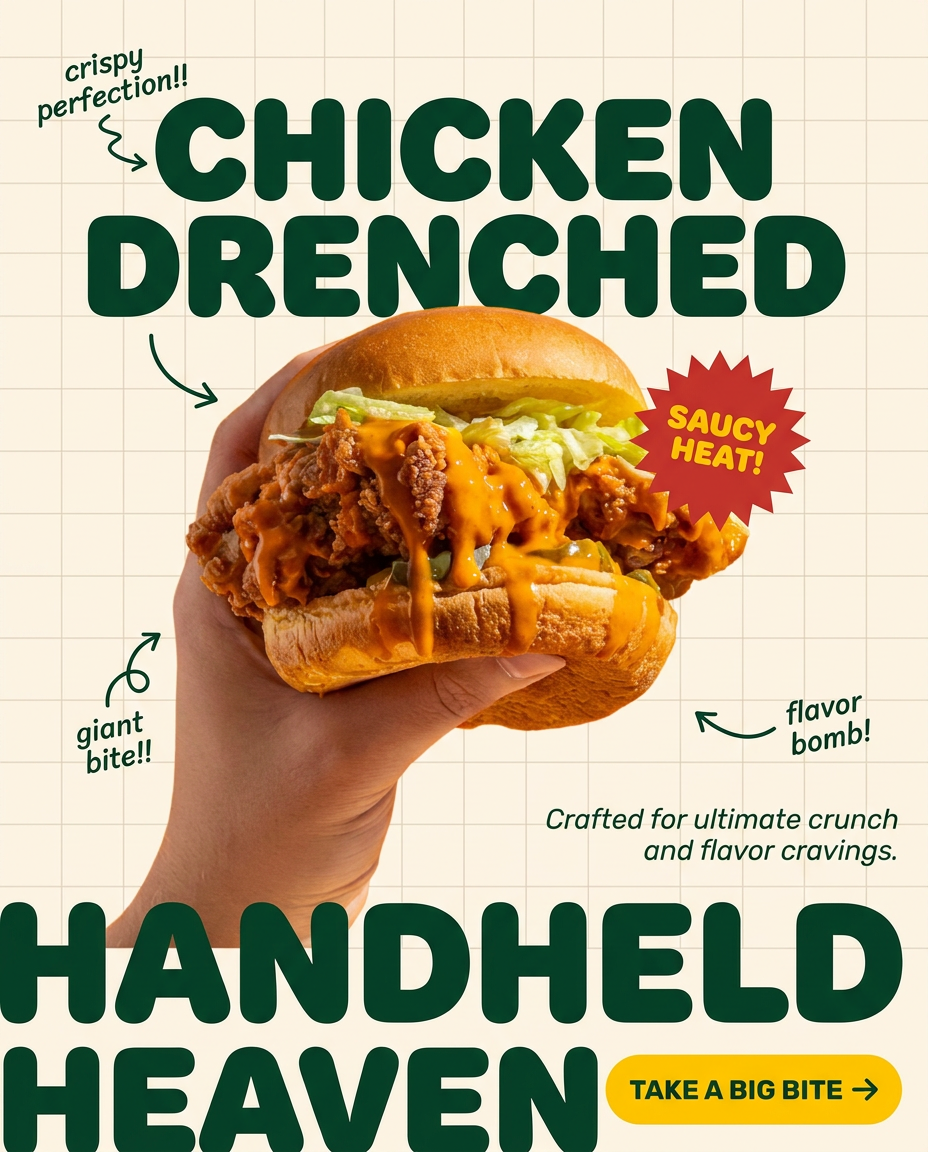
Turn any dish or snack into a bold, playful social ad. It places your food against a soft warm beige background with a subtle grid pattern, topped with chunky rounded headlines. It's clean, friendly, and instantly grabs attention in the feed.
Regenerate using your own assets.
It's not about copying, it's about building a system
The goal isn't to become a perfect MrBeast clone. It's to understand the principles that make his thumbnails so effective and build a reliable system to apply those principles to your own unique brand. Chasing trends with disconnected tools is exhausting and inefficient. By building a repeatable AI workflow, you move from being a manual creator to a creative director, guiding a system that executes your vision flawlessly every time. You get the high-performance results without the production bottleneck, freeing you up to focus on what actually matters: making a great video.
