You spent hours crafting the perfect prompt. The AI image generator finally spits out a t-shirt design you love. You upload it to Printful or Printify, hit submit, and wait. Then comes the email: 'Design rejected. Reason: Low resolution / Too many colors / Unsuitable for printing.' It’s a frustratingly common story, and as recent discussions in creator communities show, it’s the biggest roadblock to monetizing AI art for merchandise.
The problem isn't your creativity. It's that most AI image generators are built to create beautiful pixels for screens, not manufacturable assets for ink and fabric. A great t-shirt design isn't just a cool image; it's a technical file that respects the physical limitations of printing. This guide isn't another list of AI art tools. It’s the workflow I use to go from a simple idea to a print-ready, on-brand design that gets approved every time, all within a single platform.
That 'perfect' AI t-shirt design just got rejected. Here's why.
Print-on-Demand (POD) services have strict technical requirements. When your design is rejected, it's almost always for one of these reasons:
- Resolution and DPI: Your screen displays images at 72 dots per inch (DPI), but printers need 300 DPI for a crisp result. Most AI tools output low-DPI files that look fuzzy and pixelated when printed.
- Color Complexity: Screen printing, a common method for t-shirts, uses one screen per color. A design with dozens of subtle gradients and shades, common in AI outputs, is wildly expensive or impossible to produce. A good design uses a limited, intentional color palette.
- File Format: AI generators produce raster images (PNGs, JPGs). These are grids of pixels that lose quality when scaled up. Printers prefer vector files (SVGs, EPS), which are made of mathematical paths and can be scaled to any size without losing sharpness. While you don't always need a true vector, generating a 'vector style' graphic is key.
- Artifacts and Messy Details: Look closely at a standard AI image. You'll often see strange blurs, messy edges, and nonsensical details. These small imperfections become glaring mistakes on a physical product.
Trying to fix these issues after the fact is a nightmare of upscaling tools, manual vector tracing, and color reduction in Photoshop. The solution is to build the production constraints into the creation process from the very beginning.
Step 1: Build a print-friendly Brandkit before you prompt
Your brand is more than a logo. For merchandise, it’s a set of production rules. In MyUP, you codify these rules in a Brandkit. This isn't just a one-time setup; it’s the foundation that makes every subsequent design on-brand and manufacturable by default.
Instead of just uploading your logo, think about your 'Merchandise Brandkit'.
- Define a Limited Color Palette: Go into your Brandkit and create a specific color palette with just 2-4 colors that work well for screen printing. If you have specific brand Pantones, enter their hex codes here. This is your 'Print Palette'. When you generate images in MyUP, you can instruct the AI to use *only* these colors, solving the color complexity problem instantly.
- Upload Your Brand Fonts: AI is notoriously bad at creating clean, legible text. Upload your brand's official fonts to your MyUP Brandkit. This ensures that any text you add later will be perfectly crisp and consistent with your brand identity, a crucial step we'll cover later.
By starting here, you shift from hoping the AI gets it right to telling it the exact brand ingredients to use. The user—you—validates the creative output, while MyUP handles the production rules automatically.
Step 2: Generate graphics designed for ink, not pixels
Now that your production rules are set, you can focus on generating the core graphic. The key is to write prompts that force the AI to create simple, clean, and print-friendly styles. Forget prompts for 'photorealistic' or 'highly detailed' images. Think in terms of print techniques.
Here are some prompt styles that work wonders:
- For Vector-Style Graphics: `2D vector illustration of a stoic wolf head, minimalist, clean lines, solid shapes, white background`
- For Limited-Color Designs: `Vintage screenprint style graphic of a retro rocket ship, 3-color design using only [Brand Color 1], [Brand Color 2], and black, flat graphic`
- For Line Art: `Minimalist single-line art of a cat playing with yarn, bold lines, no shading, isolated on white`
This approach gives you clean graphics that are easy for printers to work with. In MyUP, you can run these prompts and then use the built-in editor to remove backgrounds or clean up any minor imperfections. This is far more efficient than trying to salvage a messy, overly complex image. To create graphics for stickers or other small merchandise, this workflow is a perfect starting point.
Workflow code: #myup-swqt-4zo3
Product Stickers
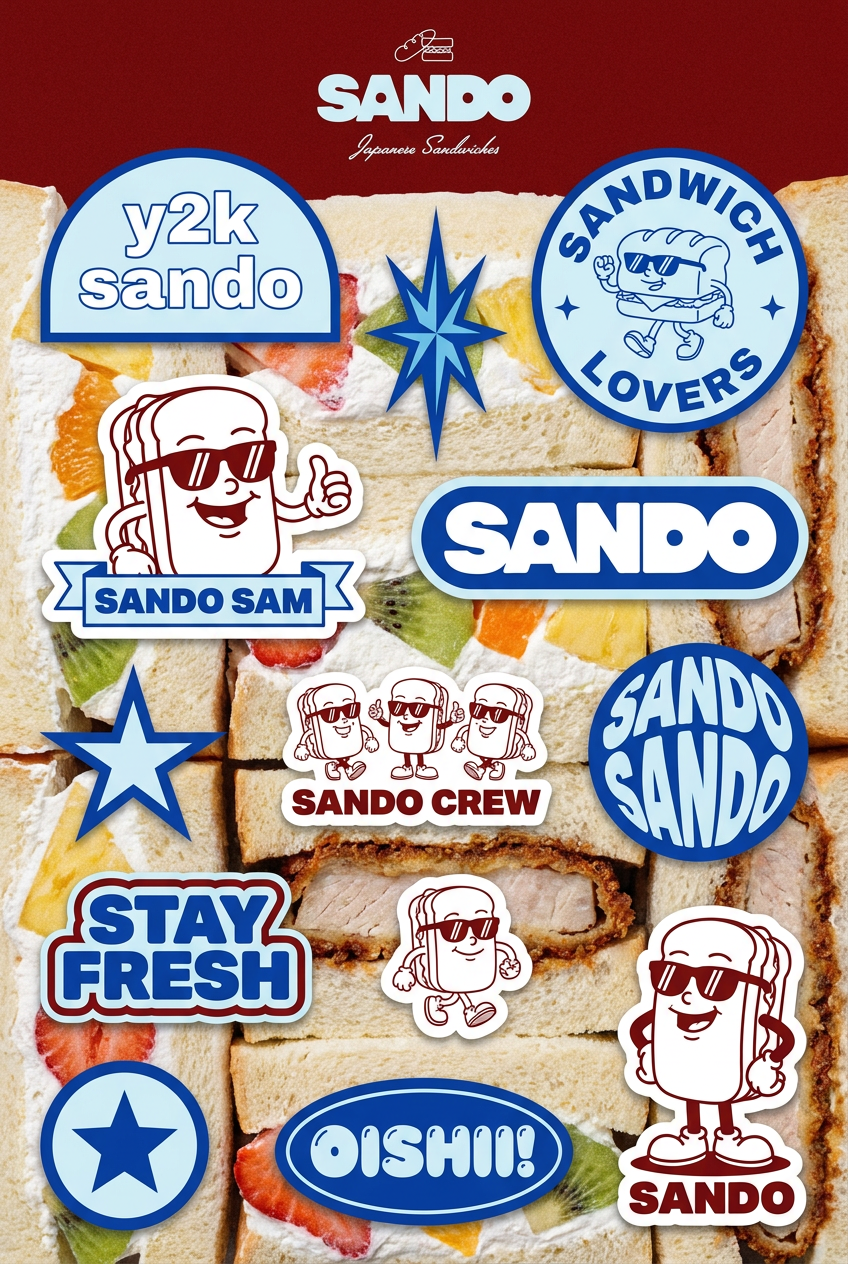
Turn your logo into a nostalgic, vibrant Y2K-style vertical ad. It automatically pulls your brand colors to create matching sweet treats like custom donuts or cupcakes in the background, giving you a super playful retro-pop aesthetic.
Regenerate using your own assets.
Step 3: Add typography that's actually legible and on-brand
Never rely on an AI image generator to create your primary text. It will almost always be misspelled, warped, or inconsistent. The professional workflow is to generate the visual element first, then layer on crisp, clean text in a design tool.
This is where your Brandkit prep work pays off. Having already generated your clean graphic in MyUP, you can now add a text layer.
- Select the 'Text' tool in the MyUP editor.
- Write your slogan, brand name, or message.
- Apply your brand font and brand colors directly from the Brandkit you created in Step 1.
This simple process guarantees two things: perfect legibility and perfect brand consistency. The result is a composite graphic where the visual element is creative and AI-generated, but the text is controlled, professional, and readable. This same principle of separating visuals from text is crucial for creating everything from merchandise to on-brand presentations. This approach, combining a generated image with controlled typography, is powerful for creating stylized posters and ads.
Workflow code: #myup-sauf-5jod
Vintage Advertising Poster
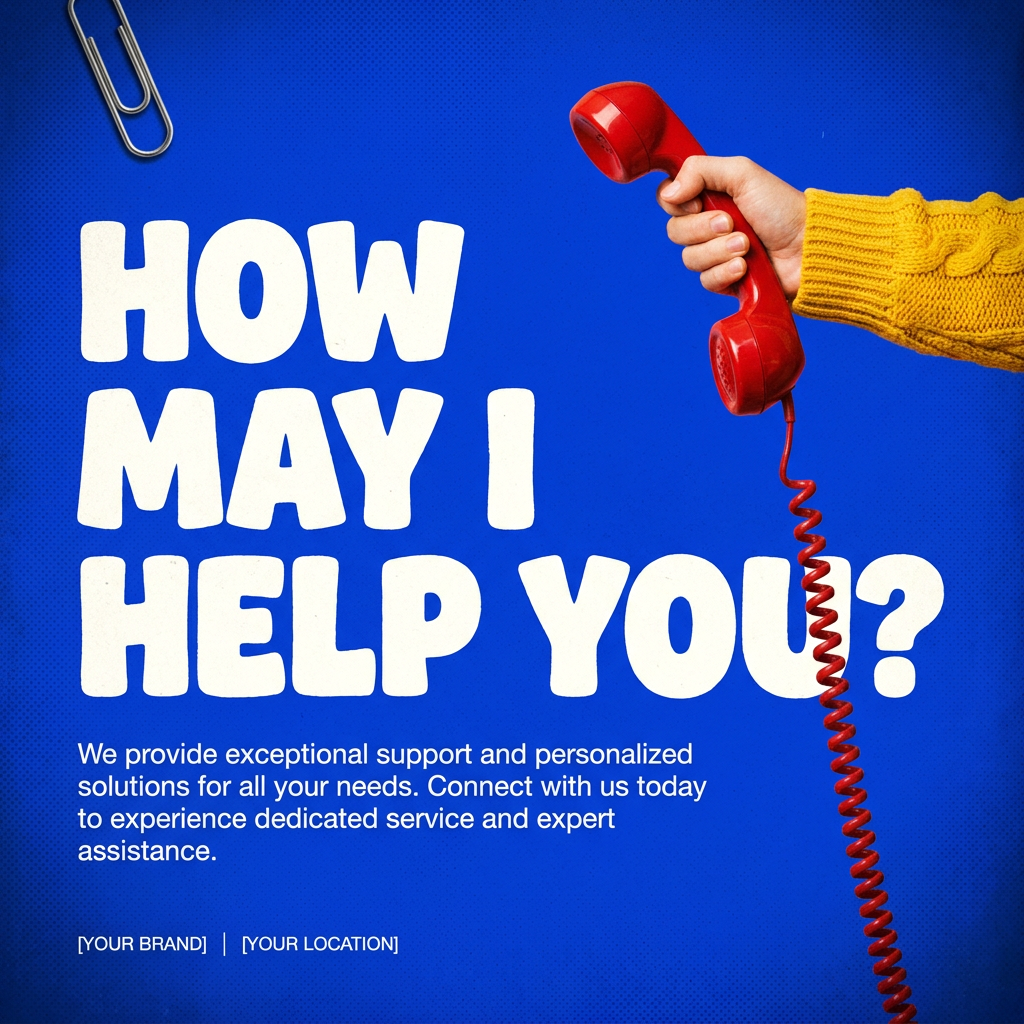
This creates high-impact graphic posters with a striking cobalt blue backdrop and subtle retro halftone textures. Just drop in your subject to get that bold, tactile look complete with realistic metallic accents and clean, modern framing.
Regenerate using your own assets.
Step 4: Go from design to storefront with instant mockups
Generating the design file is only half the job. To actually sell your t-shirt, you need compelling product photos for your website or social media. This has led to a surge in people searching for 'AI t-shirt mockup generators'. The problem is that this is usually a separate tool, forcing you to export your design and then import it into another piece of software.
An integrated workflow is faster and more brand-consistent. Once you finalize your design in MyUP—with the AI graphic and the Brandkit text perfectly combined—you don't need to leave the platform. You can instantly apply your finished design to a library of apparel mockups.
This closes the loop, taking you from initial idea to a ready-to-post marketing asset in minutes. You can generate the core design, get feedback, and then create a social media post featuring a model wearing your shirt, all within the same environment. It's a faster path to market that also ensures your promotional assets look as good as the product itself. If you're creating a whole line of apparel, you'll need a way to show it off consistently, a problem easily solved with a dedicated workflow for exactly that.
Workflow code: #myup-3sro-edbt
Brand Clothes Post

Turn any outfit photo into a high-end fashion promo poster. It centers your subject in a full-body shot against a dark, dramatic studio backdrop, perfectly cropped for social feeds. It gives your apparel a moody, editorial look instantly.
Regenerate using your own assets.
The workflow that sells: From idea to printable asset in one platform
The chaotic, multi-tool process for creating AI merchandise—jumping from Midjourney to an upscaler, then to an image editor like Photoshop, then to a vectorizer like the new Vexel AI, and finally to a mockup generator—is slow, expensive, and inconsistent. It treats brand and production constraints as an afterthought.
The MyUP workflow is different. It starts with your brand and the physical realities of printing. By building your production rules into a Brandkit and using workflows that generate simple, clean graphics, you eliminate the reasons for rejection before you even write your first prompt. You guide the AI with manufacturing constraints, and you—the human creator—validate the results.
This is how you move from being a user of a generic AI t-shirt design generator to being the operator of a brand merchandise production system. You get the creative leverage of AI without the technical headaches, resulting in designs that don't just look good on screen, but get printed, sold, and worn.
