If you’ve tried to generate a storyboard with AI, you’ve felt the frustration. Panel #1 is a perfect moody noir sketch. Panel #2 looks like a Saturday morning cartoon. By panel #5, your main character has changed ethnicity three times. A recent viral Reddit guide from July 2026, detailing a labyrinthine workflow with Stable Diffusion, ControlNets, and character LoRAs, proves one thing: creators are desperate for consistency, and the DIY solutions are a nightmare.
A storyboard isn't a collection of random images; it's a single, cohesive visual plan. The problem is that most AI image generators have no memory. Each prompt is a fresh start, completely unaware of the panel that came before it. This is why styles drift and characters warp, turning a quick pre-production task into a day of tedious rework.
There is a better way. Instead of fighting a memoryless tool, you need a platform built for consistency from the ground up. In MyUP, you can go from a finished script to a complete, style-locked storyboard in minutes, all within a single workflow.
Why most AI storyboard generators fail at consistency
The core failure of generic AI image tools for storyboarding is their stateless nature. Each time you enter a prompt like "a wide shot of a detective looking at a clue on a rainy street," the model generates it in a vacuum. It has no concept of the "close-up on the detective's face, determined" you generated 30 seconds earlier. The result is visual chaos:
- Style Drift: The gritty, high-contrast lighting from your first shot is replaced by soft, diffused light in the next. The color palette shifts from muted blues to warm sepias without reason.
- Character Drift: Your protagonist's hairstyle, clothing, and even facial structure can change from one panel to the next, making the sequence impossible to follow.
- Compositional Anarchy: The sense of a coherent cinematic language is lost. The camera angles and shot compositions feel disconnected, as if five different directors worked on the project.
This inconsistency isn't just an aesthetic annoyance; it has real production costs. It confuses clients, makes it impossible to create a coherent animatic, and ultimately undermines the storyboard's primary purpose: to provide a clear, unified blueprint for the final video.
The solution: A Brandkit as your project's visual memory
To get a consistent storyboard, your AI needs a visual memory. It needs a single source of truth for the project's entire aesthetic. In MyUP, this is the Brandkit. A Brandkit is more than just your logo and brand colors; it's a container for a complete visual style. For a storyboard project, you can define a Brandkit that specifies:
- Core Style Prompts: Keywords that define the overall look, such as "80s anime sketch style, cel shading, grainy film texture" or "cinematic noir, high contrast, deep shadows, desaturated color palette."
- Color Palette: Locking in specific hex codes to ensure every panel uses the same key colors for mood and branding.
- Reference Imagery: Uploading keyframes, character designs, or mood board images that the AI can use as a direct visual guide.
By saving these elements into a Brandkit, you give the AI a permanent style guide. Every panel you generate using that Brandkit will automatically inherit the same aesthetic DNA. This means the user—the director—is in control, validating the shots MyUP produces against a consistent creative vision. You can even save different Brandkits for different projects, like one for a sci-fi short and another for a kids' animated series. To see how a distinct, non-photorealistic style can be locked in for a project, this template is a perfect example.
Workflow code: #myup-xbur-hzoi
Bold Retro Yellow Event Poster
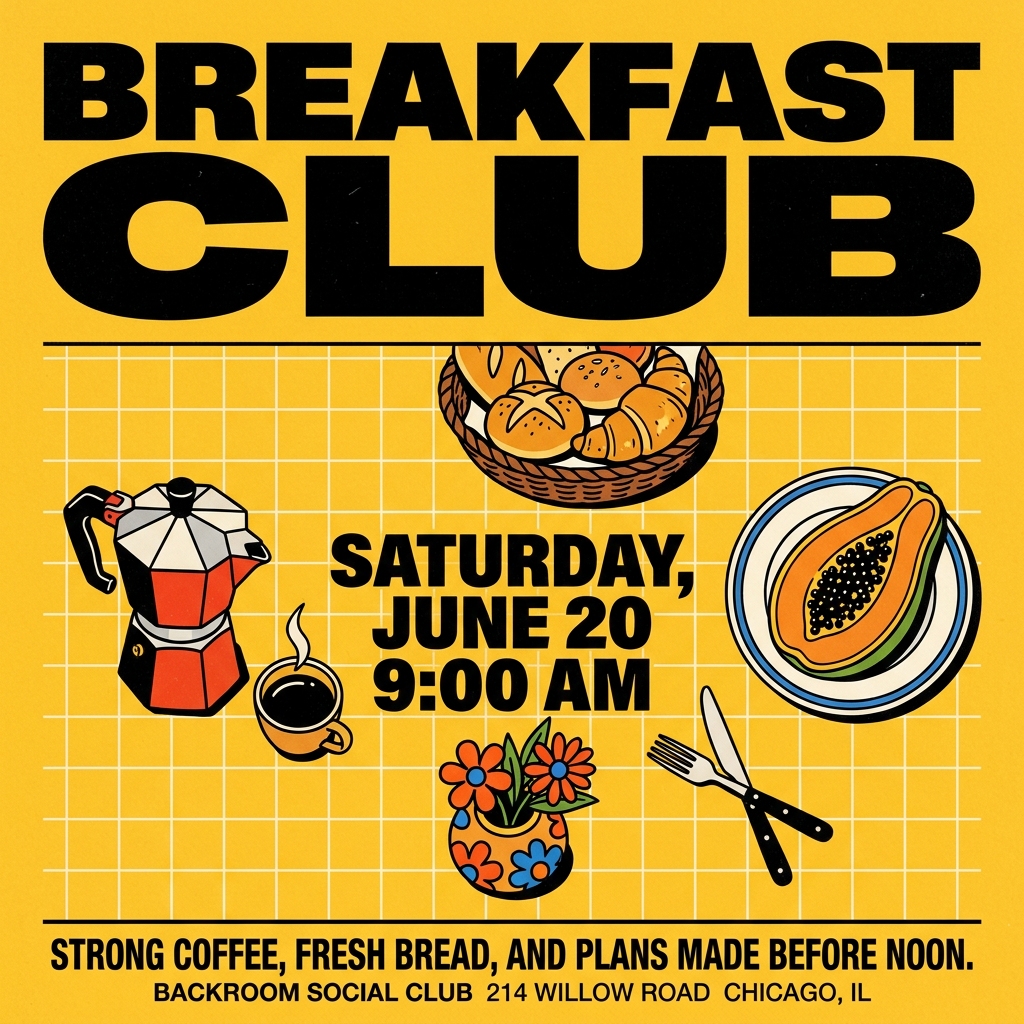
Turn your branding or event details into bold, nostalgic posters. It blends vibrant warm backdrops with a clean, retro square grid pattern to make any announcement look like a classic piece of mid-century graphic design.
Regenerate using your own assets.
The 4-step workflow: from script to storyboard in MyUP
Once your visual style is locked in a Brandkit, generating the full storyboard becomes a simple, repeatable production process. No more one-by-one prompting and praying for consistency. Here is the entire workflow, from script to screen-ready panels.
Step 1: Finalize your style in the Brandkit
Create a new Brandkit in MyUP specifically for your video project. Add your core style prompts, a defining color palette, and any key visual references. This is the most important step—get this right, and the rest of the process is automated production.
Step 2: Break your script into shot descriptions
Go through your script and write a one-sentence prompt for each panel you need. Be descriptive about the action, character, and camera angle. For example:
- SCENE 1, SHOT 1: WIDE SHOT - A lone spaceship drifts silently through a nebula.
- SCENE 1, SHOT 2: CLOSE UP - The pilot's face, illuminated by the green glow of the control panel.
- SCENE 1, SHOT 3: POV SHOT - From inside the cockpit, looking out at a massive, ringed planet.
Compile these into a simple list.
Step 3: Run the batch generation workflow
In MyUP, you can run a workflow that takes your list of prompts and your chosen Brandkit as inputs. The platform will then generate all the storyboard panels in a single batch, ensuring every single image adheres to the style defined in your Brandkit. You don't need to babysit it; MyUP handles the production while you focus on the creative vision. This workflow for a cinematic campaign shows exactly how you can apply a specific mood across a series of shots.
Workflow code: #myup-4mva-7iki
Cinematic Space Product Campaign
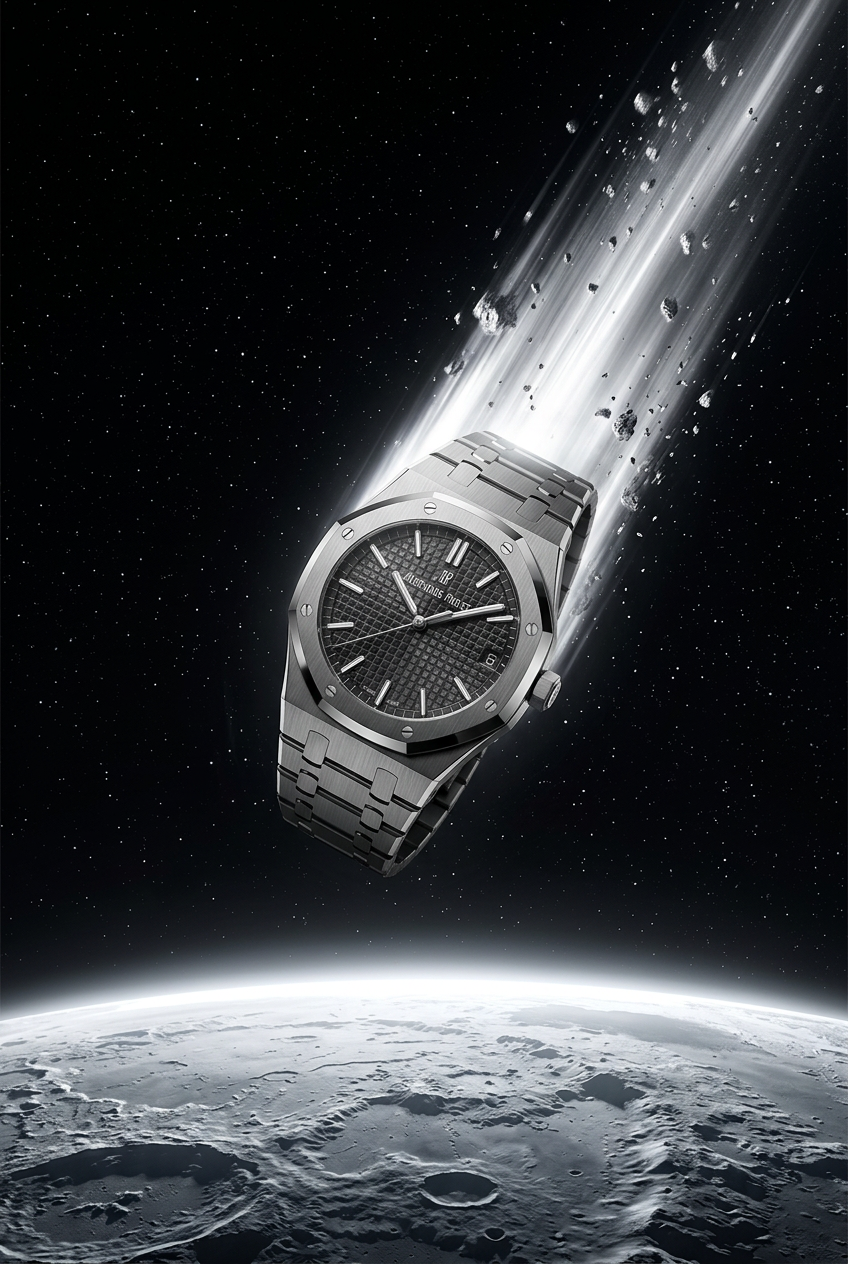
Drop your product into a dramatic, cosmic scene. It creates an epic set of images starting with a dynamic space launch framed by a blazing meteor, followed by a low-angle hero shot and an extreme macro of the surface textures catching the high-contrast light.
Regenerate using your own assets.
Step 4: Review and refine
Once the generation is complete, review your full storyboard. Because the style is consistent, you can focus on what matters: storytelling. Do the shots flow correctly? Is the emotional arc clear? If a panel isn't quite right, you can regenerate that single shot without breaking the consistency of the entire sequence. The human validates; MyUP executes.
Advanced control: Maintaining character and location consistency
A consistent overall style is the first major hurdle. The next is ensuring specific elements, like a main character or a key location, look identical in every shot they appear in. Generic AI tools make this nearly impossible without complex techniques.
MyUP simplifies this with reference-based generation within your Brandkit. Before you start your storyboard batch, create a definitive character sheet or a key location concept image. You can generate this in MyUP or upload your own design. Add this image to your project's Brandkit as a core style reference. When you write your prompts, you can refer to this character or location. This gives the AI a concrete visual target to lock onto, dramatically improving the consistency of specific recurring elements across multiple panels. This technique is essential for narrative projects, from commercials to animated shorts. For a deeper dive, see our guide on the complete workflow for AI character consistency.
Next step: Turning your storyboard into a quick animatic
A storyboard is a static plan, but an animatic—a timed-out sequence of panels—is where your project starts to feel like a real film. It helps you perfect the pacing, timing, and rhythm of your edit before you've shot a single frame. With your full set of consistent panels generated in MyUP, creating an animatic is the logical next step.
You can sequence your generated panels directly within MyUP's video tools. Drag and drop the images into a timeline, adjust the duration of each shot to match the script's pacing, and even add a scratch track for dialogue or music. This transforms your collection of images into a powerful pre-visualization tool you can share with your team or clients for feedback. It closes the loop from script to pre-production, all on one platform. A rich visual style like the one in this template is perfect for bringing to life in a simple animatic.
Workflow code: #myup-5q78-bln0
Luxury Floral Product Editorial
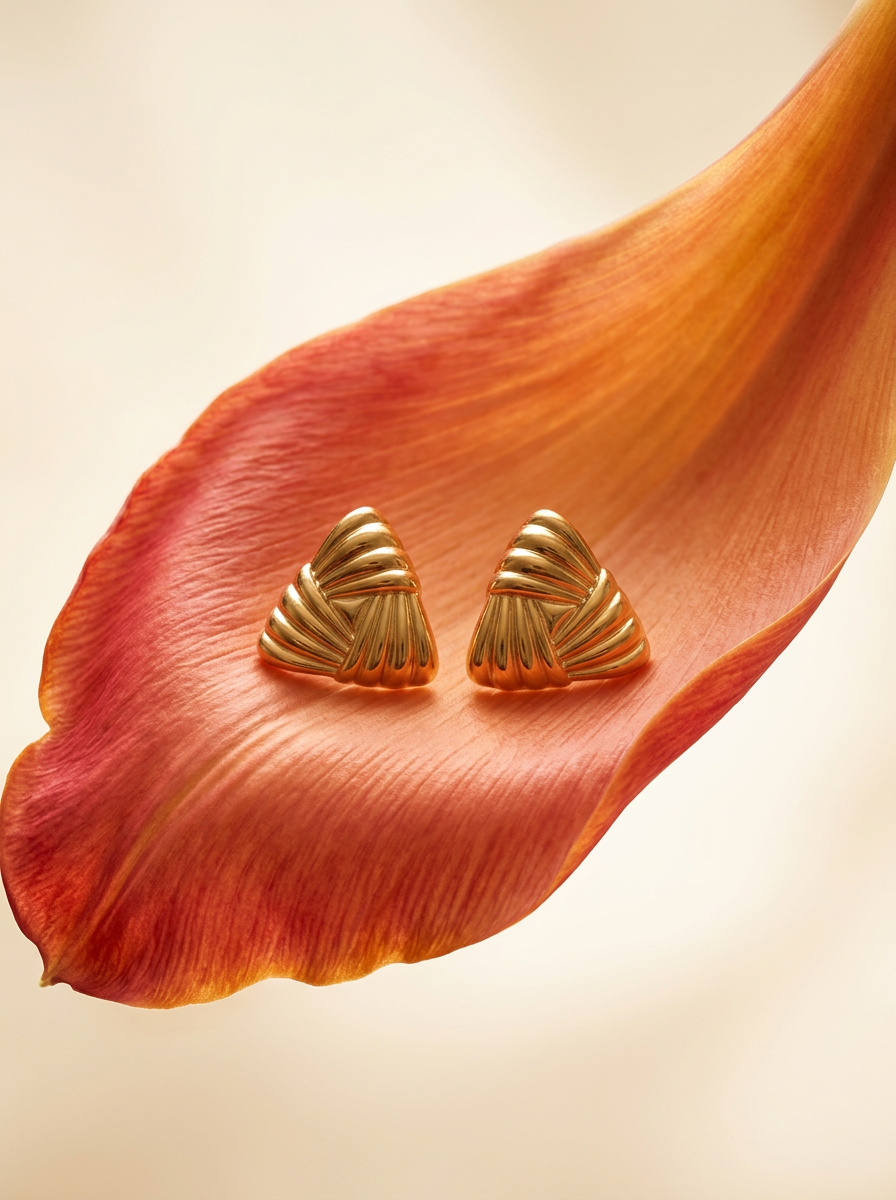
Place any product in an ultra-minimalist, warm studio space. It wraps your item in a seamless cream and beige backdrop with a super soft bokeh that melts away, making the details pop. It’s perfect for giving goods a clean, high-end look.
Regenerate using your own assets.
From here, you can move into production with a clear, validated, and visually cohesive plan, having saved days of manual work and creative frustration.
