This week, AI storyboarding changed. On June 24, 2026, Midjourney launched its '--sequence' parameter. A day later, Adobe announced Structure Reference 2.0 for Firefly. Both are designed to generate a series of related images from a single prompt, a huge step for sequential art. But they also created a new, more subtle problem: they generate sequences, not stories.
A sequence of images with a similar style is not a storyboard. A storyboard requires narrative continuity. The character must be the exact same character in every panel. The location must be the exact same location. This is where prompt-only tools fail. They produce variations on a theme, but storytelling requires precision. Relying on a parameter is a lottery; a professional workflow is a system.
This guide outlines a system-based approach that treats your characters and world as reusable assets, not a prompt you rediscover every time. It’s a frame-by-frame workflow for creators who need directorial control. You can start building your lead character's visual profile with this workflow right now.
Workflow code: #myup-yk1h-uqy8
High-End Editorial Fashion Magazine Cover
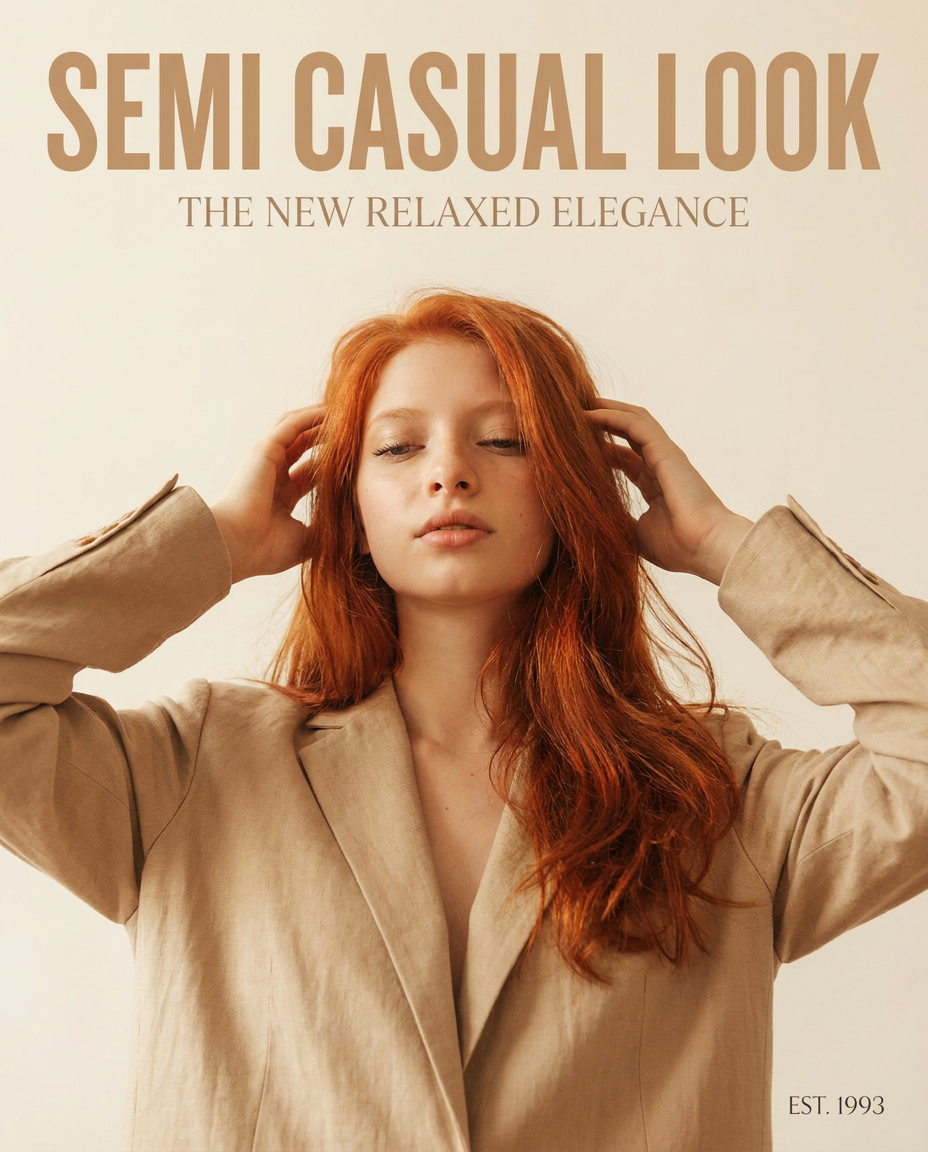
Drop in any portrait and turn it into a high-end editorial magazine cover. It frames your subject beautifully with relaxed, high-fashion posing and soft styling for a polished print aesthetic.
Regenerate using your own assets.
Step 1: Define your world (and lock it down)
The fundamental flaw in most AI storyboarding attempts is starting with the prompt for the first panel. You should start by defining the assets of your story: your character, your setting, and your visual style. In MyUP, this is called a Brandkit. For storyboarding, think of it as your 'Story Kit'.
Instead of hoping the AI remembers your character has red hair and a leather jacket, you save these attributes as fixed assets. This process is called character locking.
- Character Model: Define key visual identifiers. For a human character, this could be 'woman, 30s, sharp jawline, braided red hair, black leather jacket, silver earrings'. For a product, it’s the exact product design.
- Style Guide: Define the artistic direction. 'Ghibli-inspired anime style, soft watercolor textures, warm color palette' or 'Gritty neo-noir, high contrast, deep shadows, cinematic lighting'.
- Location Bible: Define the setting. 'Messy detective's office, papers stacked on a wooden desk, venetian blinds casting long shadows, a half-empty coffee cup'.
By building this Story Kit first, you turn random generation into controlled production. The AI doesn't have to guess; it's given a rulebook. Every image generated using this Brandkit will automatically inherit these core visual components. This is the foundation of true consistency. You can learn more about this asset-based approach in our guide to getting truly consistent AI illustrations.
Step 2: Create your keyframes with a repeatable workflow
With your Story Kit established, you can now create the keyframes — the most important narrative beats of your sequence. These are your establishing shots and pivotal moments. The goal here isn't to create every single panel, but to validate that your core visual assets work for the main scenes.
In MyUP, you'll create a simple, repeatable workflow. This workflow combines your Brandkit with a basic prompt structure. For example:
[Your Brandkit] + 'Full shot of [Character] sitting at [Location]'
Because the Brandkit contains all the heavy lifting for the character's appearance, the style, and the location's core elements, the prompt becomes simple and direct. You run this workflow for each keyframe, slightly adjusting the action:
- Keyframe 1: 'Full shot of Detective Eva Rostova sitting at her desk, looking at a case file.'
- Keyframe 2: 'Close up shot of Detective Eva Rostova's face, showing a look of surprise.'
- Keyframe 3: 'Wide shot of Detective Eva Rostova standing up abruptly, knocking over her chair.'
The output will be three images with a perfectly consistent character, setting, and style. The user—the director—is in control, approving each keyframe before moving on. MyUP executes the production based on the rules you set.
Step 3: The panel-by-panel loop for sequential action
This is where the frame-by-frame process truly pays off. Once your keyframes are locked, you can fill in the gaps to create smooth sequential action. You'll reuse the exact same workflow from Step 2, but now you'll make even smaller, more granular changes to the prompt. You are no longer prompting for a whole scene; you are prompting for a single action within that established scene.
Let's say you need three panels to show the character standing up. You would run the workflow three times with these minor prompt variations:
- Panel 3.1: '...Detective Eva Rostova places her hands on the desk to push herself up.'
- Panel 3.2: '...Detective Eva Rostova halfway standing, her chair starting to tilt back.'
- Panel 3.3: '...Detective Eva Rostova fully standing, the chair falling behind her.'
Because the Brandkit is constant, the only variable is the action. You won't see the character's jacket change color, her hair suddenly become shorter, or the desk transform into a different material. This level of control is impossible with prompt-only sequence generators, which often introduce subtle (and sometimes major) inconsistencies from one frame to the next.
From static panels to moving animatic
The viral 'AI animatic' trend on X and TikTok highlights a major user need: turning a storyboard into a timed video sequence for pre-visualization. The problem is that the current method—generating images in one tool, downloading them, and manually stitching them together in a video editor—is slow and clunky. Worse, if the source images are inconsistent, the final animatic feels disjointed.
The panels you create with this workflow are the ideal source material for an animatic because they are already narratively coherent. MyUP's integrated image-to-video features can then take this sequence of consistent panels and convert them into a video file directly. You can specify the duration for each panel and add simple camera movements (like a slow pan or zoom) to bring the static images to life. This closes the loop from concept to pre-visualization within a single, controlled environment.
Why a workflow beats a parameter
Midjourney's '--sequence' and Adobe's 'Structure Reference' are powerful features, but they are parameters, not workflows. They offer a shortcut to generating *similar* images, but they don't provide a system for narrative *continuity*. A parameter is a suggestion to the AI; a workflow is a set of instructions.
Relying on a parameter for a storyboard means you are still playing the lottery. You might get four great, consistent panels, or you might get three good ones and a fourth where the character's face has changed completely. The cost of this inconsistency isn't just a wasted generation credit; it's a break in the story you're trying to tell. It forces you to re-roll, re-prompt, and manually fix errors, defeating the purpose of using AI for speed.
A workflow-first approach, anchored by a Brandkit, treats storyboarding as a manufacturing process, not a game of chance. Your visual assets are defined upfront, and each panel is a deliberate iteration. It's the difference between asking an AI to 'draw a story' and directing it, frame by frame. For any creator serious about storytelling, that control is everything. If you're tired of fighting for consistency, it might be time to move beyond Midjourney and adopt a true production workflow.
