The traditional fashion photoshoot is a logistical beast. It involves booking models, stylists, and photographers, scouting locations, and managing a budget that can easily spiral. The alternative? AI image generation. But swapping physical chaos for digital chaos isn't a solution. Hitting 'generate' on a basic tool often yields a stream of inconsistent faces, generic lighting, and plastic-looking fabrics — a look that screams 'AI' and cheapens your brand.
The goal isn't just to create a single image; it's to build a reliable production system. This guide lays out the professional workflow for running a complete virtual photoshoot on MyUP.ai, giving you the creative control of a studio director without the overhead. We'll move from casting your unique AI model to producing a full suite of campaign assets, all within a repeatable, on-brand framework.
Step 1: Cast your brand muse — creating a consistent AI model
Your biggest challenge with AI isn't quality, it's consistency. A successful campaign can't feature a different model in every shot. Your first step is to 'cast' a consistent AI model — your brand's muse — who can appear across your entire lookbook and social media content.
This is where generic, one-off generators fail. A professional workflow requires a system that can recall and reuse a specific character. In MyUP.ai, you achieve this by establishing a core 'character' that acts as a reference for all subsequent images. You can build this from a detailed text description or by using a seed image of a model you've already generated and approved. This ensures the facial structure, hair color, and general physique remain constant, whether she's in a studio or on a city street.
Think of it as creating a digital model card. You define the character once, and the MyUP workflow applies that identity to every new scene you create. The user validates the initial 'casting,' and MyUP handles the production of keeping her consistent. This repeatable process is fundamental to building a believable brand narrative. For a deeper dive into this technique, see our guide on how to generate consistent AI characters for brand stories.
Step 2: Style the garment — prompting for realistic fabrics and logos
Once you have your model, the focus shifts to the clothing. The difference between an amateur AI image and a professional one often lies in the texture of the fabric. Your prompt needs to be specific and evocative, using terms a stylist or photographer would understand.
Instead of just 'denim jacket,' specify 'raw selvedge denim jacket with heavy twill texture and contrast stitching.' Instead of 'silk dress,' try 'liquid silk charmeuse gown, catching the light with soft highlights.' Here are a few examples to get you started:
- For wool: 'chunky cable-knit wool sweater, detailed yarn texture'
- For leather: 'buttery soft lambskin leather jacket, subtle grain, matte finish'
- For cotton: 'crisp white poplin cotton shirt, sharp collar, slightly wrinkled'
A recent breakthrough in image generation models has also made it possible to render clean, legible text and logos on apparel — a past frustration for brands. You can now reliably add your brand name to a t-shirt or a logo to a jacket, making AI-generated visuals directly usable for product mockups and ads. This is done by clearly specifying the text and its placement within your prompt, such as 'model wearing a black hoodie with the white logo "URBAN" centered on the chest'.
Step 3: Set the mood — art direction with lighting and location
A photoshoot's mood is defined by its lighting and environment. This is your art direction. Your prompt is the tool to control it. You can dictate everything from the time of day to the type of studio lights being used, ensuring the final image aligns with your campaign's aesthetic.
Consider the difference between these lighting prompts:
- Dramatic and edgy: 'dramatic studio lighting, single key light, hard shadows, rim lighting'
- Soft and natural: 'shot in a loft apartment with soft, diffused window light, golden hour'
- High-energy and commercial: 'bright, even, high-key lighting, no shadows, clean white background'
This is where MyUP's Brandkit becomes your production assistant. Before you even start generating, you can save your campaign's specific color palette, mood, and style preferences in your Brandkit. MyUP then automatically applies these brand constraints to every image it generates, ensuring every shot—whether for e-commerce or an editorial piece—feels like it belongs to the same cohesive collection.
Step 4: Run the shoot — generating poses, angles, and variations at scale
With your model, garment, and mood defined, it's time for production. You need more than one perfect shot; you need a full set of assets: full-body shots, portraits, action poses, and detail close-ups. A workflow-based approach lets you generate these variations efficiently without starting from scratch each time.
In MyUP, you can lock in your core elements (the model, the lighting) and then iterate on the variable — the pose. You can simply adjust your prompt to request different angles and actions, such as:
- 'Full-body shot, walking towards the camera'
- 'Medium shot, leaning against a concrete wall'
- 'Close-up portrait, looking over the shoulder'
This systematic approach allows you to generate dozens of usable options for a single outfit, giving you a complete library of content for social media, ads, and your website. It transforms AI from a single-image tool into a scalable content engine. To see this in action, you can generate a complete ad concept with a single prompt.
Workflow code: #myup-ywpr-rqz6
Professional Sportswear Ad
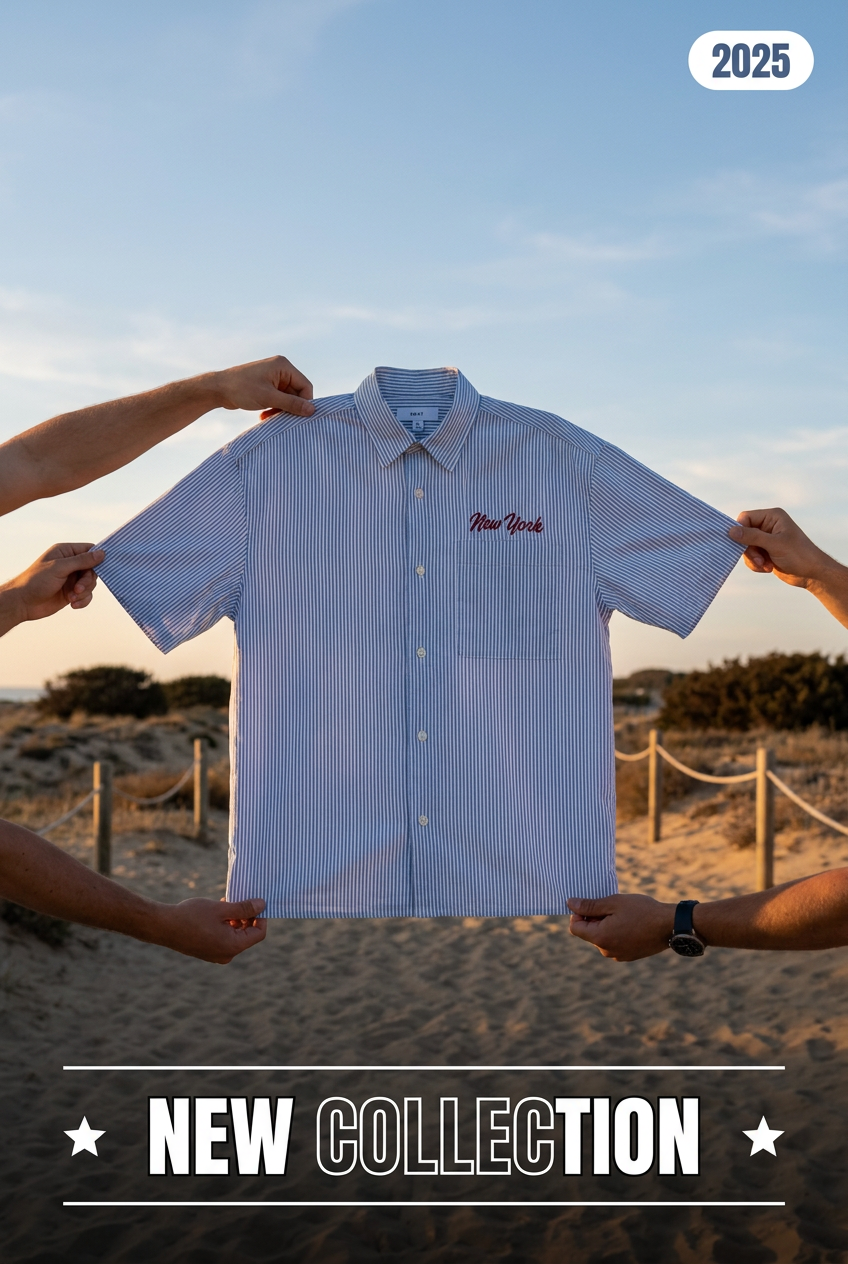
Suspends your apparel right in the center of a high-energy promo shot, held up by hands around the frame. It gives your shirts or jerseys a gritty, collaborative streetwear editorial look that feels alive and physical.
Regenerate using your own assets.
Step 5: From raw image to campaign hero — creating your final assets
A great AI-generated image is the raw material, not the final product. The last step is to transform that image into a polished, campaign-ready asset. This could be a magazine cover, a social media post, or an advertising poster. Instead of exporting your image to another design tool, you can use MyUP's templates to finish the job in seconds.
Once you've generated an image you approve, you can feed it directly into a layout template. These templates handle the typography, composition, and branding, giving you a finished piece of creative instantly. This final step bridges the gap between raw generation and a professional marketing asset.
For an instant editorial look, use the High-End Editorial Fashion Magazine Cover workflow to place your model into a ready-made cover design.
Workflow code: #myup-yk1h-uqy8
High-End Editorial Fashion Magazine Cover
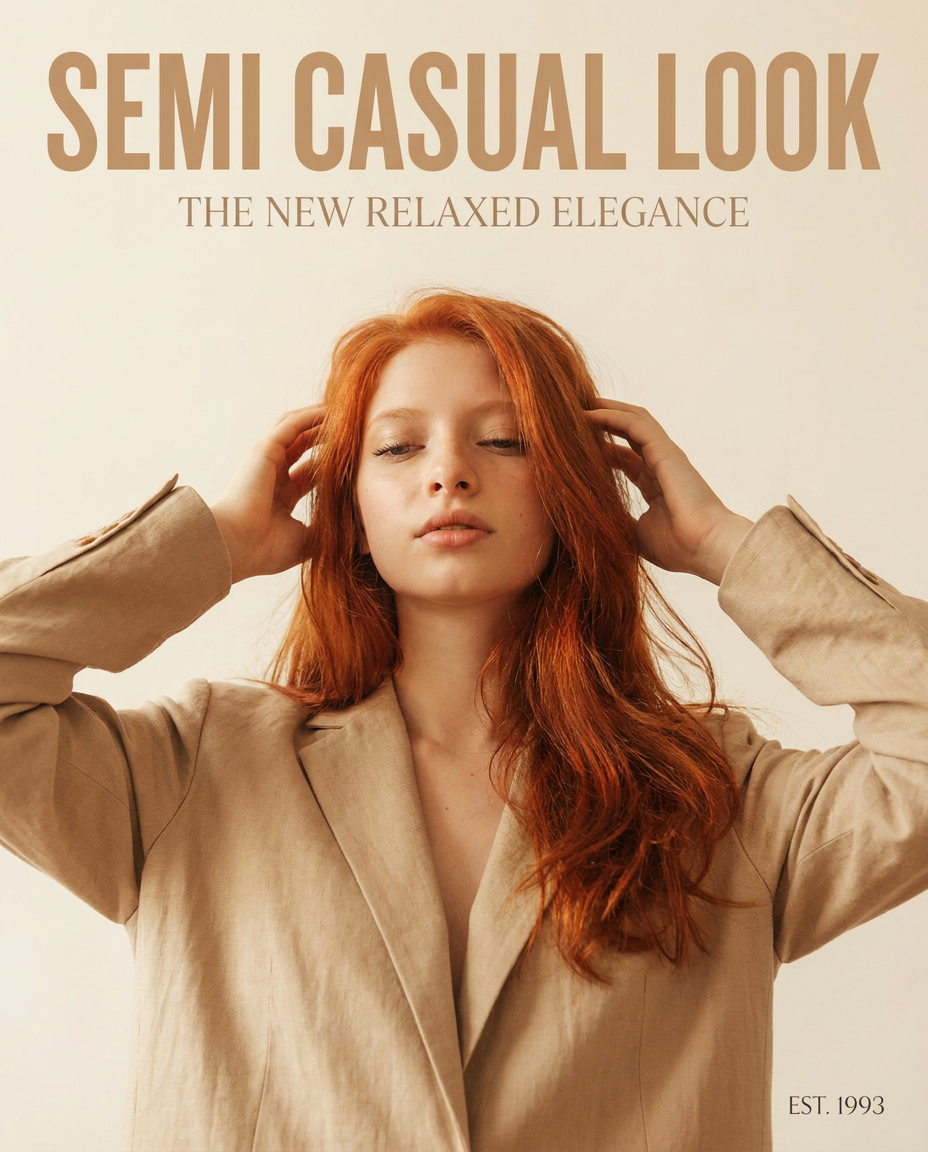
Drop in any portrait and turn it into a high-end editorial magazine cover. It frames your subject beautifully with relaxed, high-fashion posing and soft styling for a polished print aesthetic.
Regenerate using your own assets.
To create a bold, graphic poster for social media or print, the Fashion Poster workflow provides a perfect starting point.
Workflow code: #myup-wtgs-4huq
Fashion Poster
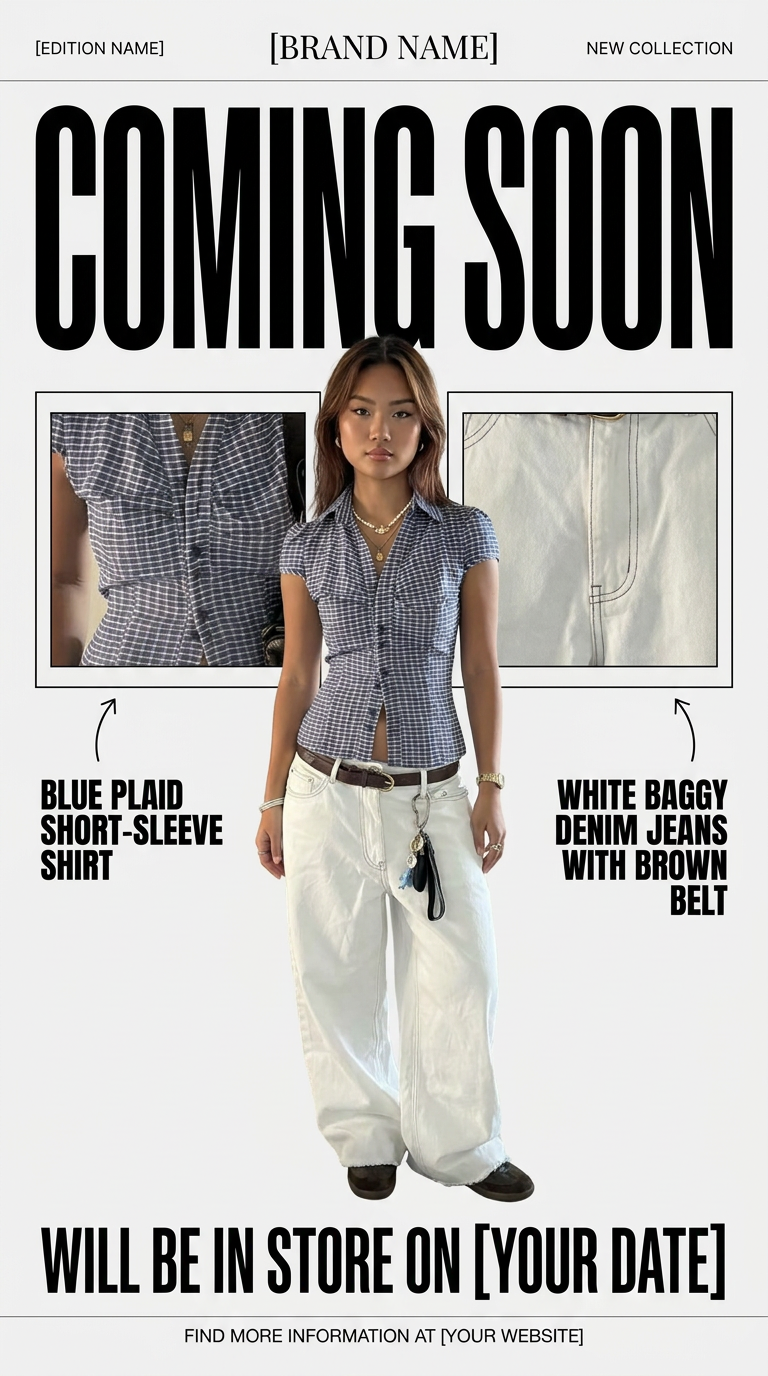
Turn your product shots into clean, high-end teaser posters. It frames your images in a minimalist off-white layout with editorial header text, giving your upcoming launches the look of a luxury fashion drop.
Regenerate using your own assets.
Your AI photoshoot is a system, not a single image
Getting realistic AI model photos isn't about finding one magic prompt. It's about building a repeatable system that gives you control over character, styling, and mood. By treating AI as a production studio rather than a slot machine, you move from generating random images to directing a complete, on-brand virtual photoshoot.
With a platform like MyUP.ai, you establish the creative direction with your Brandkit and consistent characters. Then, you use workflows and templates to scale production. This is how you get the quality and consistency of a traditional photoshoot at the speed and scale of AI.
