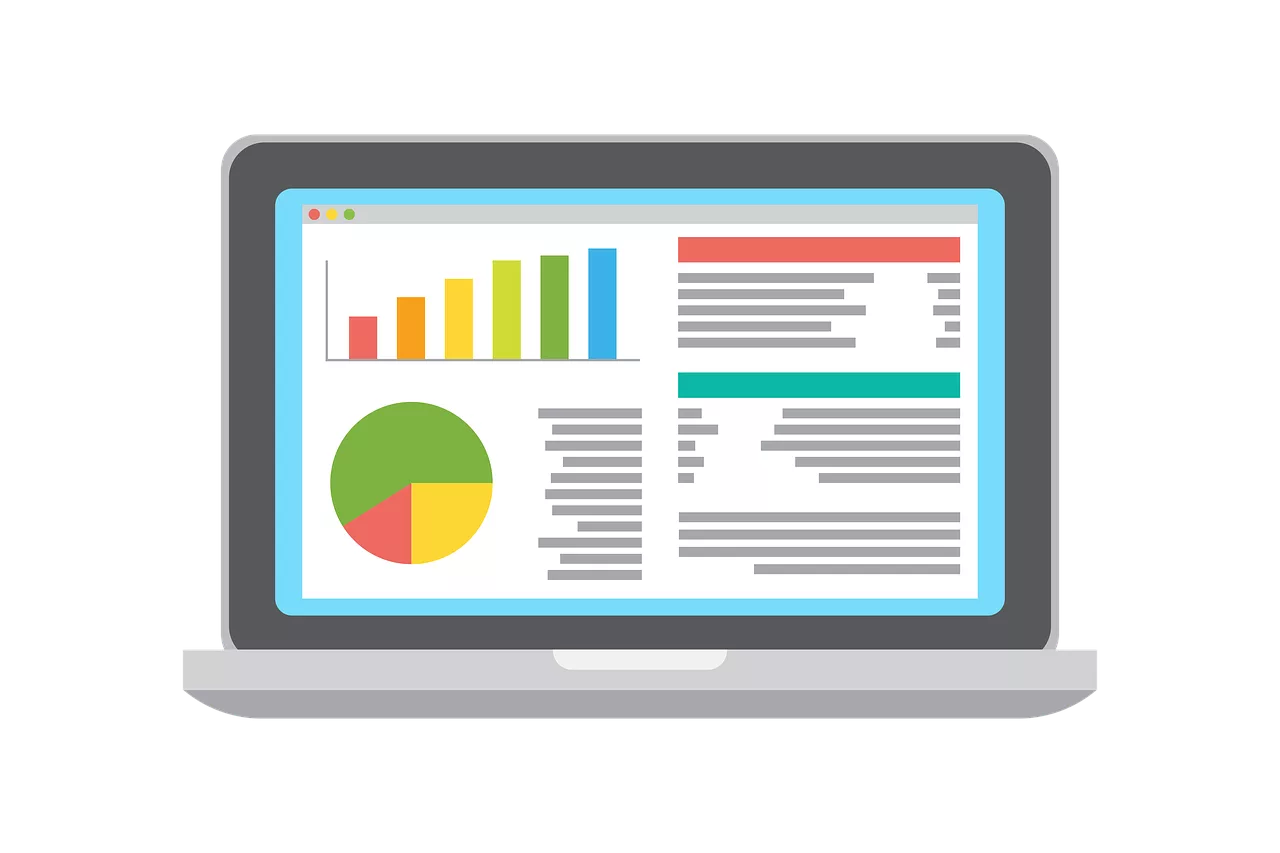
As of June 2026, a new wave of one-click AI tools that turn data into animated videos is everywhere. They promise instant infographics from a spreadsheet, and the appeal is obvious: speed. But for any professional creator or marketer, the results raise an immediate red flag. The colors are wrong, the fonts are generic, and the motion feels disconnected from the brand's story. You get a video, but it isn't *your* video.
Speed without control is a liability. A generic animation that's off-brand does more harm than a simple, well-designed static image. The real goal isn't just to make data move; it's to turn data into a compelling, on-brand story that stops the scroll and builds trust.
This guide details a professional workflow inside MyUP.ai that separates the design of your data from its animation. By unbundling the process, you gain the creative direction needed to produce high-quality, consistent, and scalable animated infographics. This is for creators who need to validate and approve the output, not just press a button and hope for the best.
Step 1: Create your static infographic assets first
Before you think about motion, you need to perfect the static composition. An animated infographic is just a sequence of well-designed visual elements. If the core elements are weak, no amount of motion will save them. The first step is to generate each piece of your infographic—charts, key stats, icons—as a static image.
In MyUP, this is where your Brandkit is essential. The Brandkit stores your brand's specific colors, fonts, and logo, ensuring that every asset the AI generates adheres to your visual identity. Instead of getting a bar chart with random blue and orange bars, you get one that uses your primary and secondary brand colors automatically.
Start by breaking your data story into small, digestible chunks. Each chunk will become a static visual. For example:
- A simple bar chart showing quarterly growth.
- A single, bold percentage for a key finding (e.g., "78% Increase").
- An icon representing a specific concept (e.g., a lightbulb for 'new ideas').
Use the MyUP AI Image Generator to create each one. Your prompt should be direct and focused on the visual, not the data itself. For instance: "Minimalist bar chart, flat design, infographic style." MyUP applies your Brandkit to ensure the output is immediately on-brand. The goal is to create a library of clean, perfectly branded static assets that are ready for the next step. You are in control of the design; MyUP handles the production.
To get started with a clean, structured layout for your data points, you can use a template designed for clear visual hierarchy.
Workflow code: #myup-n0bi-2wzk
Bold Editorial Grid Poster
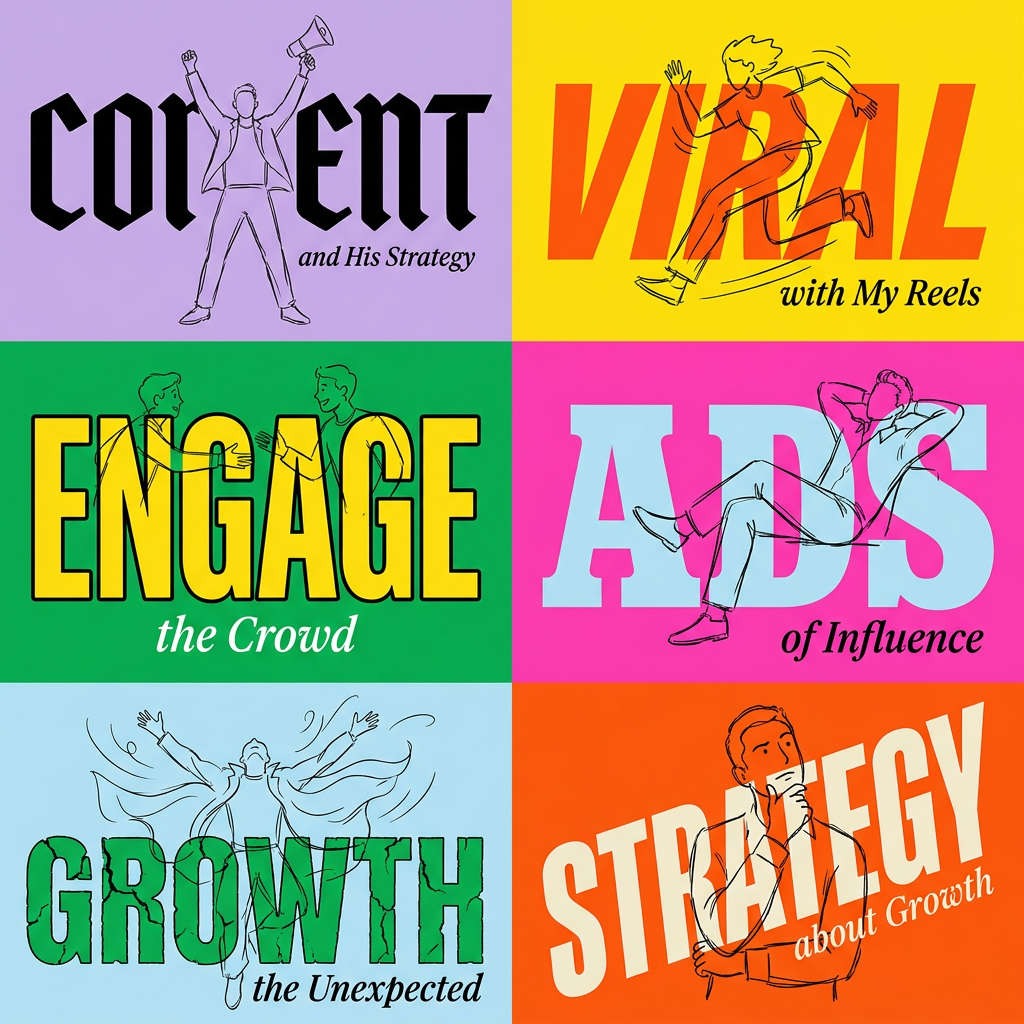
Create striking 2x3 editorial posters with six seamless, flat-color square cards in a perfect 4:5 grid. There are absolutely no gaps between the blocks, giving your content a bold, high-contrast magazine layout. It looks incredibly clean on any social feed.
Regenerate using your own assets.
Step 2: Animate your static assets with controlled motion
With your on-brand static assets approved, it's time to bring them to life. This is where you move from design to direction. Instead of letting an AI randomly animate your data, you will direct the motion to emphasize the story.
In MyUP, you can send any generated image directly to the AI Video tool. This image-to-video capability is the core of this workflow. Select one of your static assets—like the bar chart you just created—and prompt for a specific, subtle animation. The key is to be precise and intentional. Good motion supports the data; bad motion distracts from it.
Here are some effective motion prompts for data visualization:
- For charts: "The bars of the chart animate growing upwards, slow and smooth motion."
- For key stats: "Slow zoom in on the number, subtle motion."
- For icons: "Gentle pan from left to right across the icon."
- For transitions: "Subtle fade in from white."
The idea is to create short, 3-5 second clips for each static asset. This modular approach gives you maximum flexibility when you assemble the final video. By controlling the animation for each element, you're building a motion hierarchy that guides the viewer's eye. This is a fundamentally different approach from tools that animate everything at once, often resulting in chaotic and confusing visuals. The process of turning a static image into a dynamic video should be deliberate, not automated guesswork.
For a clean asset that's easy to animate, start with a minimalist template. This ensures the motion is the star of the show.
Workflow code: #myup-fy77-jljs
Minimalist Elegant Product Advertising Poster
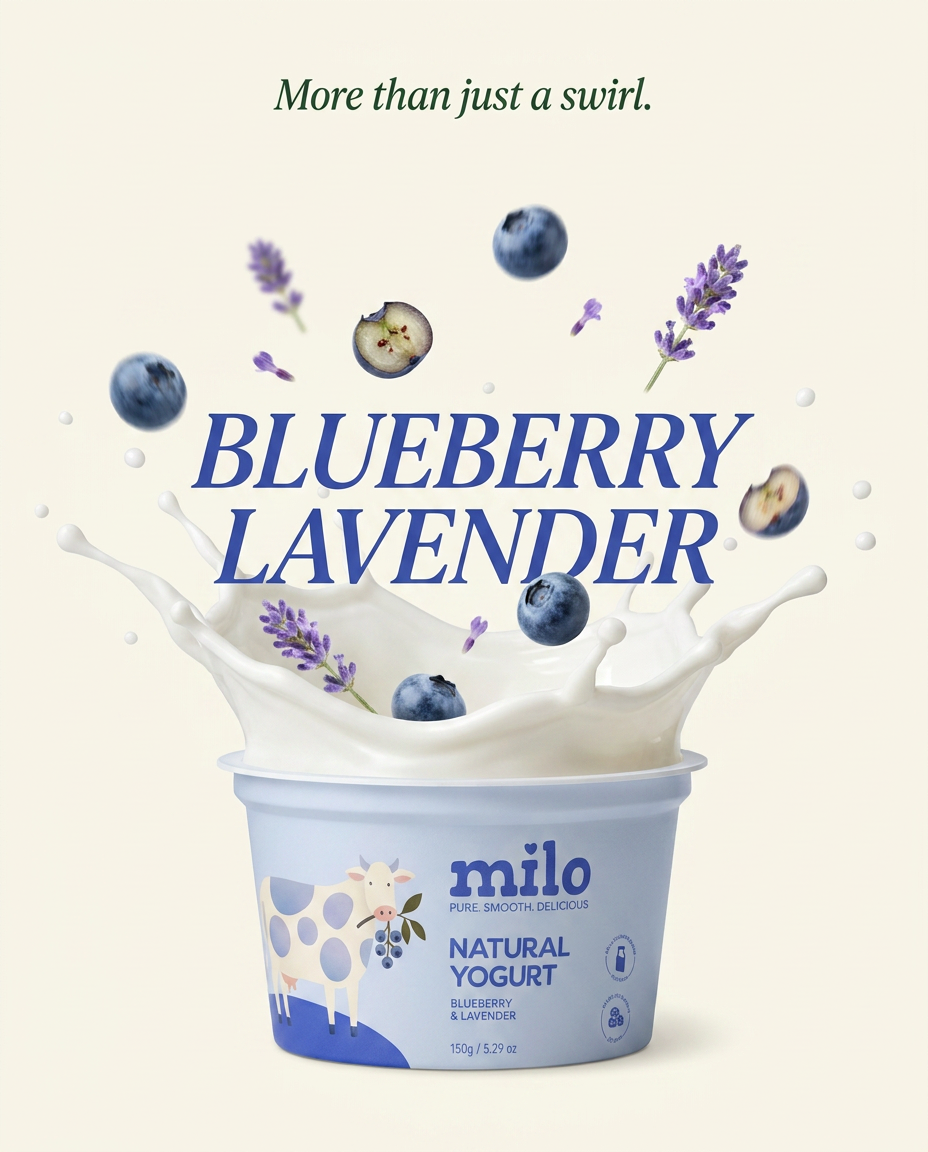
Turn any product shot into a high-end editorial ad. It places your item against a soft cream background with airy spacing and adds elegant, small serif typography at the top. Great for wellness or luxury brands wanting a calm, minimal aesthetic.
Regenerate using your own assets.
Step 3: Add text overlays and a voiceover to complete the story
Individual animated clips are the building blocks, but the final infographic needs narrative context. This is where you add text overlays, a script, and a voiceover to tie everything together. MyUP integrates these final production steps into the same workflow.
Once you have your sequence of animated clips, you can add text layers directly within the MyUP editor. Use these to add titles, subtitles, or callouts that provide context to the data being shown. Because you're working within the MyUP ecosystem, your Brandkit fonts are readily available, ensuring every piece of text remains consistent with your brand identity.
Next, give your story a voice. A clear voiceover can make complex data much more accessible. Use MyUP's AI script generator to create a concise narrative based on your key data points. Simply provide the main takeaways, and the AI will draft a script. You can then review and edit it. Once the script is finalized, use the integrated AI text-to-speech generator to create a professional-sounding voiceover in seconds. Choose from a variety of voices to match your brand's tone.
Combining these elements—animated data clips, on-brand text, and a clear voiceover—transforms your project from a collection of stats into a coherent and persuasive story, ready for any social media feed.
This template for a vertical ad shows how a final composition with text and visuals comes together in a shareable format.
Workflow code: #myup-fts6-4ihp
Vertical Gourmet French Fry Ad
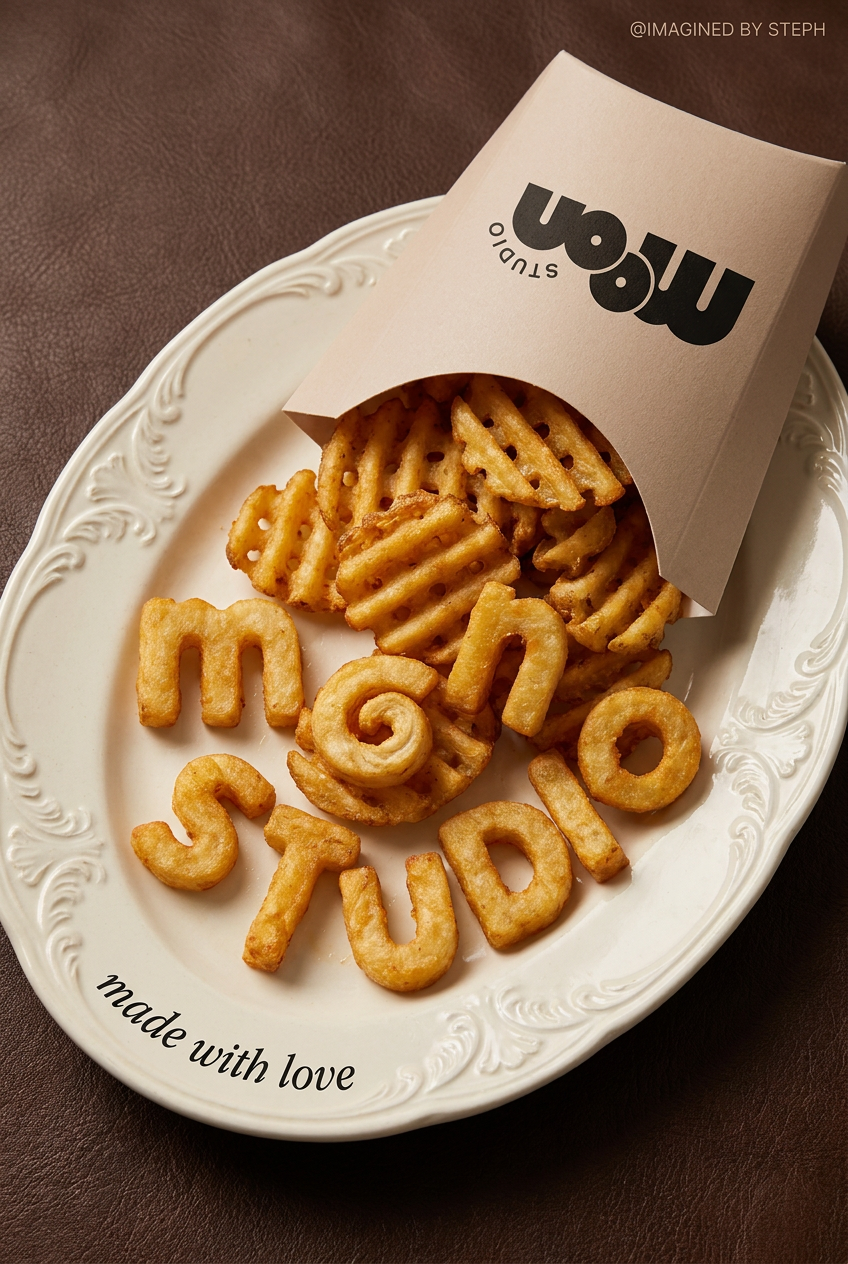
Transform your products into high-fashion editorial ads. This setup uses a dynamic diagonal layout and a slightly tilted overhead angle to give food and packaging incredible depth and texture. It's perfect for giving any brand a chic, premium look.
Regenerate using your own assets.
From a single clip to a full campaign: how to scale production
Creating one great animated infographic is a win. Creating a dozen of them, consistently and efficiently, is how you build a successful content program. The real power of this workflow is its scalability.
Once you've perfected the process—from generating static assets with your Brandkit to applying specific motion prompts and adding a voiceover—you can save the entire sequence as a custom workflow in MyUP. This becomes your team's reusable template for all future data-driven videos.
Imagine you need to produce a weekly social media video highlighting a new statistic. Instead of starting from scratch, your team can simply launch the saved workflow. It will prompt for the new data point, guide them through generating the on-brand static visual, apply the pre-defined animation style, and prepare the template for the final text and voiceover. The creative decisions are baked in, ensuring every video maintains the same high standard of quality and brand consistency. This is how you move from one-off creative tasks to building an automated content engine, allowing you to focus on the story while MyUP handles the production.
