You’ve seen the demos. Just this week, Kling AI showcased its stunning character consistency, promising a future where AI-generated actors can walk from one scene to the next without changing their face. The hype is real. But so is the frustration. Anyone who has actually tried to create a 60-second explainer video with AI knows the reality: a chaotic mess of clashing art styles, characters who look different in every shot, and a final product that feels anything but professional.
The problem isn't the animation tools. The problem is the workflow. A great explainer video isn't made with a single magic prompt. It's built from a strong, consistent visual system. Instead of fighting with unpredictable AI video generators, you need to build your system and generate your assets first. This tutorial walks you through that professional workflow, using MyUP.ai to establish creative control before you animate a single frame.
Why most AI explainer videos look unprofessional (and how to fix it)
The core issue is that most creators jump straight to the final step: prompting a video generator like Runway or Pika with a description of a moving scene. The AI then has to invent the script, the characters, the background, the style, and the motion all at once. The result is a lottery. You might get one great clip, but the next one will have a different color palette, a different illustration style, and a main character who is suddenly a different person.
A professional production workflow flips this on its head. It separates asset creation from animation. You wouldn't ask a human animator to design the character and animate them in the same breath. You'd give them an approved character sheet and a storyboard. The same logic applies to AI. The solution is to use an AI creation platform to build a complete, consistent set of visual assets first. That's where MyUP comes in.
Before you animate: Build your video's visual system in a Brandkit
The foundation of a professional-looking video is consistency. This starts with a Brandkit in MyUP.ai. A Brandkit is a central hub for your project's visual identity, ensuring every single asset you generate—from a background scene to a tiny icon—shares the same DNA. It's the system that eliminates the visual chaos.
Before you write a single prompt for a scene, build your Brandkit in MyUP with these core elements:
- Color Palette: Define your primary and secondary brand colors. MyUP will automatically apply these to your generations.
- Fonts: Upload your brand fonts. While the AI won't render live text in your video scenes, having fonts defined is crucial for creating title cards or other graphic elements consistently.
- Logo: Add your logo to be included in intros, outros, or as a watermark.
- Master Style Prompt: This is the most important piece. Write a detailed prompt that defines the overall aesthetic of your video. For example: "Minimalist 2D flat illustration style, clean lines, no gradients, corporate-friendly, inspired by Kurzgesagt explainers."
By establishing this system first, you've already solved 90% of the consistency problem. Every asset you create from this point forward will be automatically aligned with your brand. This is how you bake your brand guidelines into every AI visual.
Step 1: Generate all your on-brand scenes and assets
With your Brandkit active, it's time to produce the static assets for your video. Think of this as creating a digital storyboard. Go through your script and list every visual you need:
- Backgrounds: Office interiors, abstract gradients, cityscapes.
- Icons: Checkmarks, gears, lightbulbs, charts.
- UI Mockups: Simplified representations of your app or website.
In MyUP, you can generate each of these assets with simple prompts, and the Brandkit will ensure they all share the exact same style and color palette. Instead of a messy collection of images from different tools, you get a cohesive set of production-ready visuals. The user retains control, validating each asset before it goes into the animation phase.
To generate a key scene or promotional visual for your video, you can use a workflow that already has a professional style built in. This template for a promotional poster is a perfect example of generating a complete, styled scene.
Workflow code: #myup-egd6-d8uv
Modern Minimalist Food Promotional Poster
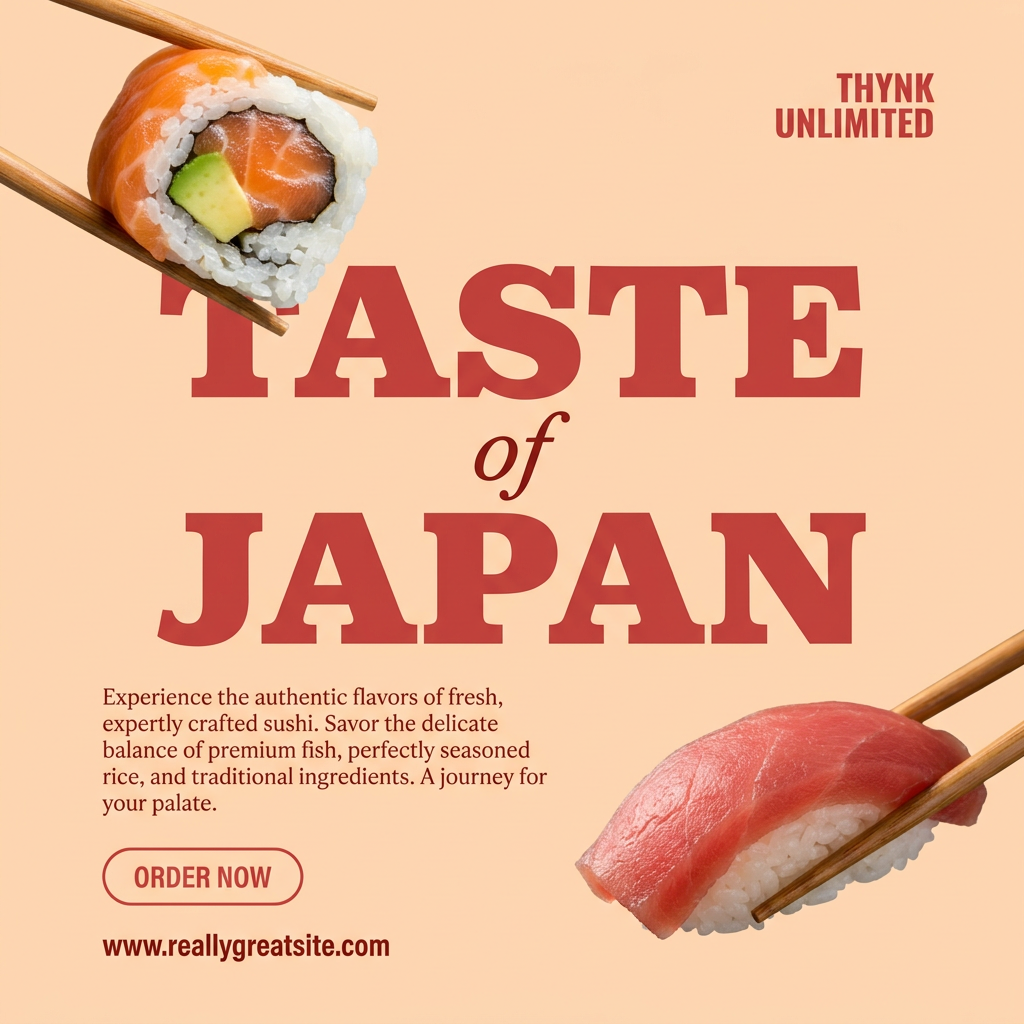
Turn your food photos into clean, modern social posters. It automatically grabs the lightest color tint from your uploaded dish to build a perfectly matched, soft background that keeps your feed looking cohesive and high-end.
Regenerate using your own assets.
Step 2: Create a consistent character for your story
This is the step that trips up most creators. Getting the same character to appear in different poses or scenes is notoriously difficult. The solution is the 'character sheet' method, and it's simple to execute in MyUP.
First, generate your main character with a highly detailed prompt. Lock in their key features: "A female character with short brown hair, wearing a blue blazer and glasses, friendly expression, minimalist flat illustration style." Once you have a version you love, you'll reuse the core of that prompt, only changing the action or pose.
For example:
- "...character standing and pointing at a whiteboard."
- "...character sitting at a desk and typing on a laptop."
- "...character looking surprised with wide eyes."
By keeping the character description and the Brandkit's style constant, MyUP will generate a set of images featuring the same character in various poses. This sheet of approved character poses is the key to telling a coherent story. This is a workflow that’s also used to create engaging animated social posts with recurring brand mascots.
You can use a character-focused template to get started. This workflow for a hiring poster is designed to generate a professional, styled person that can be adapted for your character sheet.
Workflow code: #myup-eiob-7tbc
Modern Hiring Poster
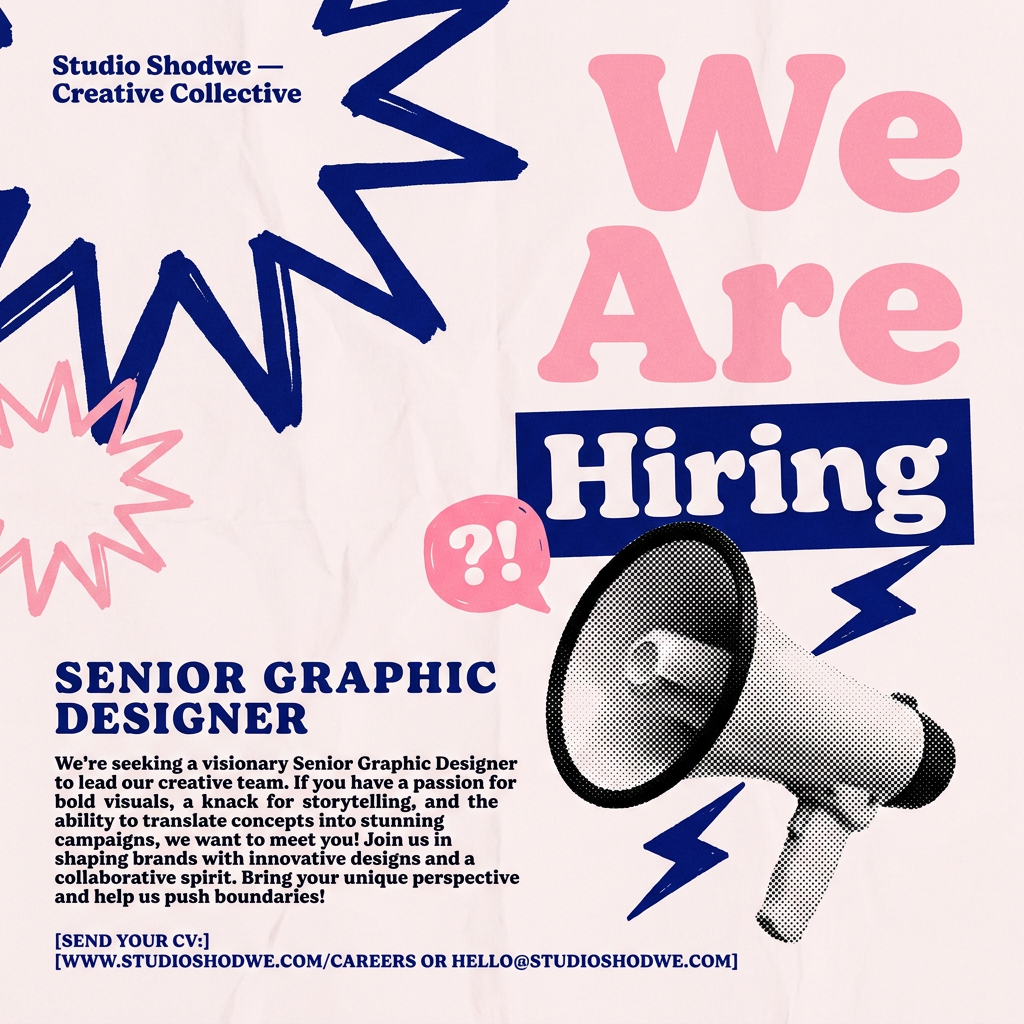
Turn your open roles into stylish social announcements. It sets your hiring details against a soft, textured paper background with clean, editorial typography. Perfect for giving your brand a polished, modern look when you're looking to hire.
Regenerate using your own assets.
Step 3: Animate your assets with control
Now that you have a complete library of clean, consistent, on-brand assets, the animation step becomes radically simpler and more predictable. You are no longer asking the AI to be a director, designer, and animator at once. You are just asking it to be an animator.
Take your static assets from MyUP and bring them into an image-to-video tool. With new features like RunwayML's 'Multi-Motion Brush', you have precise control. You can select just your character's arm and prompt it to wave, or select the clouds in your background and prompt them to drift slowly. The rest of the image, which was carefully designed and approved in MyUP, remains perfectly static and on-brand.
This is the power of the system-based approach. Because you prepared high-quality ingredients, you have total creative control over the final animation. You're simply adding motion to a visual system you've already validated.
Even simple graphic assets can be brought to life. A workflow like this one for a hand-lettered poster can produce a visually dynamic element perfect for a short, animated scene.
Workflow code: #myup-6hp6-zwh2
Minimalist Hand-Lettered Food Brand Poster
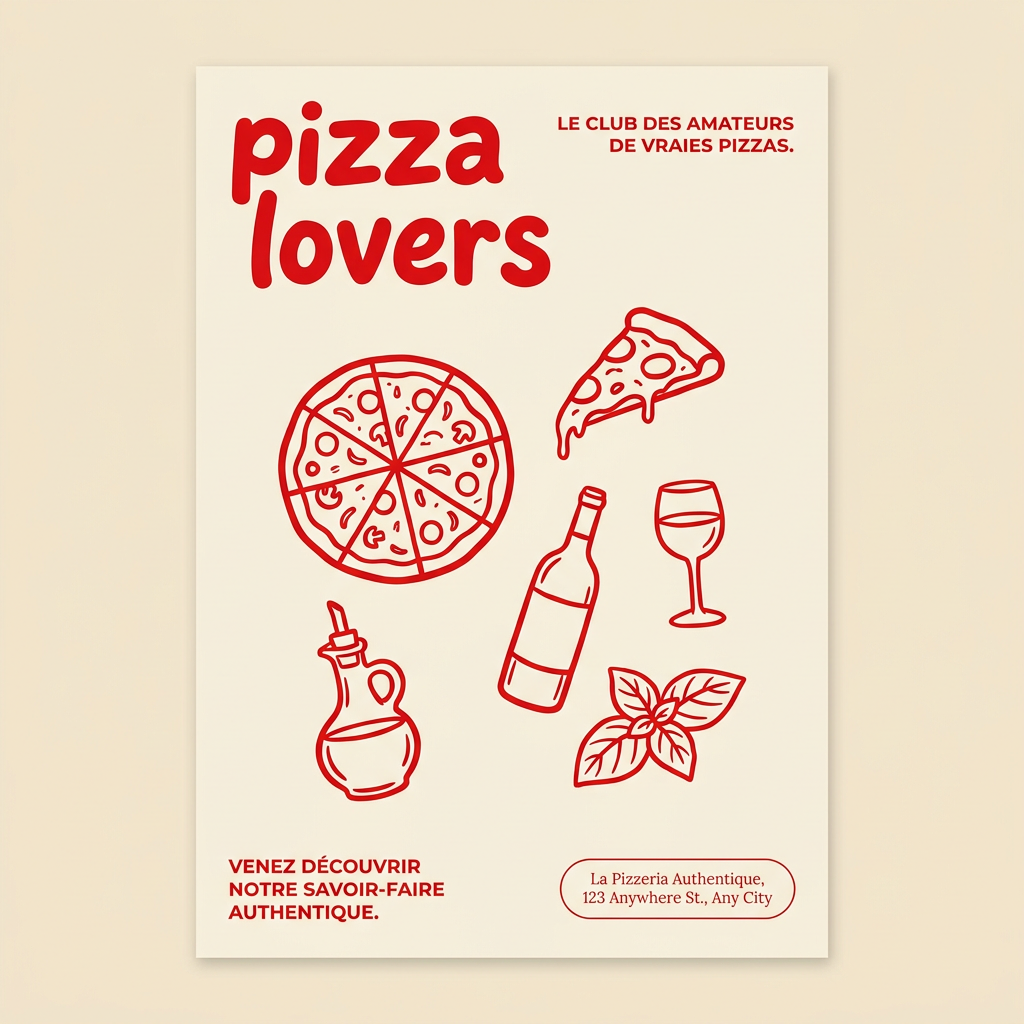
Generate clean, minimal posters for your food brand or cafe. It sets up a soft cream background with tons of breathing room, contrasted by a bold, chunky handwritten title in vivid red. It's a gorgeous editorial layout that makes your brand look instantly high-end.
Regenerate using your own assets.
The final assembly: From clips to a polished video
The last mile is straightforward. Once you've generated short animated clips for each scene, you can assemble them in any basic video editor. Sequence the clips according to your script, add a professional voiceover (which can also be generated with AI), and lay down a music track.
The result is a polished, professional animated explainer video that looks like it was made by a studio. The colors are consistent, the style is unified, and your characters look the same from start to finish. The 'hard part' of maintaining brand integrity was solved before you ever clicked 'animate'. By focusing on building the visual system first in MyUP, you turn AI from a chaotic creator into a powerful and predictable production assistant.
